Craft Ideas, Home & Workshop · Easy · 25 minutes
DIY Thin Workshop Shims From Wooden Blind Slats
Make your own DIY thin workshop shims from old wooden blind slats. These handy shims are perfect for leveling, spacing, or supporting woodworking projects.
- Difficulty
- Easy
- Time
- 25 minutes
Materials
- wooden blind slats
- handsaw
- ruler
- pencil
- sandpaper
- string or cord
- small storage box
How to make it
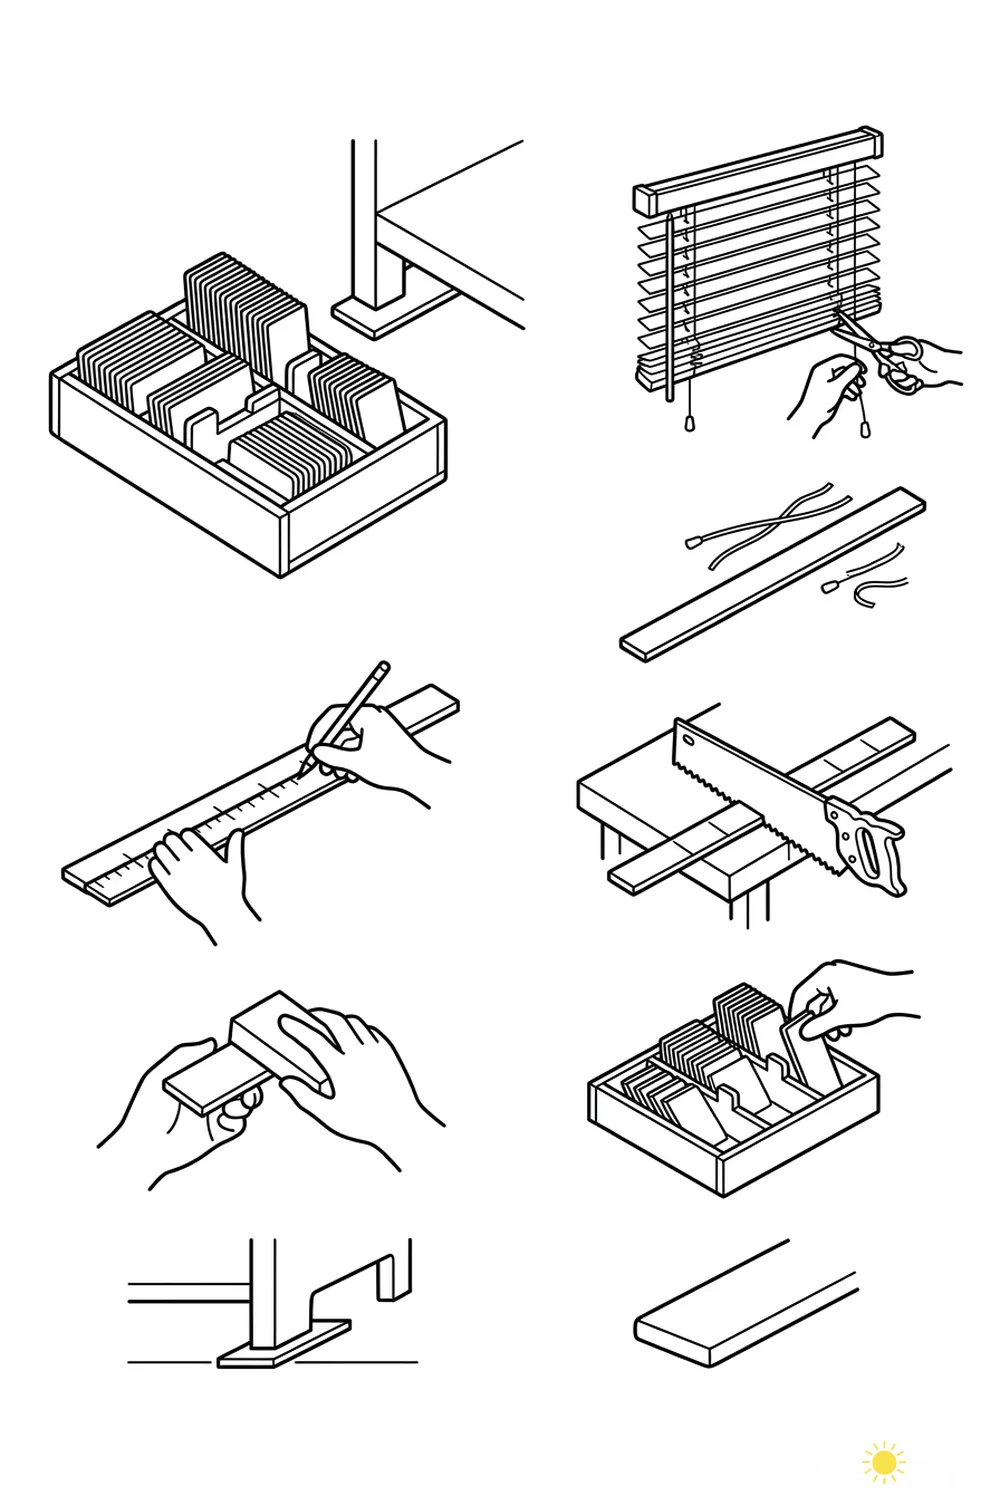
- Remove the wooden slats from an old set of blinds.
- Measure and mark the slats to your desired shim size using a ruler and pencil.
- Cut the slats along the marked lines with a handsaw.
- Smooth the edges of each shim with sandpaper.
- Organize the finished shims in a small storage box for easy access.
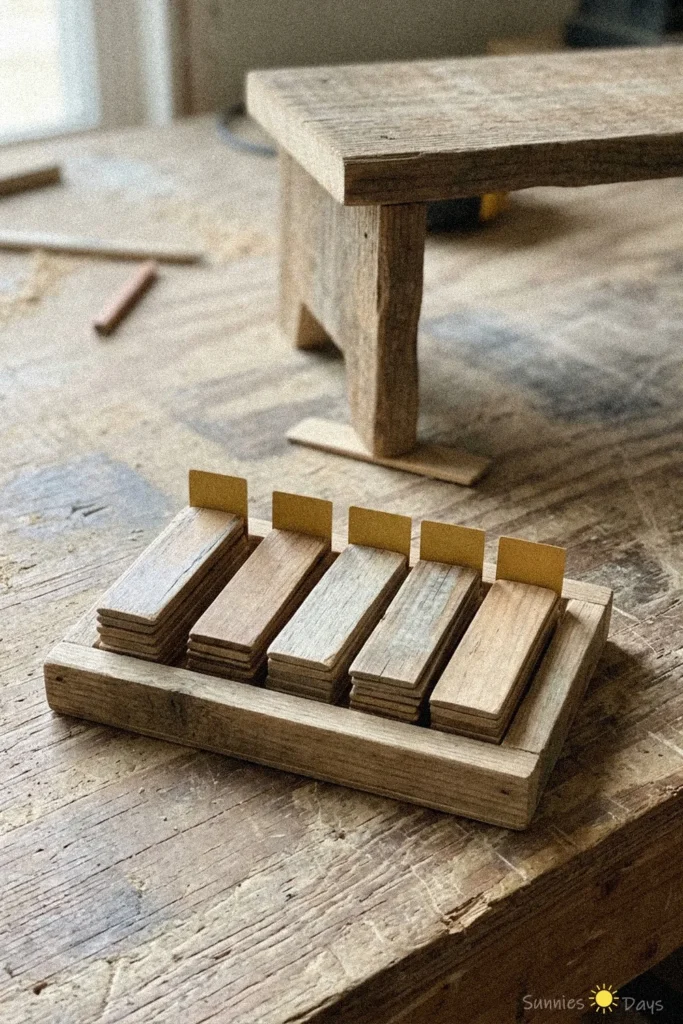
DIY thin workshop shims are a clever way to reuse wooden blind slats for leveling and spacing tasks in your woodworking projects. These shims are neatly cut and organized, making them easy to grab and use whenever you need precise adjustments. Keeping your shims in a dedicated tray helps maintain order in your workspace and ensures you always have the right size on hand. Always handle cut wood carefully to avoid splinters and make sure your work area stays tidy for safety.