Craft Ideas, Home & Workshop · Easy · 45 minutes
DIY Painted Entryway Tray From Reclaimed Wood
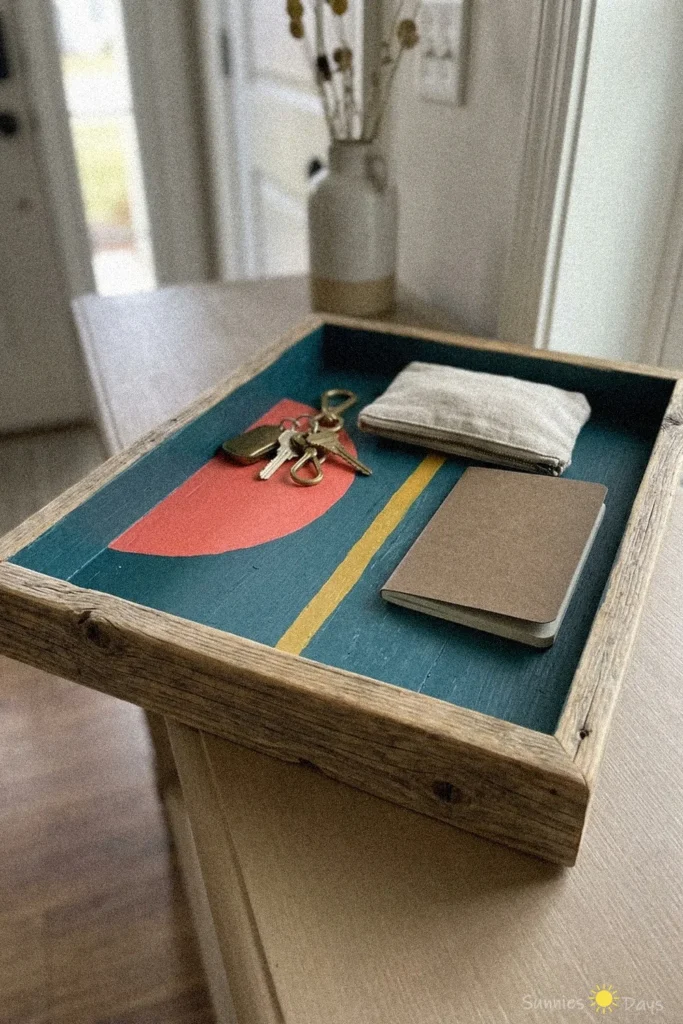
Make your own DIY painted entryway tray from reclaimed wood to keep your essentials organized. This rustic and colorful tray is perfect for adding charm to your entryway.
- Difficulty
- Easy
- Time
- 45 minutes
Materials
- reclaimed wood planks
- saw
- sandpaper
- ruler
- pencil
- wood glue
- hammer
- nails
- paintbrush
- paint or wood stain
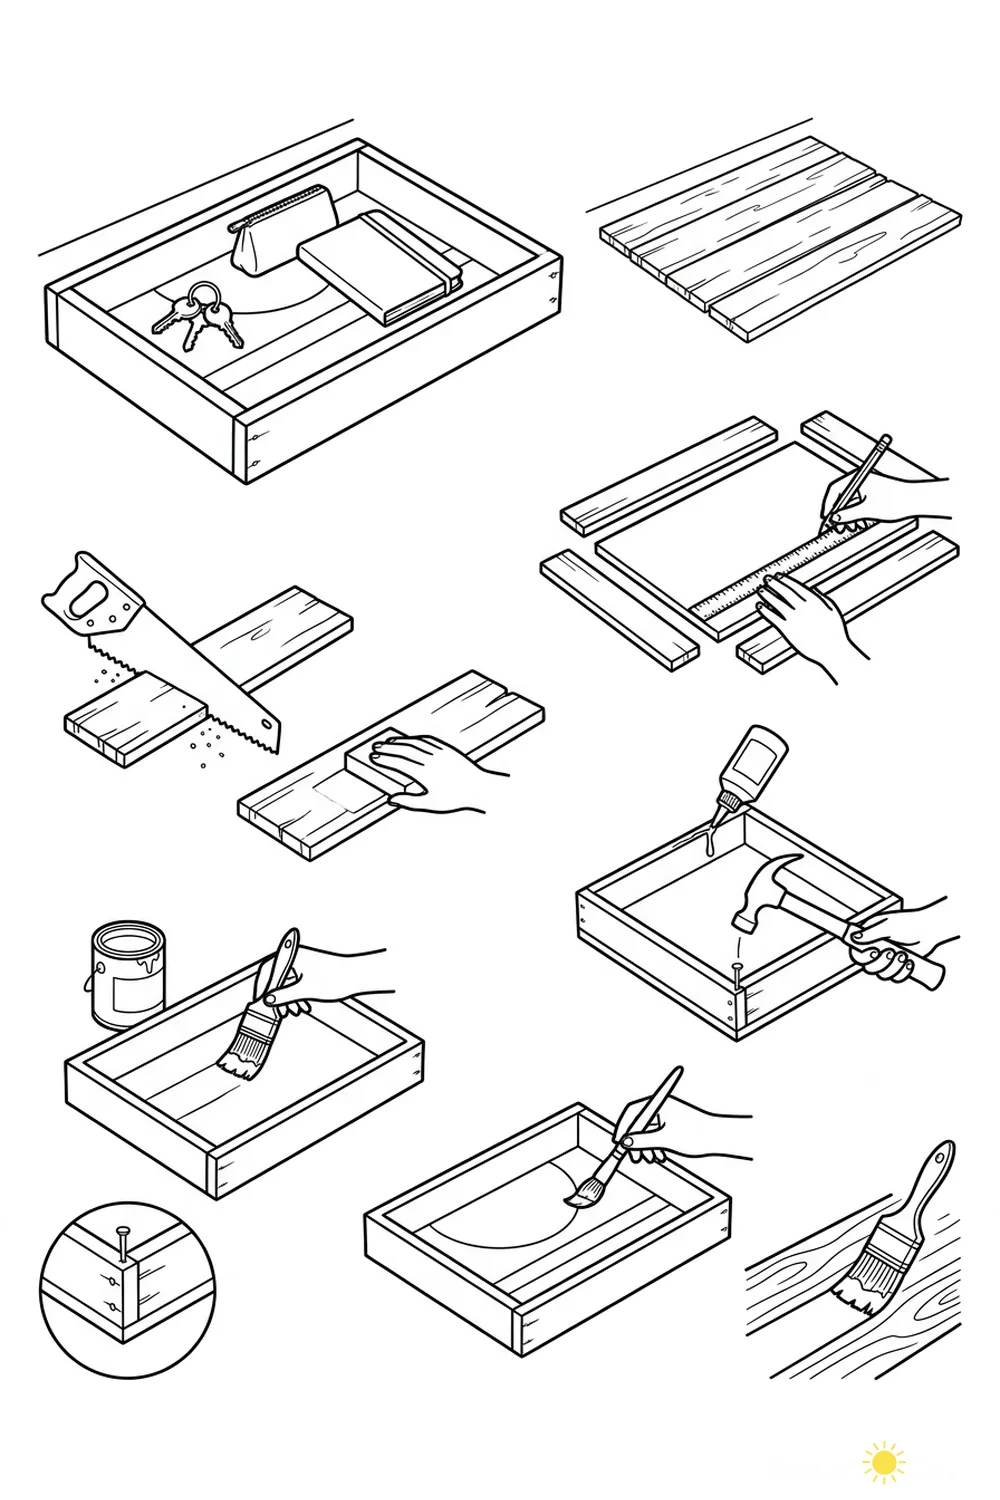
How to make it
- Lay out reclaimed wood planks for the tray base.
- Measure and mark the lengths for the tray sides using a ruler and pencil.
- Cut the wood to size with a saw.
- Sand all wood pieces until smooth.
- Assemble the tray frame and base, applying wood glue to the joints.
- Secure the corners with nails and a hammer.
- Paint or stain the assembled tray with a brush.
- Allow the tray to dry completely before use.
A diy painted entryway tray is a practical and decorative way to keep your keys, wallet, and notebook organized by the door. This handmade tray is crafted from reclaimed wood and features a colorful painted design that brightens up any entryway.
The sturdy wooden frame and cheerful paint make it both functional and stylish, helping you keep track of daily essentials in one convenient spot. Its rustic look pairs well with a variety of home decor styles.
When using reclaimed wood, always check for rough edges or splinters and sand them down to avoid snags or scratches. Place the tray on a stable surface for best results.