Craft Ideas, Home & Workshop · Medium · 45 minutes
DIY Painted Workshop Parts Organizer
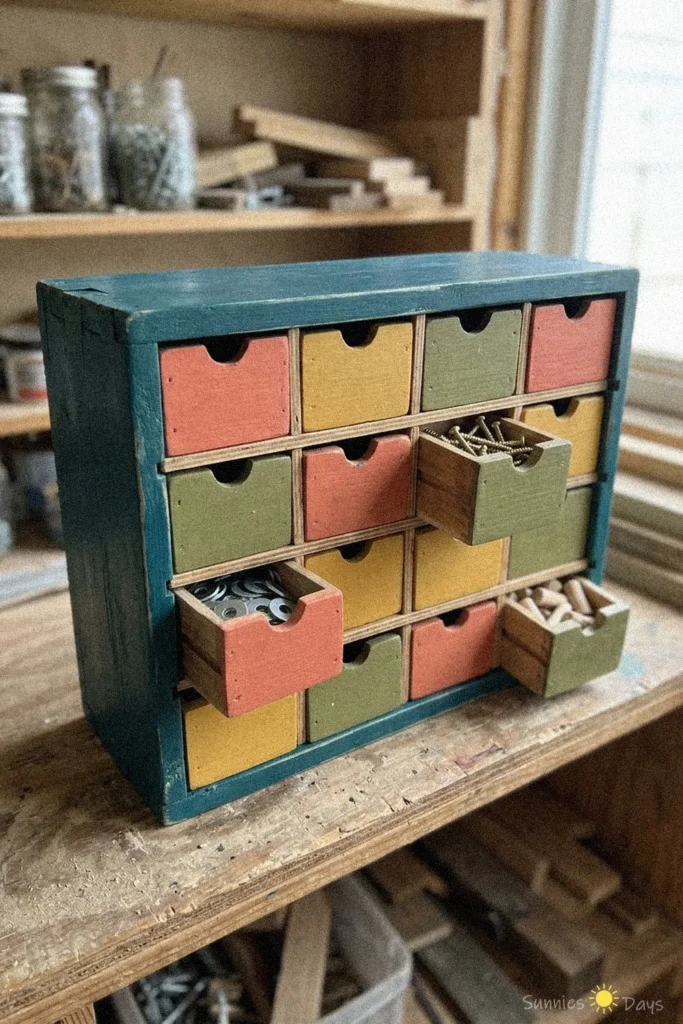
Create your own DIY painted workshop parts organizer to keep small hardware and supplies neatly sorted. This colorful storage solution adds charm and order to any workspace.
- Difficulty
- Medium
- Time
- 45 minutes
Materials
- wooden box
- wooden strips
- ruler
- saw
- sandpaper
- glue
- paint
- paintbrush
- small containers
- hardware parts
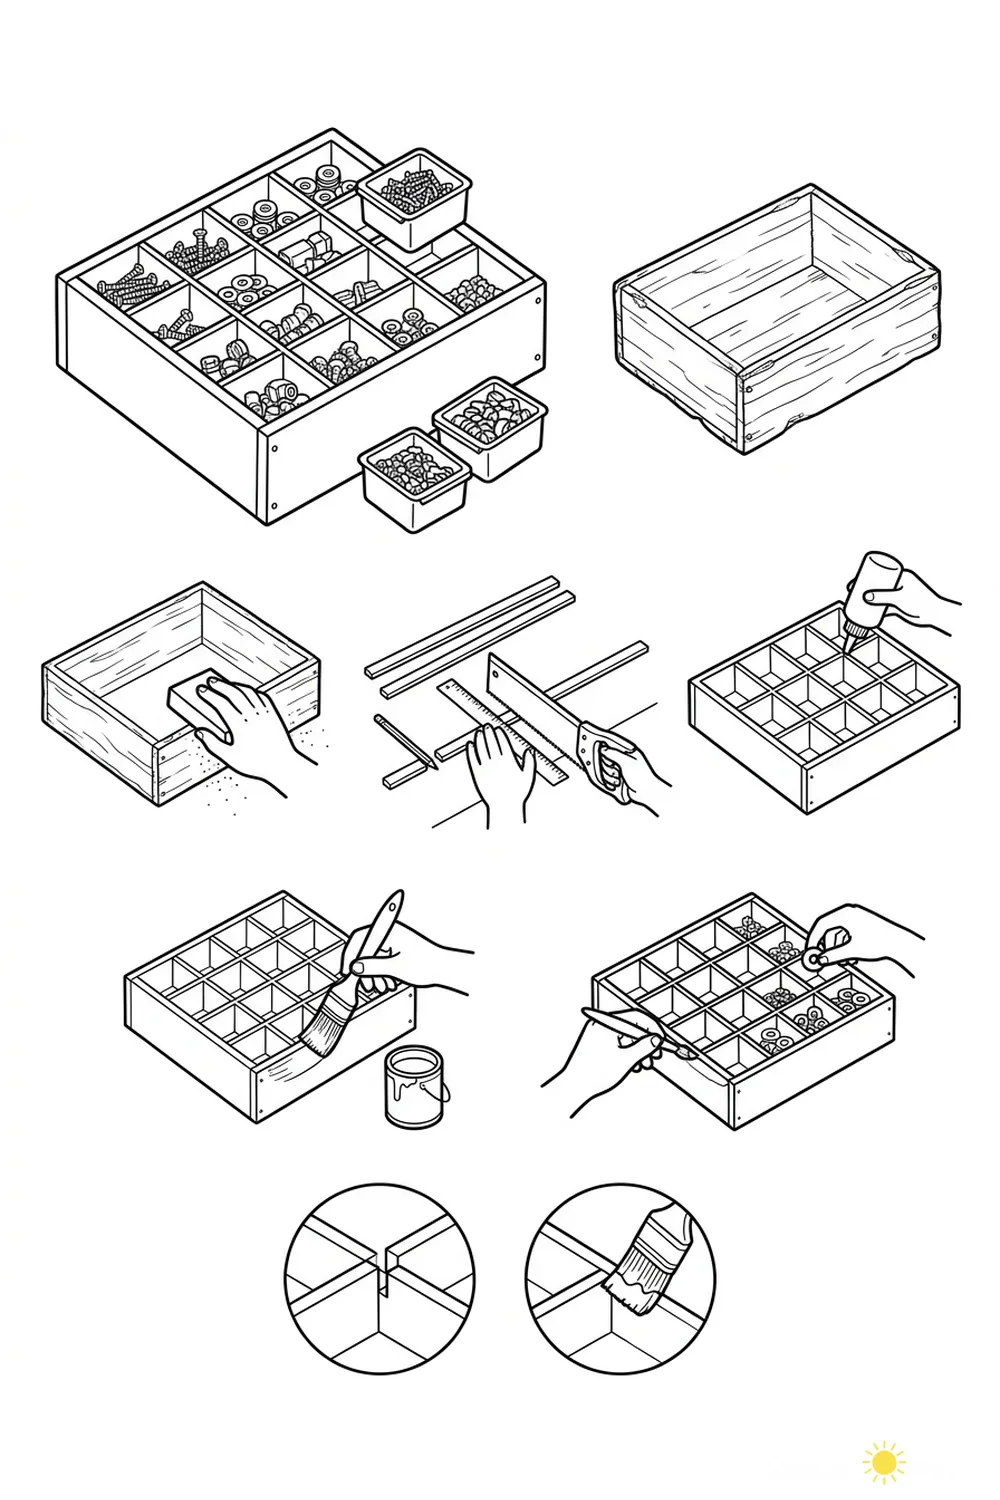
How to make it
- Start with an empty wooden box.
- Sand the box to smooth the surfaces.
- Measure and cut wooden strips for dividers.
- Assemble and glue the dividers inside the box.
- Paint the entire organizer with a brush.
- Let the paint dry completely.
- Fill each compartment with hardware or small parts.
A diy painted workshop organizer is a great way to keep small parts like screws and washers sorted and easy to access. This craft is perfect for adding both function and a pop of color to your workspace. The organizer features multiple small drawers, each painted in cheerful shades, making it easy to categorize and find what you need quickly. Having a dedicated organizer for hardware helps prevent clutter and saves time during projects. For best results, place the organizer on a sturdy surface and avoid overloading the drawers to ensure smooth operation and long-lasting use.