Craft Ideas, Home & Workshop · Easy · 40 minutes
DIY Slatted Cover for a Reused Storage Box
Give new life to an old storage box with this DIY slatted cover project. It’s a stylish way to organize your space while adding a pop of color to your decor.
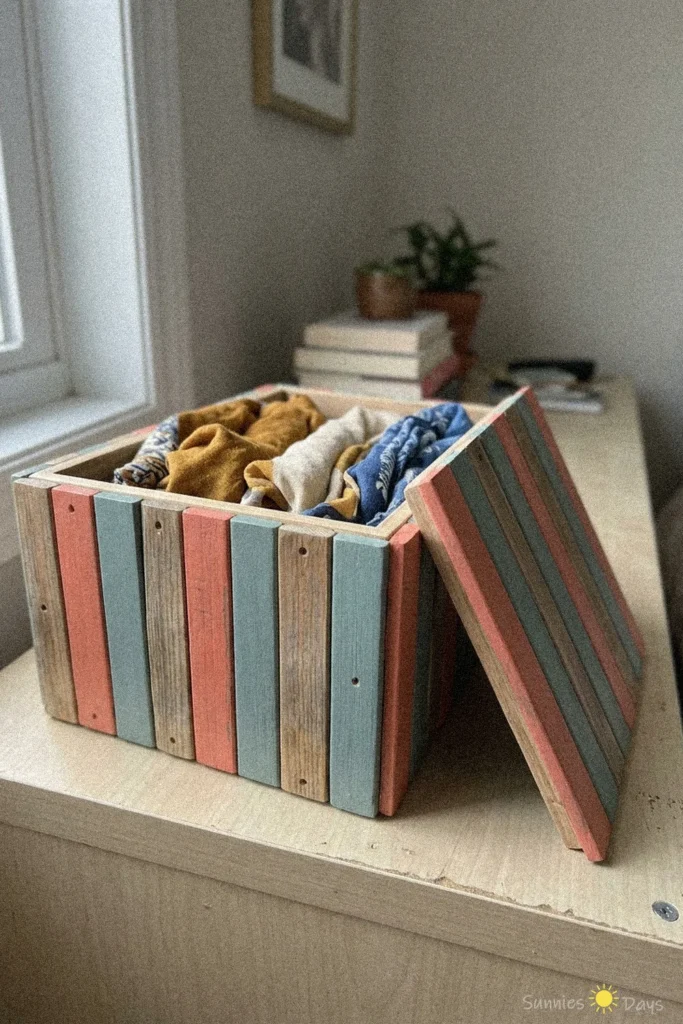
- Difficulty
- Easy
- Time
- 40 minutes
Materials
- storage box
- wooden blinds
- wood glue
- ruler
- pencil
- paintbrush
- wood stain or paint
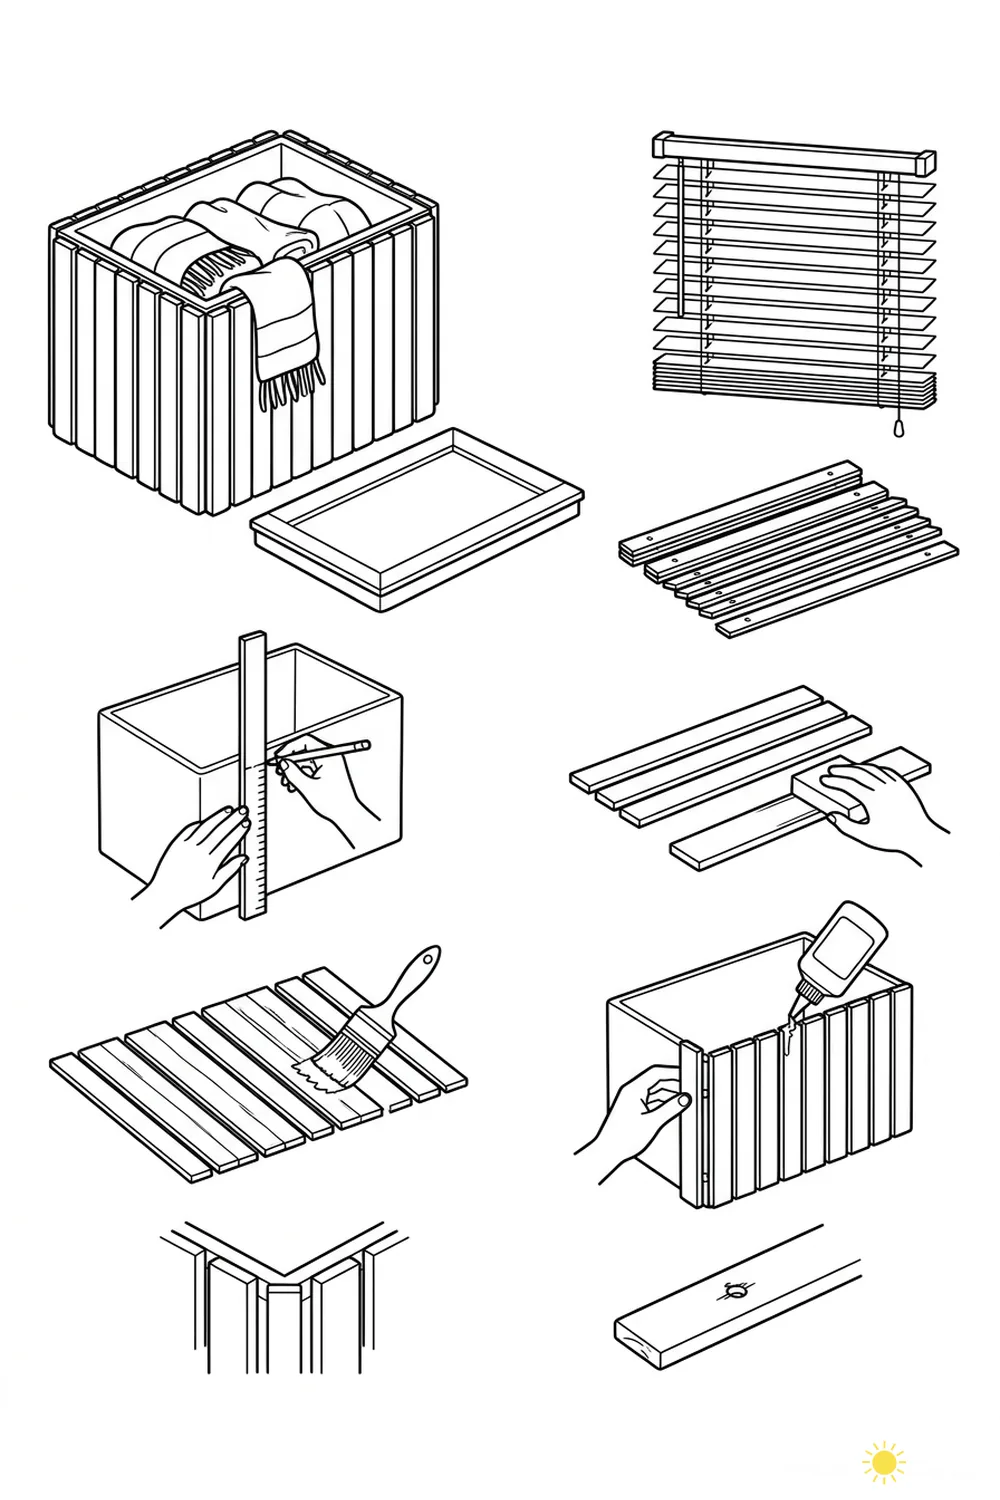
How to make it
- Measure the sides of your storage box with a ruler and mark with a pencil.
- Disassemble the wooden blinds and lay out the slats.
- Cut the slats to fit the marked dimensions of the box.
- Arrange the slats side by side on a flat surface.
- Paint or stain the slats with a brush and let them dry.
- Glue each slat vertically onto the sides of the box.
- Ensure the corners align neatly for a finished look.
- Let the glue dry completely before using the box.
A diy slatted storage box is a creative way to upcycle an old container into a stylish and functional piece for your home. This project is perfect for organizing clothes, accessories, or craft supplies while adding a decorative accent to any room.
The colorful wooden slats give the box a rustic yet modern look, making it a handy storage solution that doubles as decor. Its sturdy construction ensures your items are kept safe and neatly tucked away.
When working with wooden slats, make sure to sand any rough edges to prevent splinters. Always check that the lid fits securely to keep your stored items dust-free and organized.