Craft Ideas, Home & Workshop · Medium · 1 hour
DIY Color-Coded Workshop Storage Drawers
Keep your workspace tidy with these DIY color-coded workshop storage drawers. This project is perfect for organizing small items while adding a cheerful touch to your craft area.
- Difficulty
- Medium
- Time
- 1 hour
Materials
- wooden drawer unit
- drawer boxes
- screws
- screwdriver
- sandpaper
- paintbrushes
- paint or wood stain
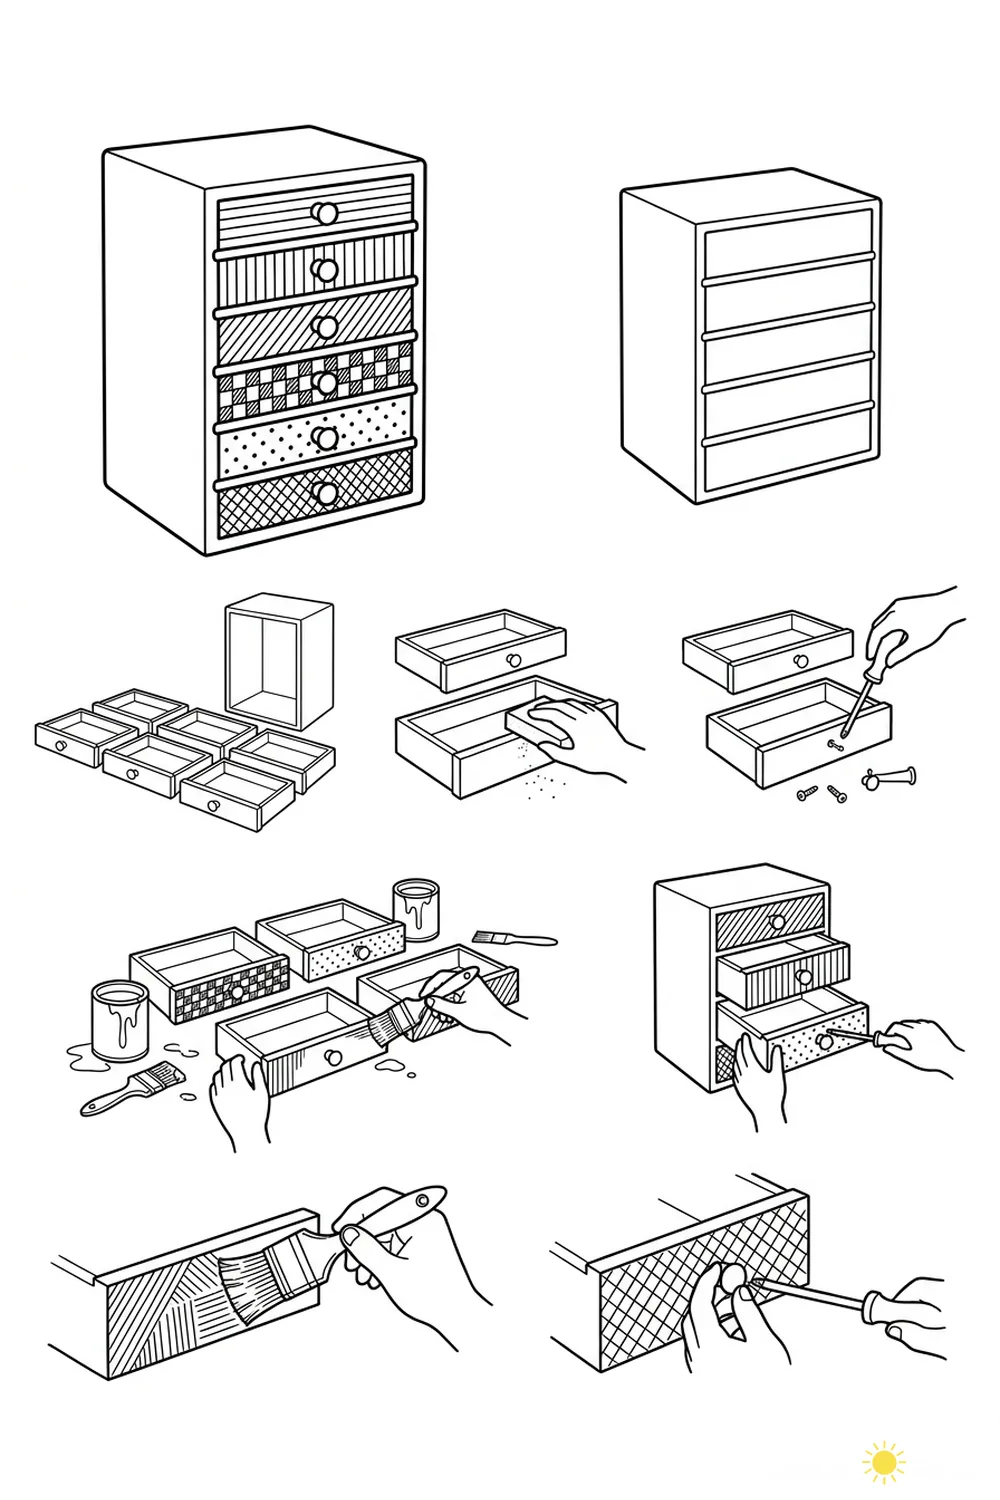
How to make it
- Start with a plain wooden drawer unit and remove all the drawers.
- Sand the surfaces of each drawer box to smooth rough edges.
- Use a screwdriver to remove drawer knobs or handles if needed.
- Paint or stain each drawer front in different colors or patterns.
- Allow the paint to dry completely before handling.
- Reattach the knobs or handles to each drawer.
- Insert the drawers back into the unit to finish your colorful storage.
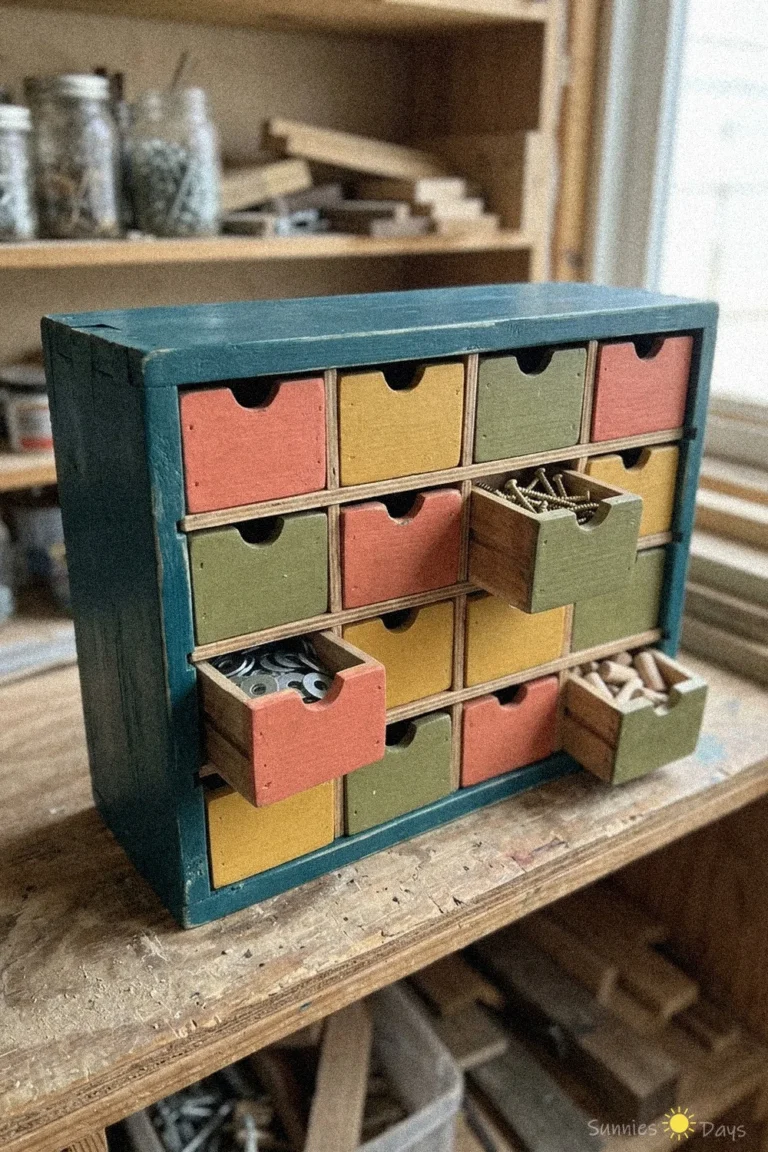
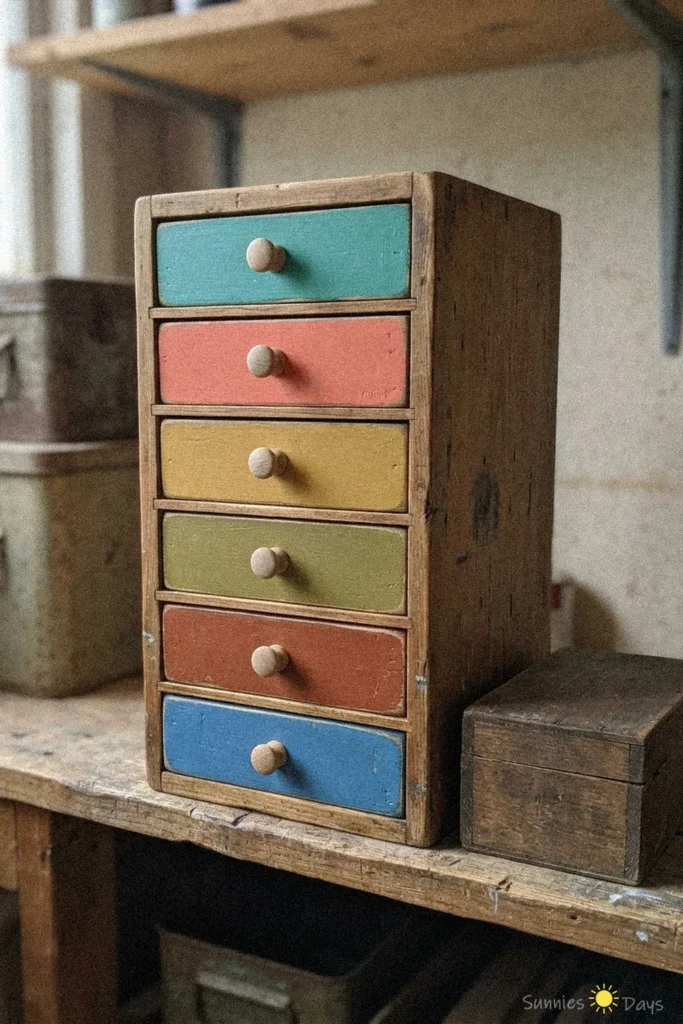
DIY color-coded storage drawers are a creative way to organize your workshop and keep small items easily accessible. This project uses a compact set of wooden drawers, each painted a different color for quick identification.
The color coding makes it simple to sort and find your tools or craft supplies at a glance, saving time and reducing clutter. The sturdy wooden construction ensures durability for everyday use in your workspace.
When painting the drawer fronts, ensure the area is well-ventilated and allow each color to dry thoroughly before handling to avoid smudges and achieve a clean, vibrant finish.