Craft Ideas, Home & Workshop · Easy · 45 minutes
DIY Painted Pegboard for Craft Room
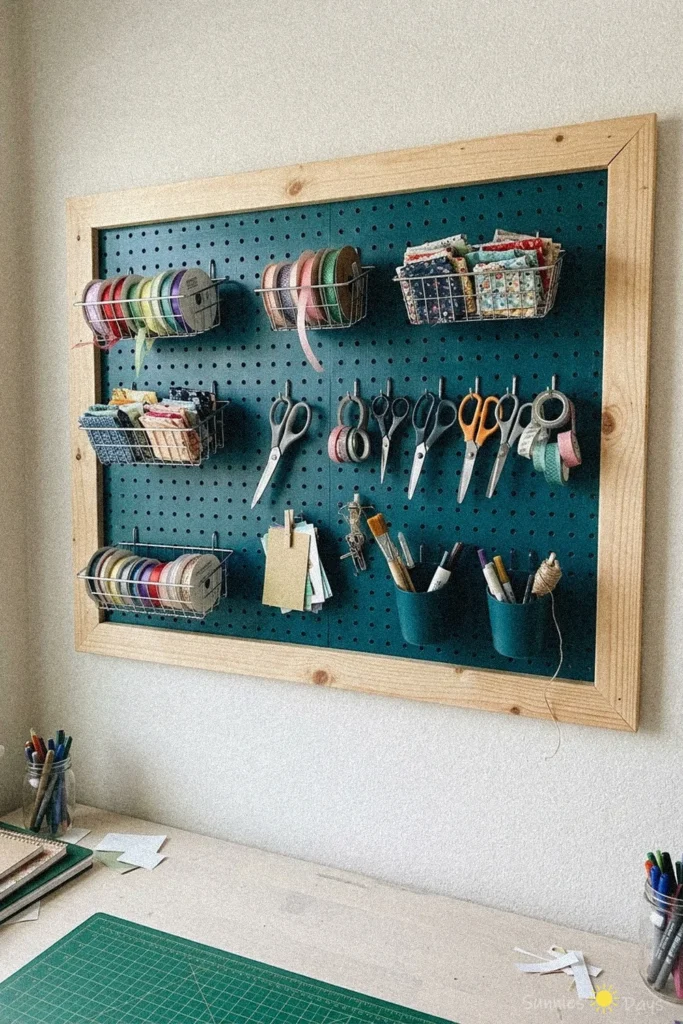
Create a DIY painted pegboard for your craft room to keep all your supplies organized and easy to find. This stylish wall organizer is perfect for any creative workspace.
- Difficulty
- Easy
- Time
- 45 minutes
Materials
- pegboard
- wood frame or trim
- screws
- screwdriver
- paint
- paint roller or brush
- cleaning cloth
- hooks
- baskets
How to make it
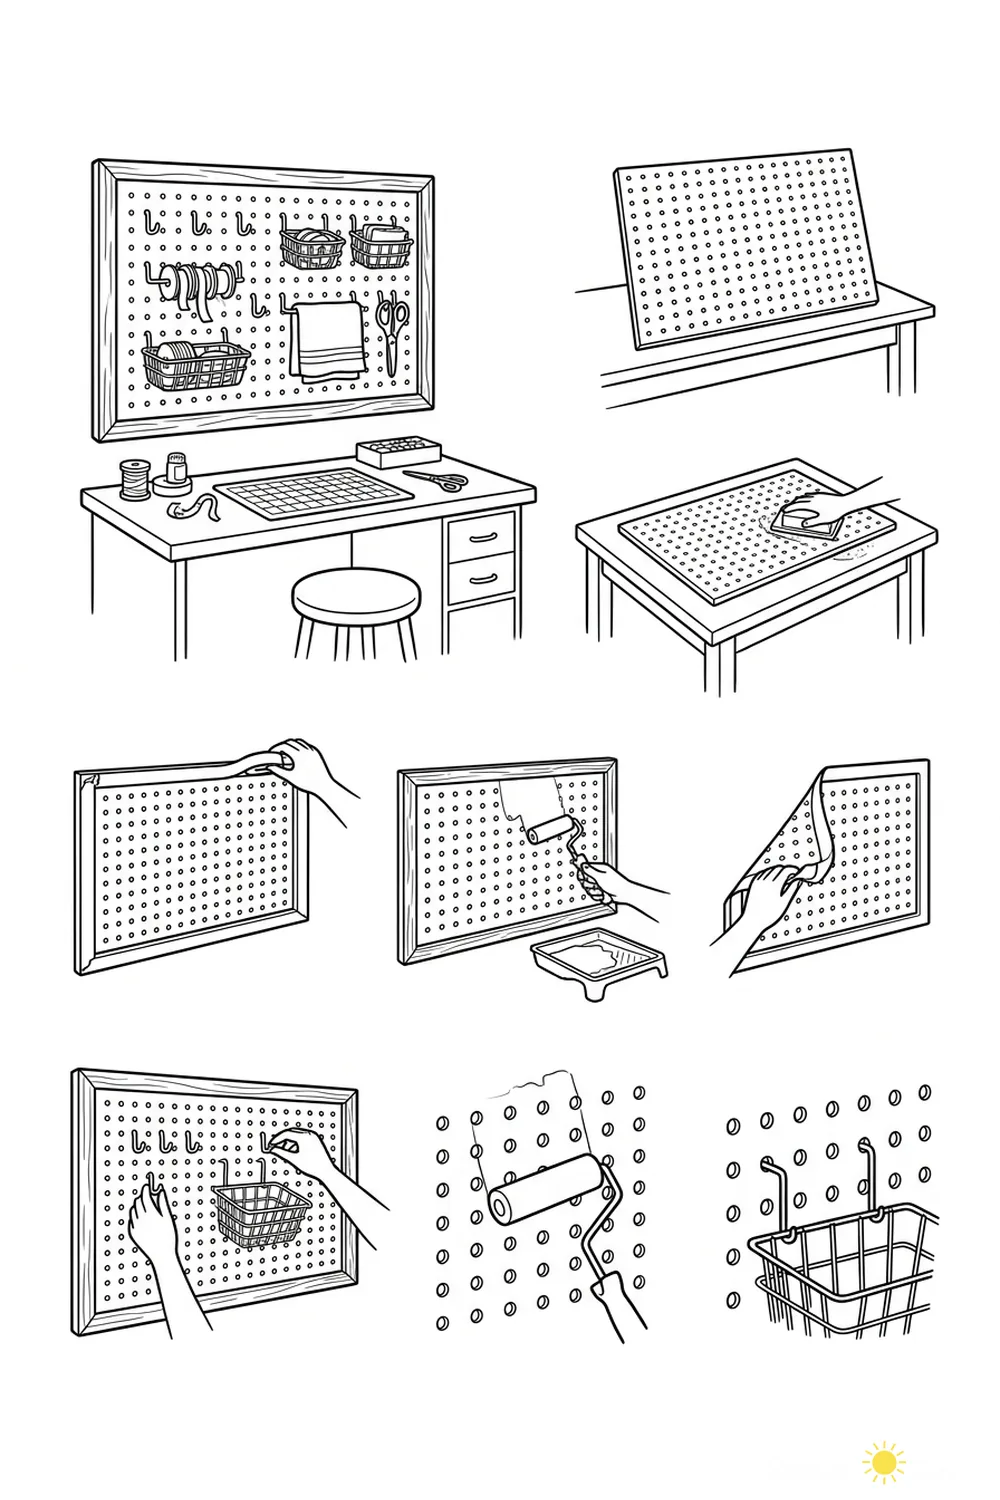
- Place the pegboard on a work surface.
- Wipe the pegboard clean with a cloth.
- Attach a wood frame or trim around the pegboard edges.
- Paint the framed pegboard using a roller or brush.
- Let the paint dry completely.
- Install hooks and baskets onto the pegboard.
- Mount the finished pegboard on the wall and organize your supplies.
A diy painted pegboard is a practical and stylish way to organize your craft room supplies and keep everything within easy reach. This wall-mounted organizer is perfect for storing ribbons, scissors, and other essentials in a tidy and visible way. Use sturdy hooks and baskets to hold heavier items securely and avoid overloading any single section for the best results.