Craft Ideas, Home & Workshop · Easy · 15 minutes
DIY Stencil Paste Spreader From an Old Gift Card
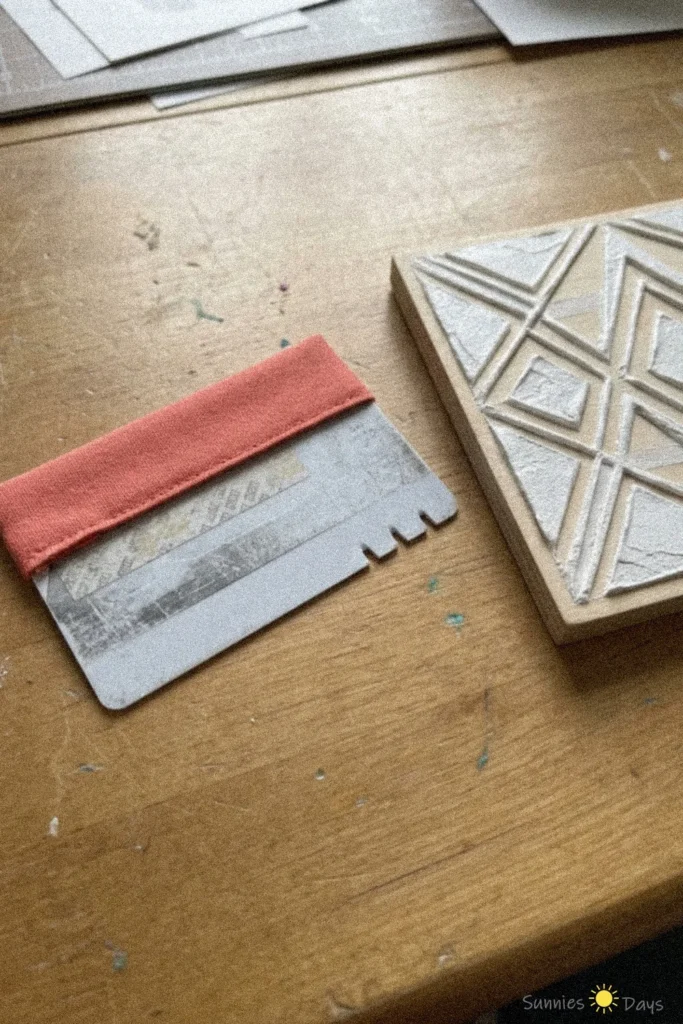
Make your own stencil paste spreader from an old gift card and a bit of fabric. This simple DIY tool is perfect for spreading paste evenly over stencils for clean, professional results.
- Difficulty
- Easy
- Time
- 15 minutes
Materials
- Old gift card
- Ruler
- Pencil
- Scissors
- File
How to make it
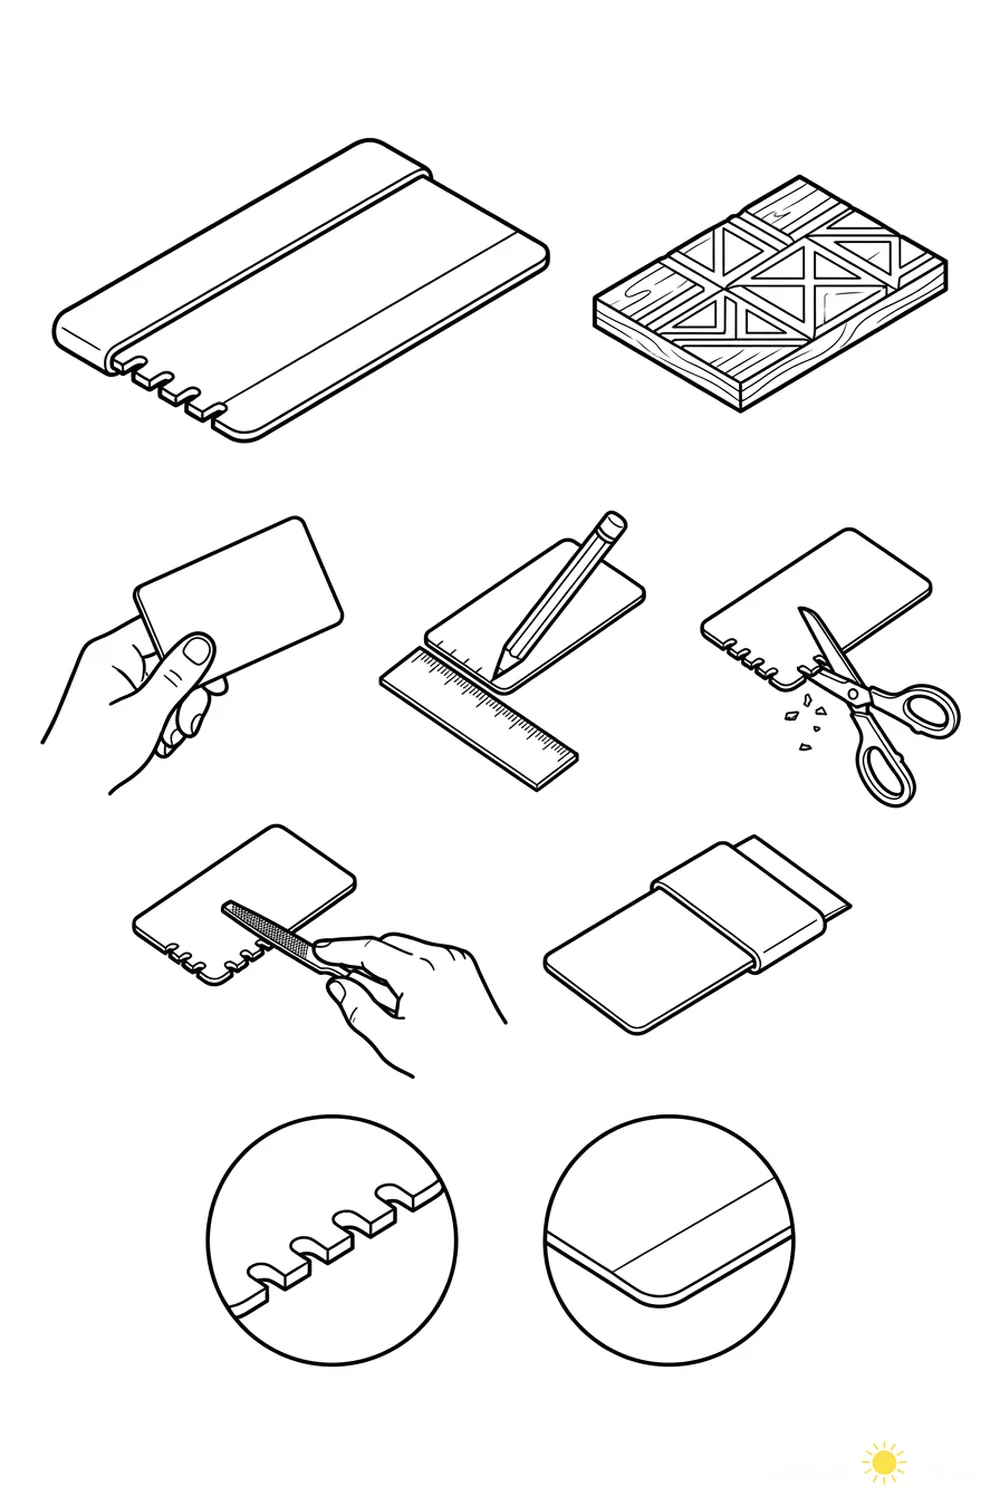
- Hold an old gift card.
- Use a ruler and pencil to mark lines on the card.
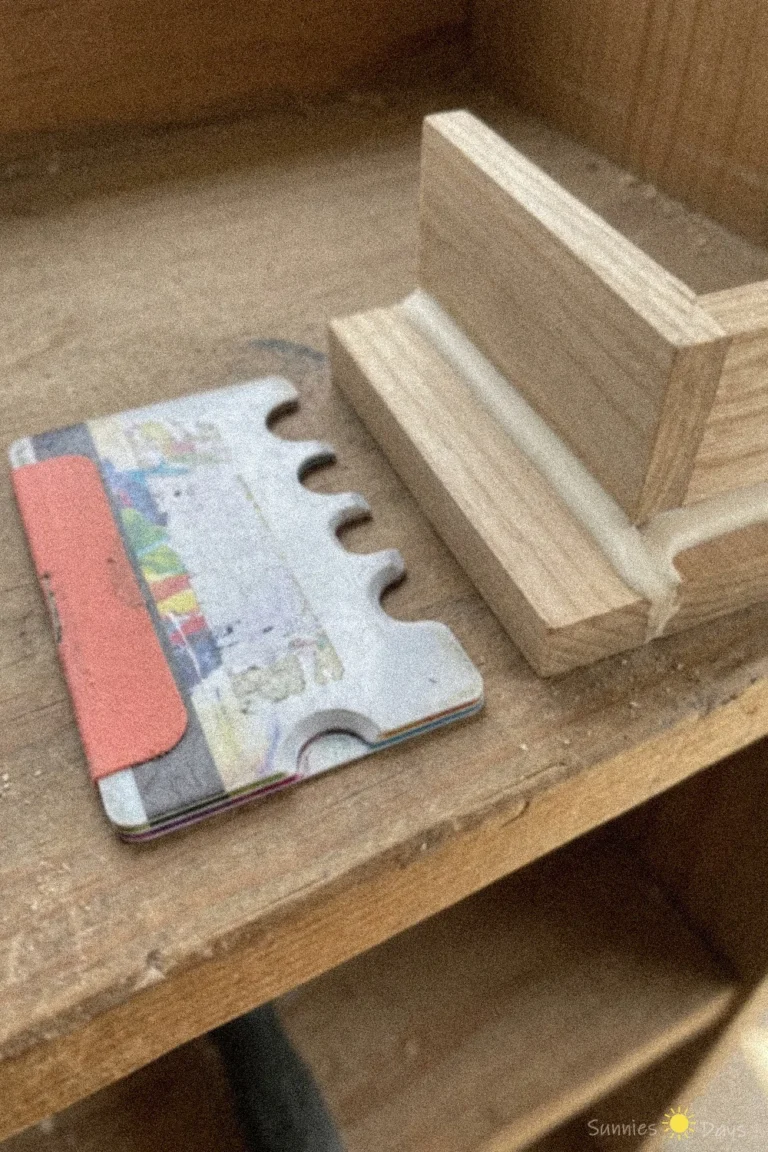
- Cut notches along one edge of the card with scissors.
- File the cut edges to smooth them out.
- Check the finished notched edge and rounded corners.
A diy stencil paste spreader is a clever craft tool made from an old gift card and a strip of fabric, ideal for spreading paste over stencils. This upcycled spreader helps achieve crisp, clean lines when working with stencil paste. Its simple design makes it a practical addition to any crafter’s toolkit.
The sturdy card and soft fabric edge make it easy to control the amount of paste applied, ensuring even coverage across your stencil. It’s a budget-friendly alternative to store-bought tools and helps reduce waste by reusing materials you already have.
When using your diy stencil paste spreader, make sure to clean it immediately after each use to prevent paste from drying on the fabric and card. This will keep your tool in great condition for future projects.