Craft Ideas, Home & Workshop · Easy · 25 minutes
DIY Fork Jewelry Holder
Make your own DIY fork jewelry holder to keep your necklaces and bracelets organized in style. This upcycled craft is both functional and decorative, perfect for any bedroom or dressing table.
- Difficulty
- Easy
- Time
- 25 minutes
Materials
- fork
- wood block
- pliers
- paintbrush
- drill
How to make it
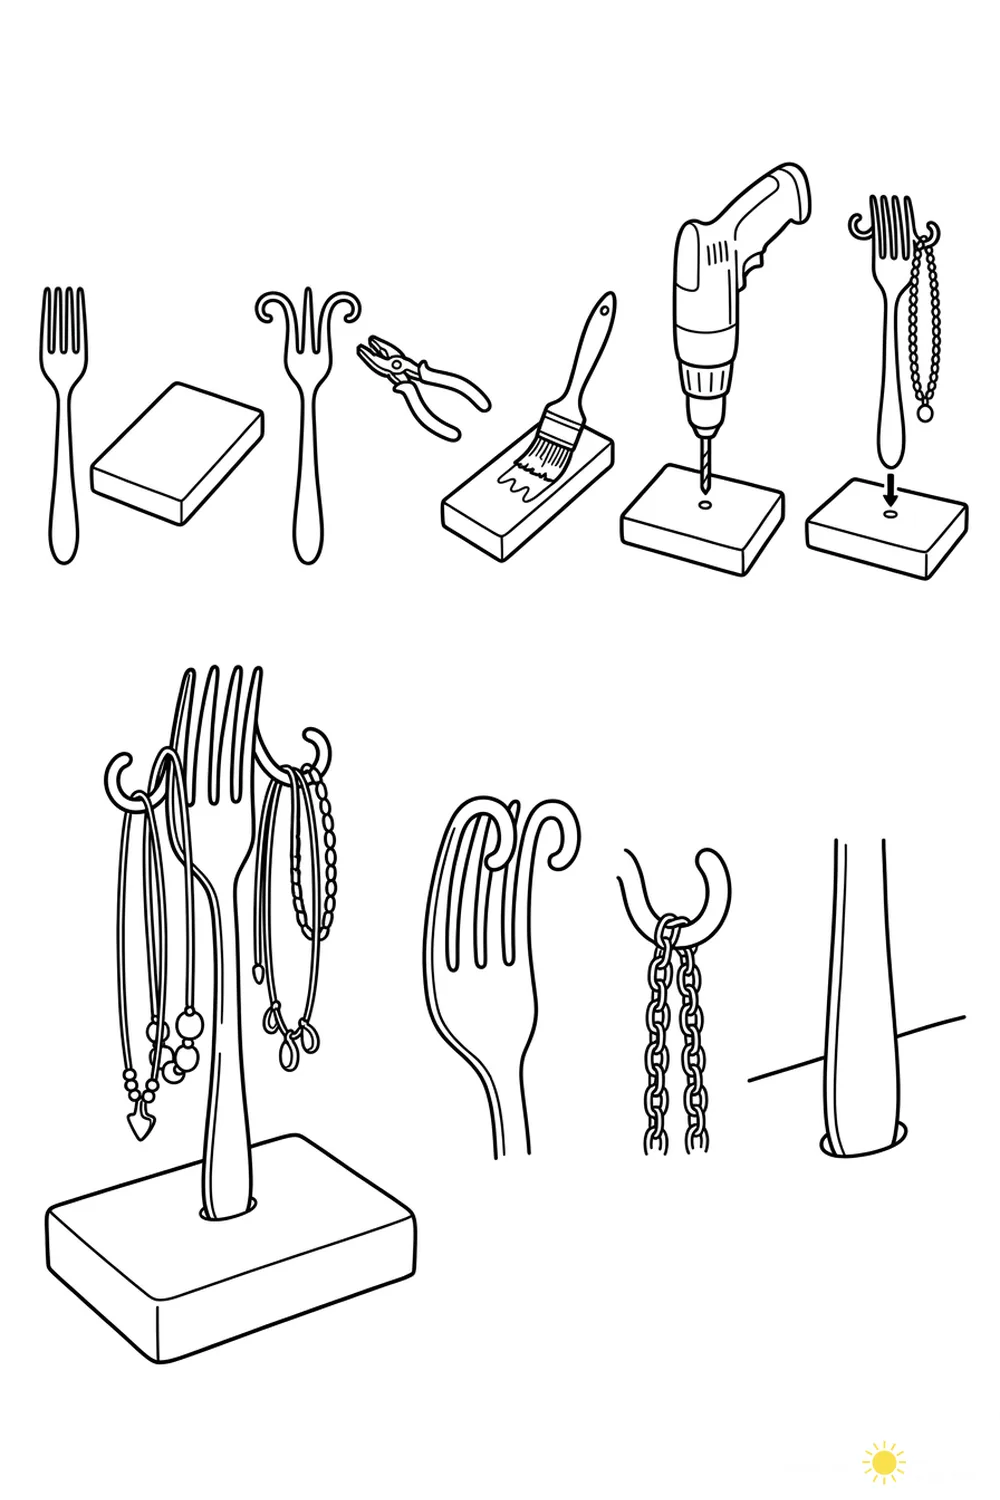
- Bend the fork tines outward using pliers to create hooks.
- Paint or finish the wood block as desired.
- Drill a hole in the center of the wood block.
- Insert the fork handle into the drilled hole.
- Hang jewelry on the bent fork tines.
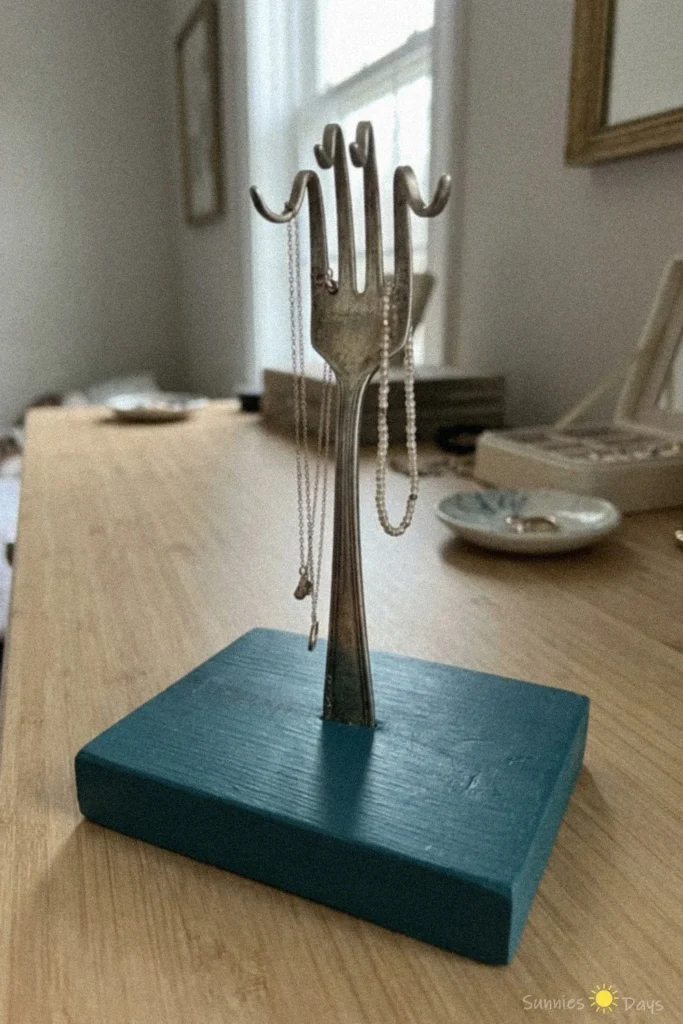
A diy fork jewelry holder is a fun and practical way to display and organize your favorite necklaces and bracelets. This craft uses a bent fork mounted on a painted wooden base, making it both functional and eye-catching.
The sturdy fork prongs are perfect for hanging delicate chains, keeping them tangle-free and easy to access. The painted base adds a pop of color and stability, making it a charming addition to any dresser or vanity.
When making or using this holder, ensure the fork is securely attached to the base to prevent tipping. Avoid overloading it with heavy items to keep your jewelry safe and organized.