Who would have guessed that a sheet of tissue paper could become the most eye catching piece of decor in the room? In a brief but beautifully filmed DIY demonstration… ordinary household materials are transformed into an elegant textured vase that looks far more expensive than it really is! The project is simple, affordable, and strangely satisfying to watch! Yes! Creativity often begins with the things we usually overlook.
The process starts with embossed tissue paper, or a textured paper towel… cut into smaller pieces that can bend easily around a curved surface. Water is poured into a bowl and mixed with white craft glue to create a thin adhesive…
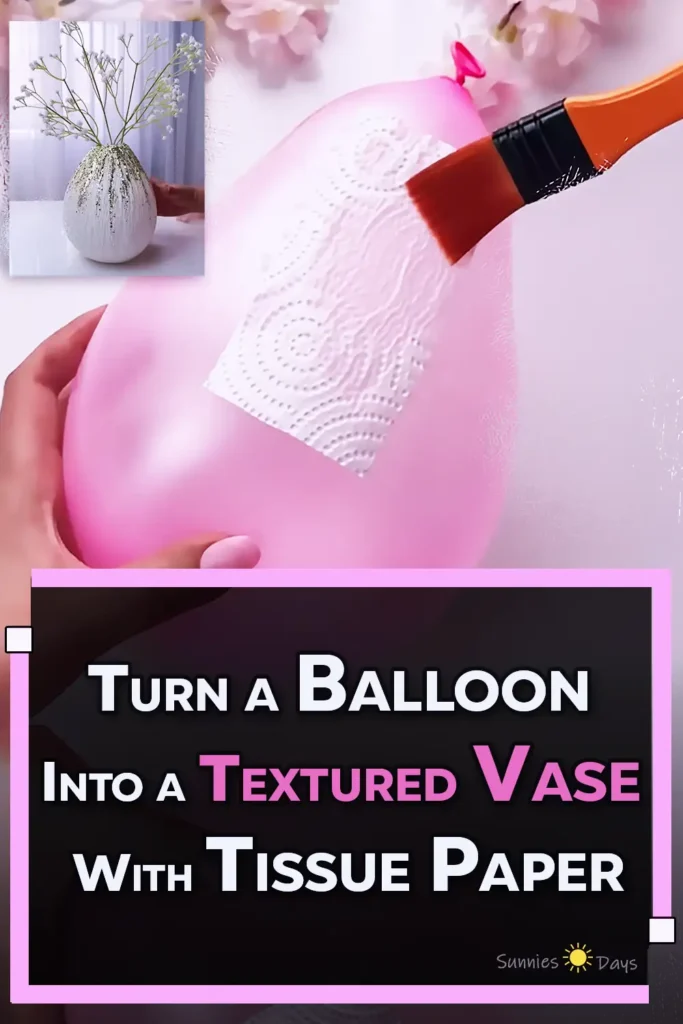
Instead of using a glass as the main form, the creator inflates a balloon and gently shapes it into a rounded pear like silhouette! The paper pieces are then pressed onto the balloon and brushed with the glue mixture, one layer at a time…
As each section overlaps… the soft tissue begins to form a firm papier-mâché shell. Once everything has dried completely… The balloon is cut and carefully removed! leaving behind a lightweight, hollow vase!
Extra glue is applied in flowing lines around the top… Metallic glitter is sprinkled over the wet surface, and delicate flower stems complete the finished design! No specialist equipment, costly supplies or complicated crafting skills are required… Just tissue paper, glue, a balloon… and a bit of patience!
Here is the step-by-step process broken down into a table to make thing more clear:
| Step | What to Do | Materials or Tools | Important Tip |
|---|---|---|---|
| 1. Prepare the tissue paper | Unroll the embossed tissue paper or textured paper towel and cut it into small squares or rectangles. | Tissue paper or paper towel, scissors | Smaller pieces fit the balloon’s curved surface more smoothly. |
| 2. Make the adhesive mixture | Pour a small amount of water into a bowl, then add white craft glue. Mix until the glue is slightly thinner and easy to brush. | Water, white craft glue, bowl, mixing stick | Do not add too much water. The mixture should still feel sticky. |
| 3. Inflate the balloon | Inflate the balloon to the size you want for the finished vase and tie the end securely. | Balloon | A medium-sized balloon creates a balanced decorative vase. |
| 4. Shape the vase form | Gently press and adjust the balloon so the lower section looks rounded while the top remains slightly narrower. | Inflated balloon | Avoid squeezing too hard, as the balloon may burst. |
| 5. Place the first tissue pieces | Position the first pieces of tissue paper on the balloon. Slightly overlap the edges to avoid gaps. | Cut tissue pieces, balloon | Start near the center and work gradually around the balloon. |
| 6. Apply the glue mixture | Brush the diluted glue over each piece of tissue, smoothing it against the balloon’s surface. | Glue mixture, flat paintbrush | Use gentle strokes because wet tissue can tear easily. |
| 7. Cover the balloon | Continue adding overlapping tissue pieces until most of the balloon is covered. Leave a small opening around the tied end. | Tissue pieces, glue mixture | Keep the opening large enough to remove the balloon later. |
| 8. Build extra layers | Add several more layers of tissue paper and glue to make the vase shell stronger. | Tissue paper, glue mixture | Three to five layers should create a firmer decorative shell. |
| 9. Let it dry completely | Place the covered balloon in a safe, well-ventilated area and allow it to dry until the shell feels firm. | Drying stand or bowl | Drying may take 12 to 24 hours, depending on the number of layers. |
| 10. Remove the balloon | Cut or puncture the balloon near the tied end. Allow it to deflate slowly, then carefully pull it away from the hardened paper shell. | Scissors or pin | Do not remove the balloon before the paper is fully dry. |
| 11. Trim the opening | Use scissors to neaten the top edge and create a clean vase opening. | Scissors | Trim gradually to avoid cracking or weakening the shell. |
| 12. Strengthen the surface | Apply another thin coat of white glue over the outside of the vase and let it dry. | White craft glue, brush | This helps seal loose paper fibers and improves durability. |
| 13. Create decorative glue lines | Apply vertical lines or drips of glue from the opening down the upper part of the vase. | White craft glue | Uneven lines create a more natural cascading effect. |
| 14. Add glitter | Sprinkle metallic glitter over the wet glue lines. Gently shake off the excess and allow the decoration to dry. | Glitter, tray or protective sheet | Place paper underneath so unused glitter can be collected and reused. |
| 15. Finish the vase | Add dried flowers, artificial stems, or lightweight decorative branches. | Dried or artificial flowers | The vase is made from paper and glue, so do not fill it directly with water. |
The video had barely ended when the comments section erupted with a torrent of questions and expressions of astonishment!
Viewers couldn’t easily grasp how such fragile tissue paper could transform into a solid, durable decorative sculpture! One person even asked incredulously: “Is this really tissue paper?” The curiosity didn’t end there.. Inquiries about the secret formula that gave the paper its strength grew, which turned out to be a simple economical mixture of water and white glue attached to a balloon!
This interaction wasn’t limited to questions; it evolved into an inspiring platform where crafters and parents enthusiastically shared their successes and initial failures! emphasizing that the joy of crafting lies in trial and error… not in the pursuit of false perfection!
It’s remarkable how one short craft demonstration can inspire so many ideas. This DIY tissue paper vase is more than an inexpensive home décor project; it shows how everyday materials can take on an entirely new purpose when handled with imagination. The textured paper gives the vase an organic finish, while the glitter adds just enough detail to make it feel elegant. Since the finished shell is made from paper and glue, it is best used with dried or artificial flowers unless a waterproof container is placed inside. Sometimes, the simplest crafts leave the strongest impression—and the next time you pick up a balloon or a sheet of tissue paper, you may see the beginning of something beautiful rather than something disposable.
This project demonstrates that the quality and elegance of the final product depend on the precision of the technique employed not the cost of the materials used. The successful combination of tissue paper and glue to create a sturdy vase structure with a natural look and a touch of sparkle opens up vast possibilities for crafting projects that are both competitive and economical! To ensure the longevity of this work… it is advisable to use dried flowers or incorporate a waterproof glass container… Simple details like these provide the motivation and experience to develop your future craft projects and transform traditional materials such as balloons and paper into value-added products.