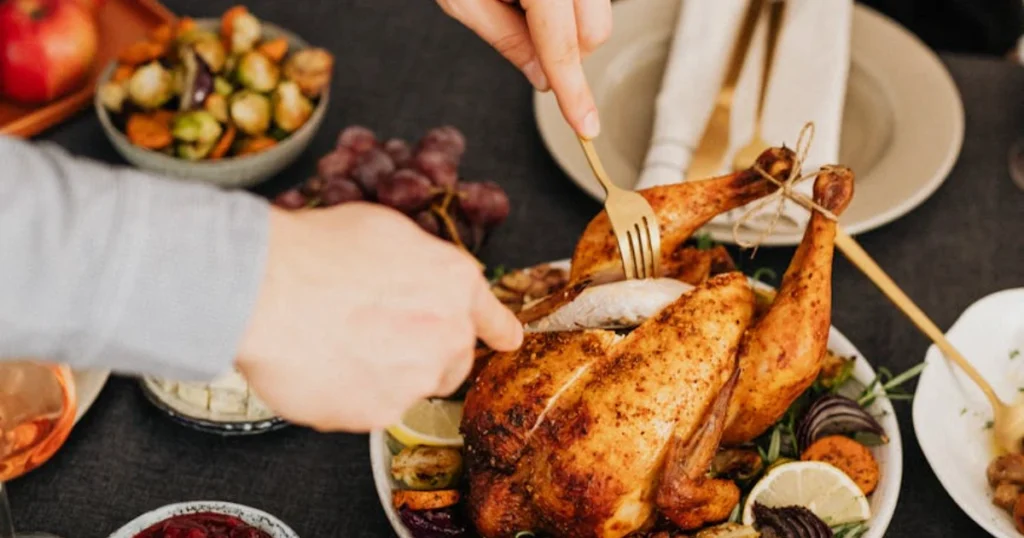
If you’ve ever stood over a roasting pan, whisk in hand, wondering how to turn those golden turkey drippings into a rich, velvety gravy—trust me, you’re not alone. After years of Thanksgiving experiments (some glorious, some… not so much), I’ve learned that making perfect turkey gravy from drippings is both an art and a science. But here’s the thing: once you know the steps, it’s actually pretty straightforward—and incredibly rewarding.
Gravy Basics: Why Drippings Matter
Gravy isn’t just a sauce—it’s the soul of a roast turkey dinner. The secret? Those savory, caramelized juices left in the pan after roasting. When you use drippings, you capture all the deep, roasty flavors that bottled gravy can only dream of. I always say: if you’re roasting a turkey, you owe it to yourself to make gravy from scratch.
Key Ingredients for Flavorful Gravy
Seasoning the Turkey
Start with a well-seasoned bird. Salt and pepper are non-negotiable, but don’t be shy about tucking a little salt inside the cavity too. This sets the stage for flavorful drippings.
Mirepoix: The Flavor Foundation
Here’s what I’ve learned from pro chefs and my own kitchen mishaps: a classic mirepoix (50% onions, 25% carrots, 25% celery) is essential. Cut the veggies into big chunks—if they’re too small, they’ll break down and overpower the gravy. You want the gravy to taste like turkey, not vegetable soup.
Pro Tip: Leave the onion skins on! It sounds odd, but they add a gorgeous golden color to the finished gravy.
Aromatics & Extras
- 1 head of garlic, halved
- 2 bay leaves
- A few sprigs of thyme
- Turkey neck and giblets (except the liver, which can make things bitter)
- Drizzle of oil and a pinch of salt
Toss everything together and pile it in the center of your roasting pan. That’s where your turkey will rest and baste in all that flavor.
Roasting the Turkey: Setting Up for Great Gravy
Prepping the Pan
Lay your mirepoix and aromatics in the pan, then nestle the seasoned turkey on top. Scatter the neck and giblets around for extra depth.
Roasting Technique
I always start my turkey at 425°F for the first hour—this gives you that beautiful browning and jump-starts the fond (those caramelized bits at the bottom). Then, I drop the heat to 325°F to finish roasting gently. Trust me, this combo delivers juicy meat and killer drippings.
Making Gravy from Drippings: Step-by-Step
The turkey’s out, the kitchen smells amazing, and now it’s gravy time. Here’s my tried-and-true process:
1. Collect the Drippings
Let the turkey rest for 10–15 minutes. This lets the juices redistribute (and keeps your turkey moist). Carefully lift the bird out of the pan, letting any juices from the cavity drip back in. Set the turkey aside to rest.
Pour all the pan juices and veggies into a large measuring cup or bowl. Let it sit for a few minutes—the fat will rise to the top. Skim off most of the fat, but save about 1/4 cup for the roux.
2. Build the Fond
Place the roasting pan over medium heat on the stovetop. If there’s not enough fat, add a splash of oil. Scrape up all those browned bits (the fond) with a wooden spoon—they’re pure flavor.
3. Make the Roux
Sprinkle in an equal amount of flour to the fat (usually about 1/4 cup each). Stir constantly, letting the flour soak up the fat and cook for 2–3 minutes. You want a pale golden color—don’t rush this step, or you’ll taste raw flour.
What I Noticed: If you see a slick of oil on top, keep stirring and add a touch more flour until it’s all absorbed.
4. Add Stock and Whisk
Slowly pour in turkey or chicken stock (about 2–3 cups), whisking constantly to avoid lumps. Scrape the bottom to release every bit of fond. Bring to a gentle simmer.
- If your gravy is too thick, add more stock.
- If it’s too thin, let it simmer and reduce.
5. Season and Taste
Now’s the time to taste and adjust. I usually add a pinch of salt and a few grinds of pepper. Sometimes a splash of soy sauce or a dash of Worcestershire sauce adds extra umami (thanks to a chef friend for that tip!).
6. Strain for Silky Smoothness
Pour the gravy through a fine-mesh strainer into a clean saucepan or bowl. Don’t press the veggies through—just let the liquid drip. This keeps your gravy smooth and lump-free.
Troubleshooting: Common Gravy Problems (and Fixes)
Gravy Too Thick?
Add more stock or a splash of water, whisking until you reach your desired consistency.
Gravy Too Thin?
Let it simmer uncovered, stirring often, until it thickens. Or, whisk together a quick slurry of flour and cold water and add it slowly, whisking constantly.
Lumpy Gravy?
Strain it! And next time, whisk more vigorously when adding the stock.
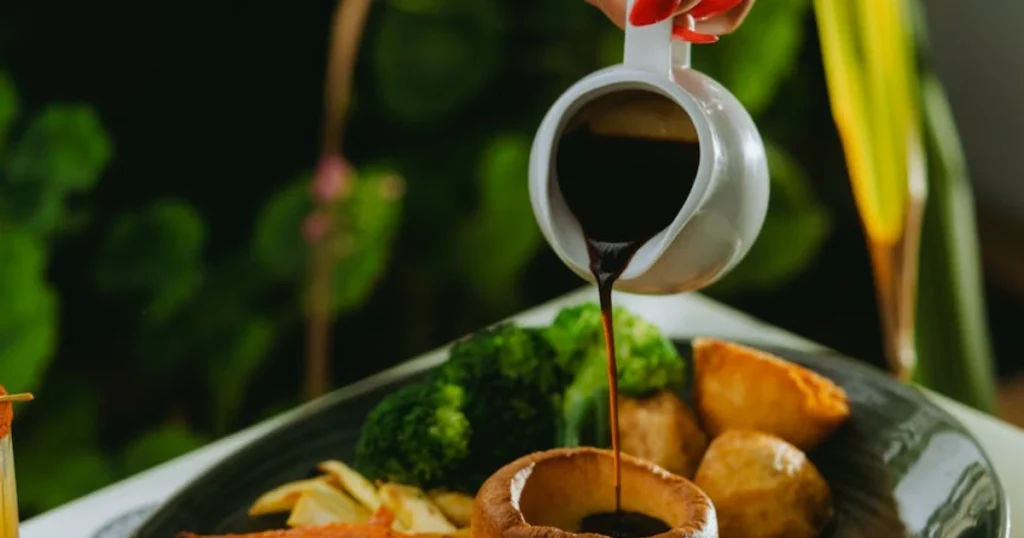
Serving and Enjoying Your Gravy
Pour your finished gravy into a warm gravy boat. Here’s what you’re looking for:
- Consistency: Luxurious, silky, and just thick enough to coat the back of a spoon.
- Flavor: Roasty, savory, and unmistakably turkey-forward.
- Sound: (Yes, really!) When you ladle it, it should pour smoothly, not “plop.”
Serve immediately over sliced turkey, mashed potatoes, or stuffing. I’ve found that even a slightly dry turkey is redeemed by great gravy—don’t underestimate its power!
Pro Tips from the Pros
> “The secret to perfect gravy is patience. Let the roux cook out, and don’t rush the reduction.” — Chef Thomas Keller, The French Laundry
> “Always taste as you go. Gravy is all about balance.” — Julia Turshen, cookbook author (NYT Cooking)
Final Thoughts: What I’ve Learned
After years of trial and error (and a few panicked gravy rescues), I can say this: great turkey gravy is all about building flavor at every step. Season the bird, use a mirepoix, roast for deep drippings, and don’t skimp on whisking. The payoff? A gravy that brings the whole meal together—and maybe even steals the show.
Honestly, the first time I nailed it, I was shocked at how much better homemade gravy tasted. That’s what finally worked for me, and I hope it works for you too.
—
Related Reading: