Want to start a garden this growing season? Follow these easy steps to install a new vegetable bed and get through those first months with success.
To add a new vegetable bed, you’ll need a bed that’s about three foot by four foot. Pallet collar beds come ready made and fit in with existing garden designs. Raised beds raise the surface area above the surrounding ground, allowing the growing medium inside to dry out quicker. Drier soil warms up faster in the spring, providing a head start on sowing.
Materials Needed
To get a raised bed in place, you will need:
- A raised bed or materials to make one
- Some cardboard
- A growing medium to fill the bed
- A wheelbarrow to transport materials
- Tools
- Plants and seeds
Constructing the Bed
The bed can be a pallet collar bed, sourced cheaply. For a different size, make one from lumber. Use untreated, natural wood to avoid chemicals leaching into the soil. Use wood that’s at least an inch or preferably two inches thick for a solid, long-lasting bed.
Drill pilot holes close to the end of each plank and into the adjoining plank. Then, screw together using long screws for a properly secured finish. Overlap the planks around the entire frame.
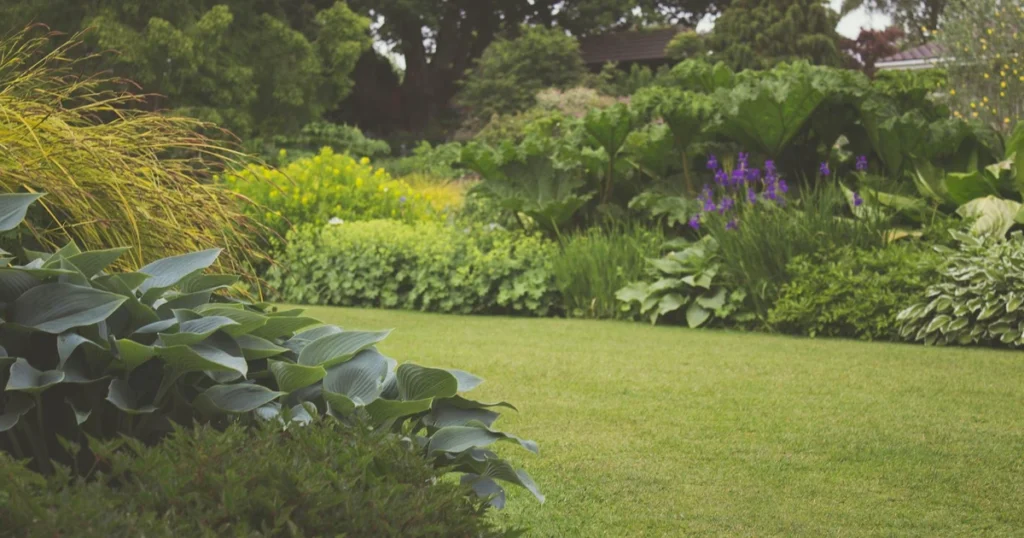
Ideally, place beds where they get at least six to eight hours of sunshine. In shadier spots, grow leafy crops and salads.
Preparing the Ground
Mark out the bed’s position with canes in the corners to guide digging. Digging in takes about 15 minutes, and putting in the growing medium and planting can be done within one hour.
Dig to the best of your ability, then check the levels. If you don’t have a spirit level, download free spirit level apps to your phone. Shore up the front with some material to raise the side up so it’s level, then use excavated material to firm the bed in.
Weed Suppression
To help suppress weeds, put down a layer of cardboard as a barrier. Use plain, non-glossy cardboard. Ensure a good overlap so weeds can’t get through, and make sure it’s damp. In dry climates, give it a good soak. This will take about two months to rot down, weakening perennial weeds.
Avoid weed suppressing membrane made from plastics; instead, use waste materials. Remove any staples and bits of tape.
Filling the Raised Bed
The beauty of starting a raised bed is there’s no digging involved; it’s the plug and play way to get growing. Simply pop the bed in, fill it with your growing medium, plant, and you’re ready. Filling the bed can get expensive if using bought in all-purpose potting mix, so start filling the bed with what you’ve got to hand.
Use bits of prunings that have been lying around for about a year. Break them up and spread them out; they will rot down and act like slow release fertilizer. Options for filling the bed include well-rotted manure, green waste compost, special topsoil, or your own garden compost.
Get the compost right into the corners and edges, and pack it in firmly so the roots have plenty to go on. Once you’ve squashed it down, you might need another load.
To use the no-dig, no-till technique saves effort. You’re starting with a clean surface, so there will be no weed seeds, giving you an easier start.
Because mushroom compost can be lumpy, finish with a thin layer of finer material like all-purpose potting mix. If you have just one bed to fill, you might find it more economical to fill the bottom with garden soil and top up with a couple of bags of potting mix. If you’re doing more than two beds, a bulk bag of compost is worth it.
Planting
Start planting with plants started off in plug trays, sown in the greenhouse. You can buy plug plants readily available in garden centers and plant nurseries. Space salad onions or spring onions or scallions about four to six inches apart, each clump. Then, plant radishes and lettuce, poking lettuces in between radishes.
Sow some peas specifically for shoots and some beets or beetroot as well. For a narrow bed, eyeball it or use a cane to get a straight row. Then, put pea shoots over at the edge. Get beets in, spacing them about a couple of inches apart along the row. Beetroot seeds are like a seed head, so you often get two or even three seedlings pop up for each seed.
Make a slightly wider drill and put the peas a bit closer because these are just going to be grown for shoots. Cover them all up, then give it a quick water to get it off to a good start, because the compost is quite dry and it wakes the seeds up.
Planting a bed of fast-growing salads gets you motivated and encouraged for further plantings. There are so many options available.
Protection
The final step (optional) is to cover the newly sown bed with a bit of fleece. This will help them make the transfer, as well as protecting them from pests. Weigh it down so the wind can’t get in underneath and blow it off. Keep it there for two to three weeks until the plants have settled down and got a little bit bigger.
Alternative Methods
There’s no reason to do a raised bed. You could just start them off straight in the ground. Plonk organic matter like well-rotted compost or manure directly on top of the soil, about a couple of inches deep, then plant straight into that.
For paths, use wood chips laid on a weed-smothering layer of cardboard and spread them out. As they rot down, they feed the soil. Plus, this is really beautiful material for all sorts of beneficial bugs. It needs topping up from time to time, but it’s a lovely material to work with.
Or, put down cardboard and then put a thick layer of compost or other organic matter to make it easier. You could temporarily hem in the sides with bits of wood to fill it and then put your path material in and then you can remove it later on. Use taller raised beds, grow in planters raised up on legs, or grow in containers.
To wrap up, starting off new growing areas means more delicious, garden-grown, organic produce.