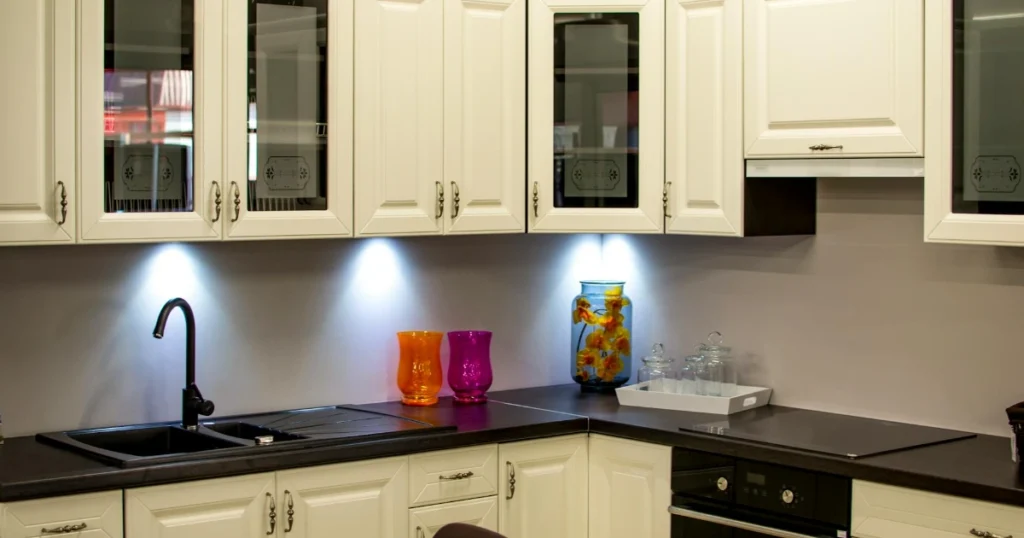
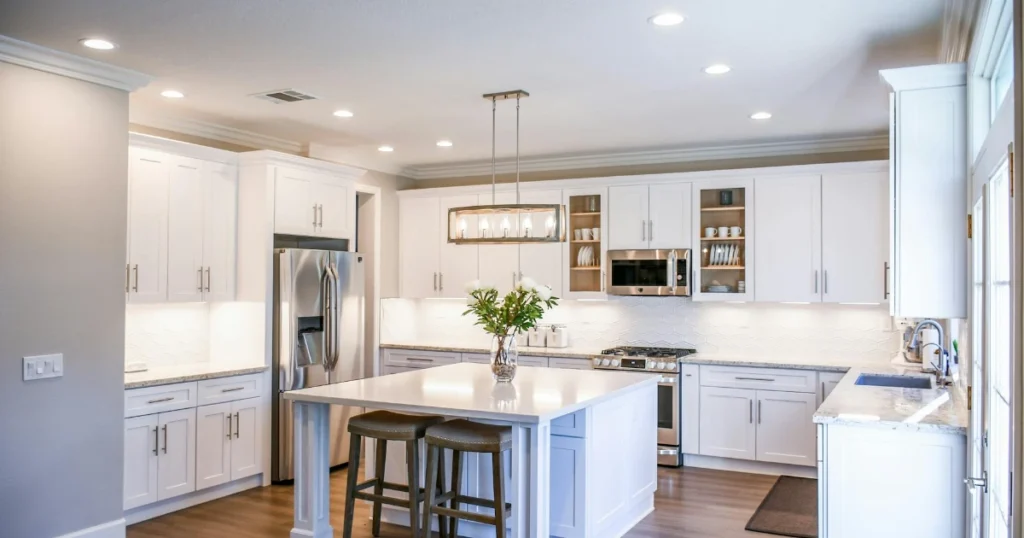
Want to save money and transform your kitchen? You can achieve professional-looking results by painting your kitchen cabinets yourself with these easy steps and the right paint.
Let’s go ahead and explore the equipment and materials needed before starting the process of painting your kitchen cabinets.
The first and most important thing is some paint. Heirloom Traditions paint in spruce color is a great option. This is an all-in-one paint, and the label says just to clean and paint. Look for something similar that states priming isn’t needed. This seemed to work out pretty good.
Next, you’ll need a little cup to pour a bit of paint in. This keeps you from using the gallon bucket as you’re painting. It’s an inexpensive tool that makes stirring the paint easier.
A paint stick or stir will also work if you don’t have a dedicated tool.
A foam roller handle is also needed. This one is 4 in with foam rolling brushes meant for smooth surfaces. These are ideal for doors and cabinets.
You also need a paintbrush. It doesn’t really matter too much about the specifics. Choose one that says it’s good for all paints. How big it is depends on the cabinets you’re painting.
Cleaning and Prep
The paint mentioned all you need to do is clean and then paint. To clean, pick up some tsp substitute. It says to clean before painting. Just wipe down the surfaces. Use on wood brick, and metal. This is perfect to get some of that grease off or anything else that might be lingering on your cabinets. This ensures good adhesion of the paint to the cabinet itself.
Also, could you grab some Scotch-Brite pads? These are like a coarse sponge. They will help remove some of the stains already on your cabinets.
Grab some frog tape or any sort of painter’s tape. This will help if you’re painting the face frame. You can easily set this down and you don’t have to worry about cutting in.
If you have one, grab a mallet. This is useful if the drawer faces were screwed in, but also have some brad nails. Use the mallet to tap and remove the drawer face from the actual drawer. Then you can bring it out to paint it.
For a clean and professional finish, use blue painter’s tape to carefully mark off all the drawer faces and cabinet doors. This will protect your surfaces and ensure sharp lines in your project. This helps you know where you took them from so you can put them back in the same spot when the painting is all done.
Cabinet Face Prep
This cabinet face is a lot different than the cabinet doors and the drawers and the hardware associated with those. This one flips down. It is the one that’s in front of the sink that holds sponges. You may need a right angle bit for the drill to get the face out. If you’re doing your cabinets all at once, you’re going to have a lot of screws and a lot of cabinet hardware. Make sure you stay organized with all those.
Once that was done, bring the piece of wood to your workshop so you could paint it.
The first step is to clean everything. Find a place in your house where you can take all the cabinet doors and all the drawer faces and lay them all out. Scrap wood would be great to rest all of those things on top of. This is because you need to let these dry before you start painting, and the extra airflow will definitely help.
To start, grab your tsp substitute, a plastic cup, your Scotch-Brite pads, and some paper towels or cloth. All of the cabinet drawer faces and doors might have these little rubber stoppers, so you have to take that off before you can start cleaning. Then, grab your tsp substitute and give it a couple of shakes. You don’t need to dilute it. Just pour it directly into a little plastic cup. Next, grab the Scotch-Brite pad, dip it in, and start cleaning.
Wait 2 to 3 minutes after you apply the cleaner before wiping it off with a paper towel. Make sure you read the directions on whatever product that you get and then just follow it along.
Painting Technique
The painting technique that worked well is to grab a brush and the paint, and then paint over the entire cabinet door or the drawer face. When that was done and everything was coated with paint from the paintbrush, grab a roller and smooth everything out.
One technique that really worked is to put a lot of paint on the paintbrush. Work your way from the middle towards the outside. If you have a lot of paint in the middle, you can come back with your roller. Then scoop it up and make sure it’s evenly applied everywhere else. This especially works for the sides because you don’t want any runs or drippage.
The paint says that it should be dry within 1 to 2 hours. You want to wait until it’s dry to the touch. Then, you can add your second coat. Two coats were enough for it to look perfect. The wood grain still pops through.
For all the rest of the cabinet doors and the drawer faces in the kitchen, install the hardware after putting them back into the kitchen. It was just easier to do it that way. However, for the sink cabinet, do it before reinstalling.
When you buy the drawer poles or the knobs, they come with two different screws of different lengths. Adjust the length of them to fit. Then, get the cabinet reinstalled back in the kitchen.
Because you didn’t get these professionally painted, and you didn’t do any sanding or priming, there is potential to get some nicks in the paint as you’re installing everything back into your kitchen. Just grab your paint cup and do some final touches.
To wrap up, follow these steps to paint your kitchen cabinets and save money. If you liked this information, hit that Thumbs Up Button and subscribe for more.