Want to give your furry friend the ultimate outdoor retreat? These DIY dog house plans come with step-by-step diagrams, making construction simple and fun.
Framing the Foundation
The process begins by framing the base, the side walls, and the roof. The base is finished first, and then the side walls and the roof frame are attached to create the main dog house structure. Plywood will be added later for siding.
It is important to measure twice and cut once. After cutting the base pieces, grab the drill and fasten everything together.
When measuring, if the measurements are off by an eighth or so, that’s acceptable. When the plywood is applied, it can be adjusted slightly to ensure a secure fit. The plywood will hold it all in place.
With the base complete, the next step involves cutting some angles. If there is access to a miter saw where the angle can be set against the fence for a precise cut, that is ideal. If not, a speed square is recommended for its affordability and speed. Remember, since this is framing, perfection is not required, just accuracy.
Labeling the Pieces
If all the framing pieces are to be cut at once, it is best to label everything as it is cut. Otherwise, a pile of two by twos can become confusing, requiring re-measurement. Marking with a pencil is sufficient, as the framing will not be visible.
Assembling the Walls
With the framing now cut, assembly can begin. Because two by twos have a tendency to crack if a screw is put through the end, it is recommended to drill pilot holes first. After doing so, put it all together and attach it to the base.
With two by twos, some movement may be noticeable. However, once all four walls are connected, the structure will become more sturdy. While two by fours would provide more stiffness, two by twos are suitable for a dog house.
With the walls assembled on the base, consider the following: If working alone, it might seem easy to hold two walls together and attempt to screw them together. However, marking where the back wall goes and screwing it into the base first is an alternative. This provides stability while attaching the sides, and then the front left side.
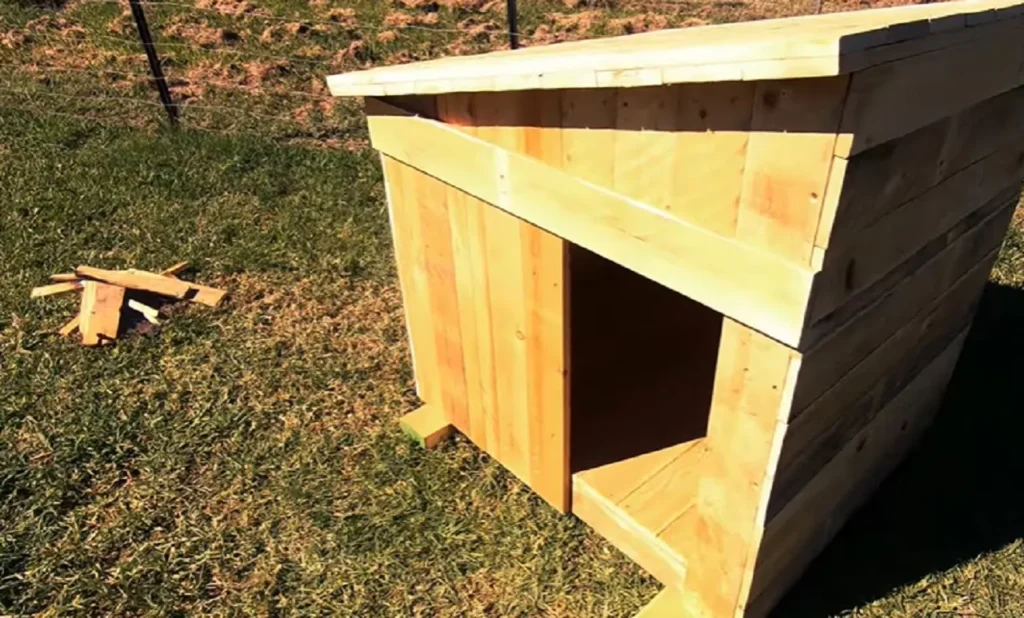
Customizing the Door Area
The door area can be modified as needed, particularly if there is a taller dog. A width approximately two to four inches wider than the dog’s shoulder blade is generally sufficient for easy entry and exit. However, the size can be customized according to the dog’s specific dimensions.
With the front built, it’s starting to resemble a dog house.
The front should hang off approximately 12 inches and be flush with the back. When examining the back edge, it’s noticeable that it was not cut at an angle, and goes straight up. To avoid the top kicking the plywood panel out, move the front forward slightly so that the top edge is flush.
Applying the Plywood
The next step involves measuring and cutting all the walls, including the sides and the roof. Measure and cut the front, then lay it up there to see how it fits. Then, mark the opening for the door.
Consider the grain direction. Ensure that all the sides’ grain is also running vertically because that is what the finished wall will look like. Align it side to side, grab a pencil, and mark the door.
Preparing the Roof
When preparing to cut the plywood for the roof, add three-quarters of an inch to each side for both width and length. This provides room for the trim and allows for a drip cap to be placed over top.
Before finishing for the day, cut all the trim pieces. This will allow time for them to be painted, and for the dog house to be stained.
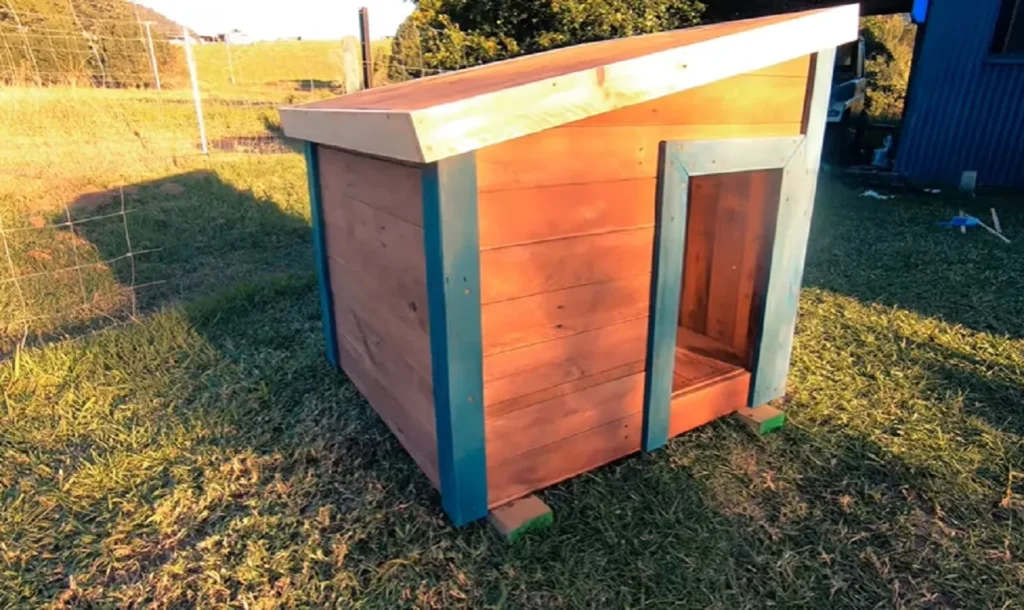
Finishing Touches
With the paint and stain cured, finish the dog house by putting the drip edge, shingles, and trim on.
Applying the Drip Edges and Shingles
Drip edges are installed first.
When measuring the pieces for the end to cut them, flip them over, score them with a knife, and fold them until they break. Be careful not to cut through to cut the tarp paper.
With the roof completed, it is time to do the trim. Apply the trim with brad nails and construction adhesive. If desired, a little bit of silicone can be used behind to waterproof the seams.
Safety Considerations
Ensure there are no sharp edges protruding that could potentially harm the pet inside. Verify that finish nails, screws, and roof nails are just long enough to penetrate the lumber without poking through.
Enhancements and Modifications
A few ideas for taking this modern design to the next level may include cutting the wall open and hinging it at the top. This would allow it to fold out, providing a bit of shade and airflow.
To achieve a clean closure for the door, the piece of framing was removed, the trim popped back on, and that facilitates an easy and smooth operation.
With the dog house now featuring a side door, consider an additional modification: building a ramp so that the dog can access the roof. Remove the asphalt shingle and replace it with artificial grass for sunbathing.
Building a Ramp
After taking the roof down to the felt paper, build a border around it to conceal the edges of the artificial grass.
The ramp is cut with half-inch ply to match the dog house. However, three-quarter inch is used for structural integrity. For the outside face of the ramp, consider using a pocket hole jig to hide the screws. Alternatively, use stringers and brad nails for added strength. After a quick weight test, build a few spacers to tie it in nicely to the dog house. The ramp does not have to be permanently attached. However, depending on the dog’s size, filling in gaps, painting, and permanent attachment to the dog house may be beneficial.
With the dog house complete, there remains only one task: determining its placement in the yard.