Craft Ideas, Home Decor Crafts · Easy · 40 minutes
DIY Painted Shelf Backs for a Bookcase
Brighten up your home with this DIY painted shelf backs project. A simple way to give any bookcase a custom, colorful touch that stands out.
- Difficulty
- Easy
- Time
- 40 minutes
Materials
- bookcase
- cleaning cloth
- sponge or sanding block
- tape measure
- paintbrush
- paint
- painter's tape
How to make it
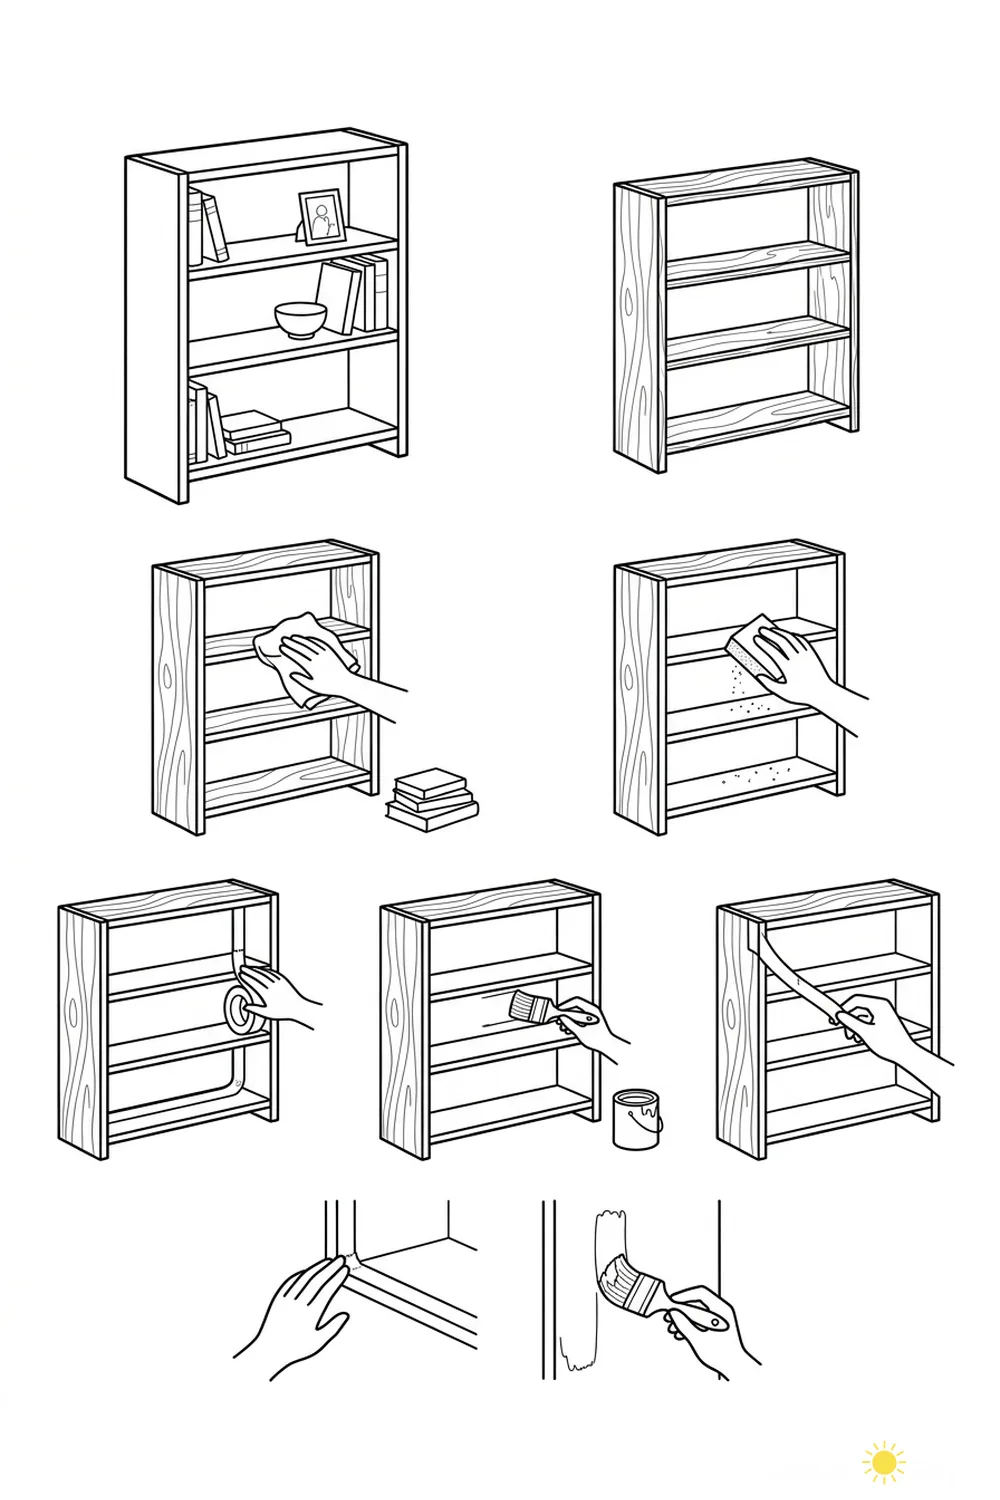
- Remove all items from the bookcase.
- Wipe down the surfaces to remove dust and dirt.
- Lightly sand the back panel for better paint adhesion.
- Use a tape measure to plan your painted area.
- Apply painter's tape to protect the edges.
- Paint the back panel with your chosen color.
- Let the paint dry completely before removing the tape and replacing items.
DIY painted shelf backs are a creative way to update a bookcase and add a splash of color to your space. This project is perfect for anyone wanting to personalize their furniture. The result is a stylish and modern look that brightens up any room.
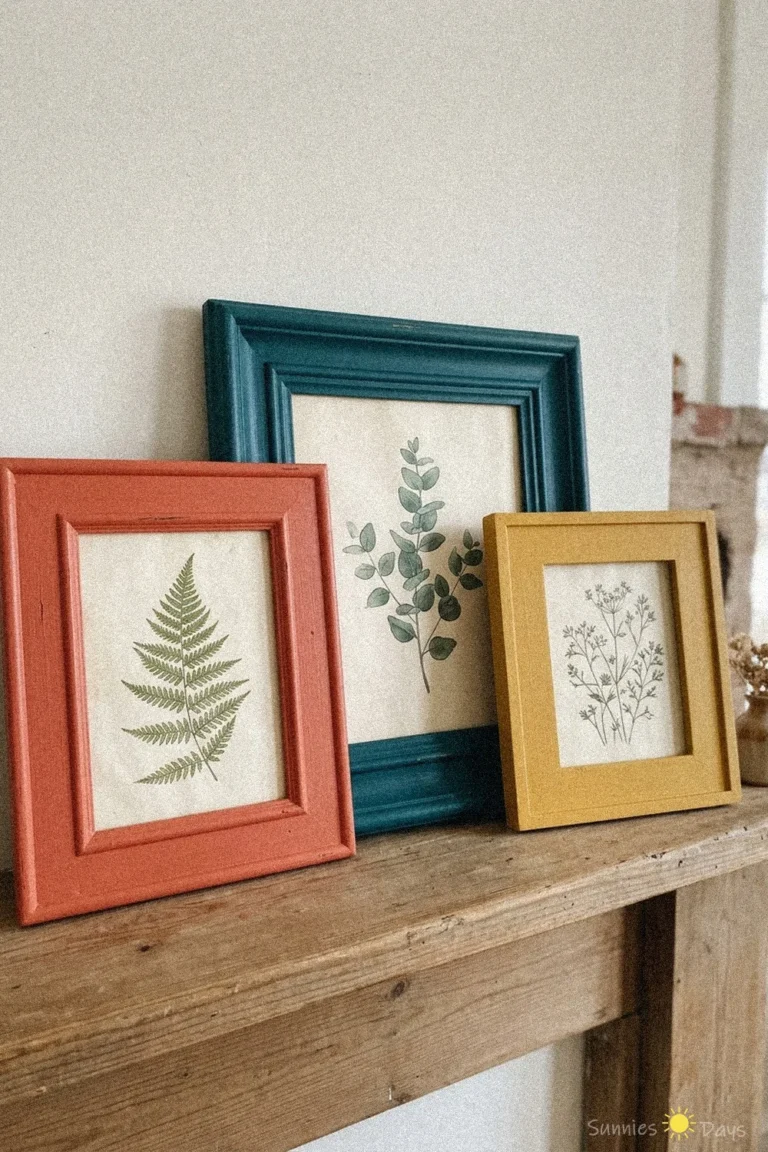
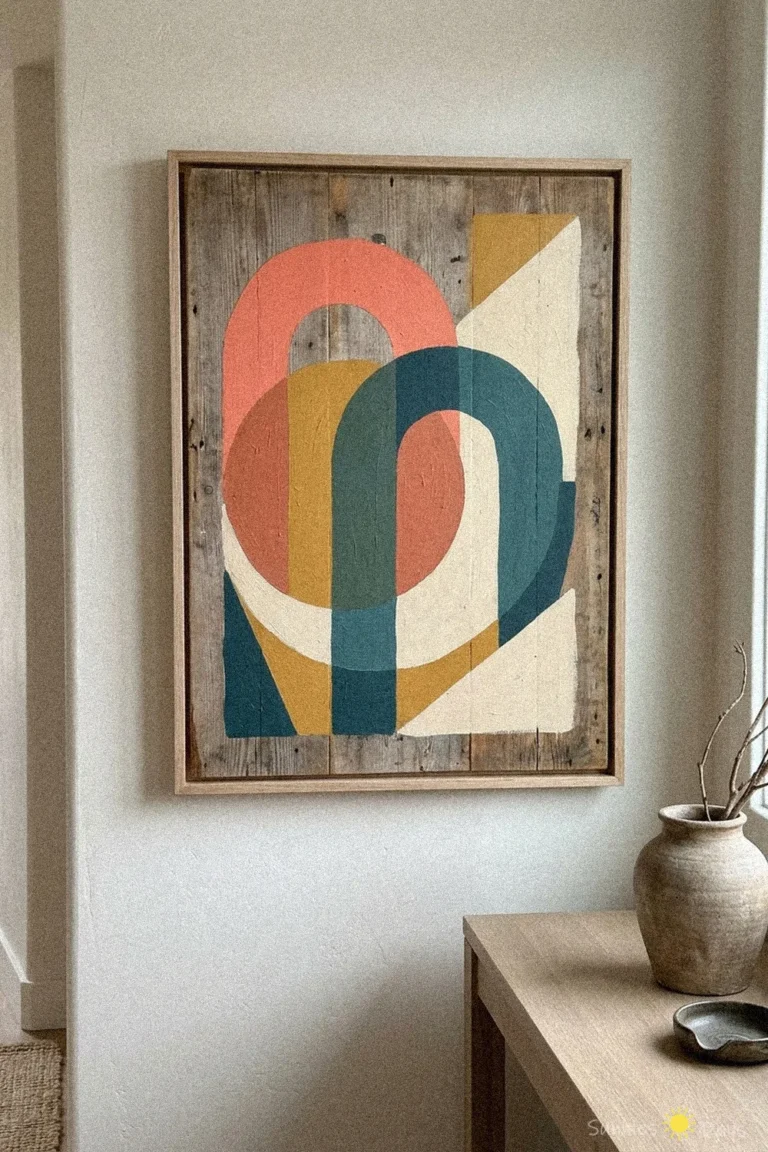
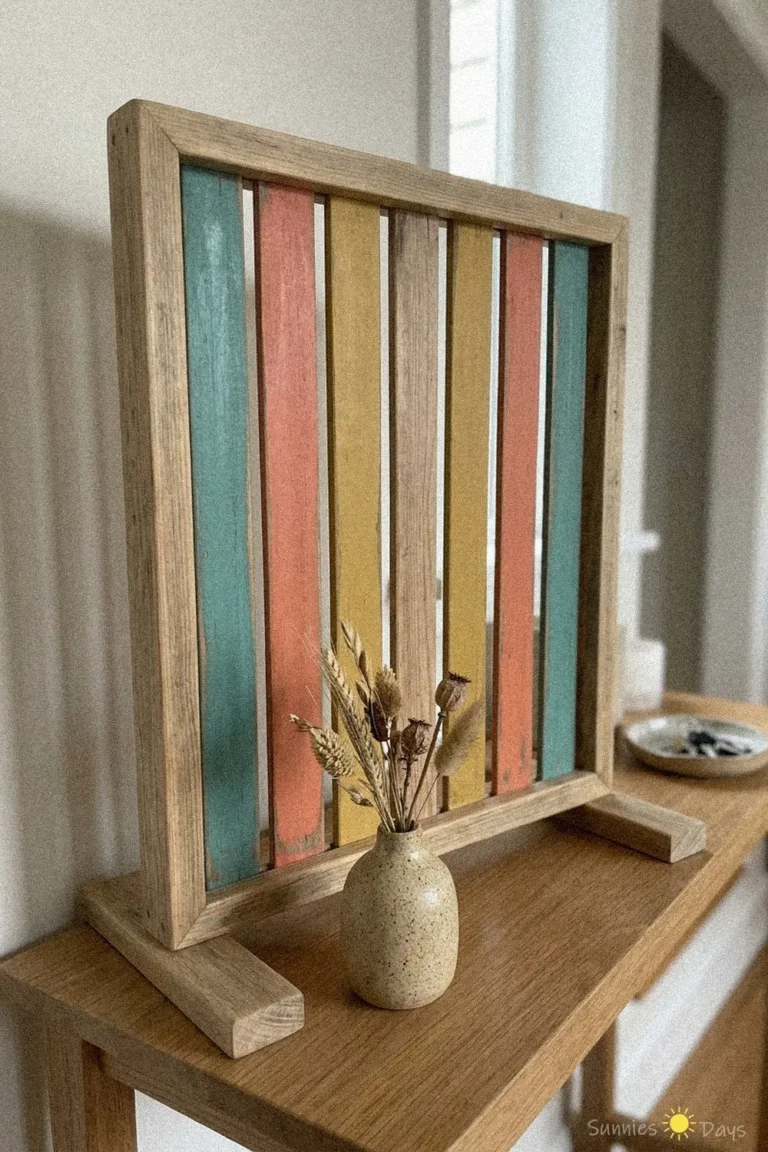
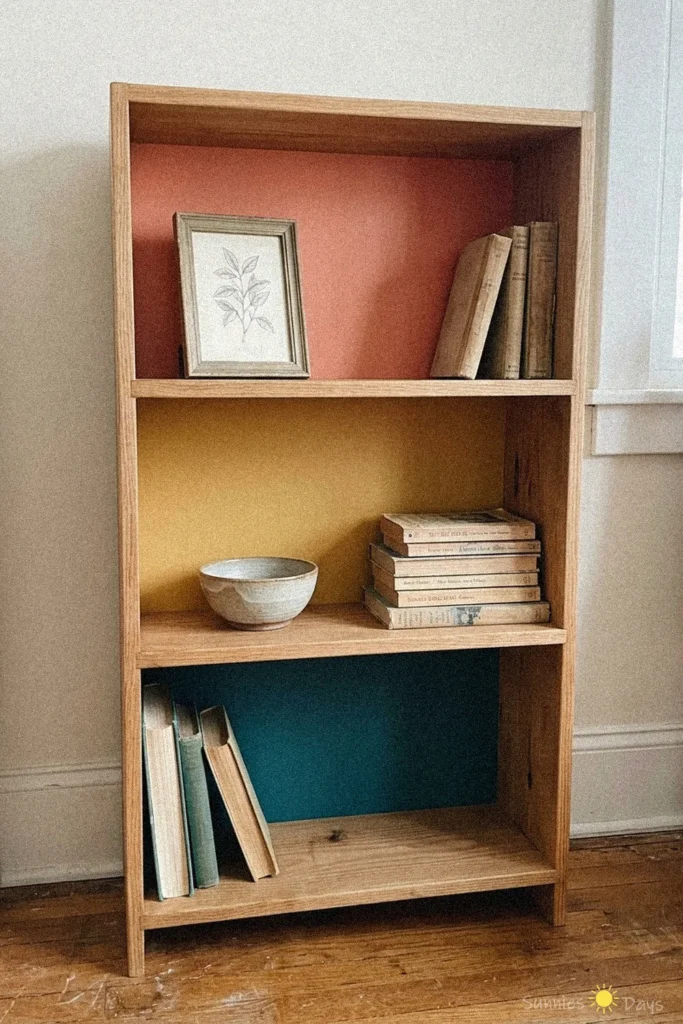
A bookcase with painted shelf backs stands out and makes your books and decor pop. The combination of coral, yellow, and teal creates a cheerful vibe and helps organize your shelves visually. It’s a great way to refresh old furniture without a full makeover.
When painting shelf backs, be sure to use painter’s tape for clean edges and allow each color to dry fully before reassembling your bookcase. This ensures a neat finish and prevents smudging.