Craft Ideas, Sewing & Fabric Crafts · Easy · 20 minutes
DIY Glass Jar Ribbon Organizer
Organize your ribbon collection with this easy DIY glass jar ribbon organizer. It’s a cute and functional way to keep your crafting supplies tidy and easy to find.
- Difficulty
- Easy
- Time
- 20 minutes
Materials
- Glass jar with lid
- Ribbon spools
- Marker
- Paper or fabric strip
- Scissors
- Needle and thread
How to make it
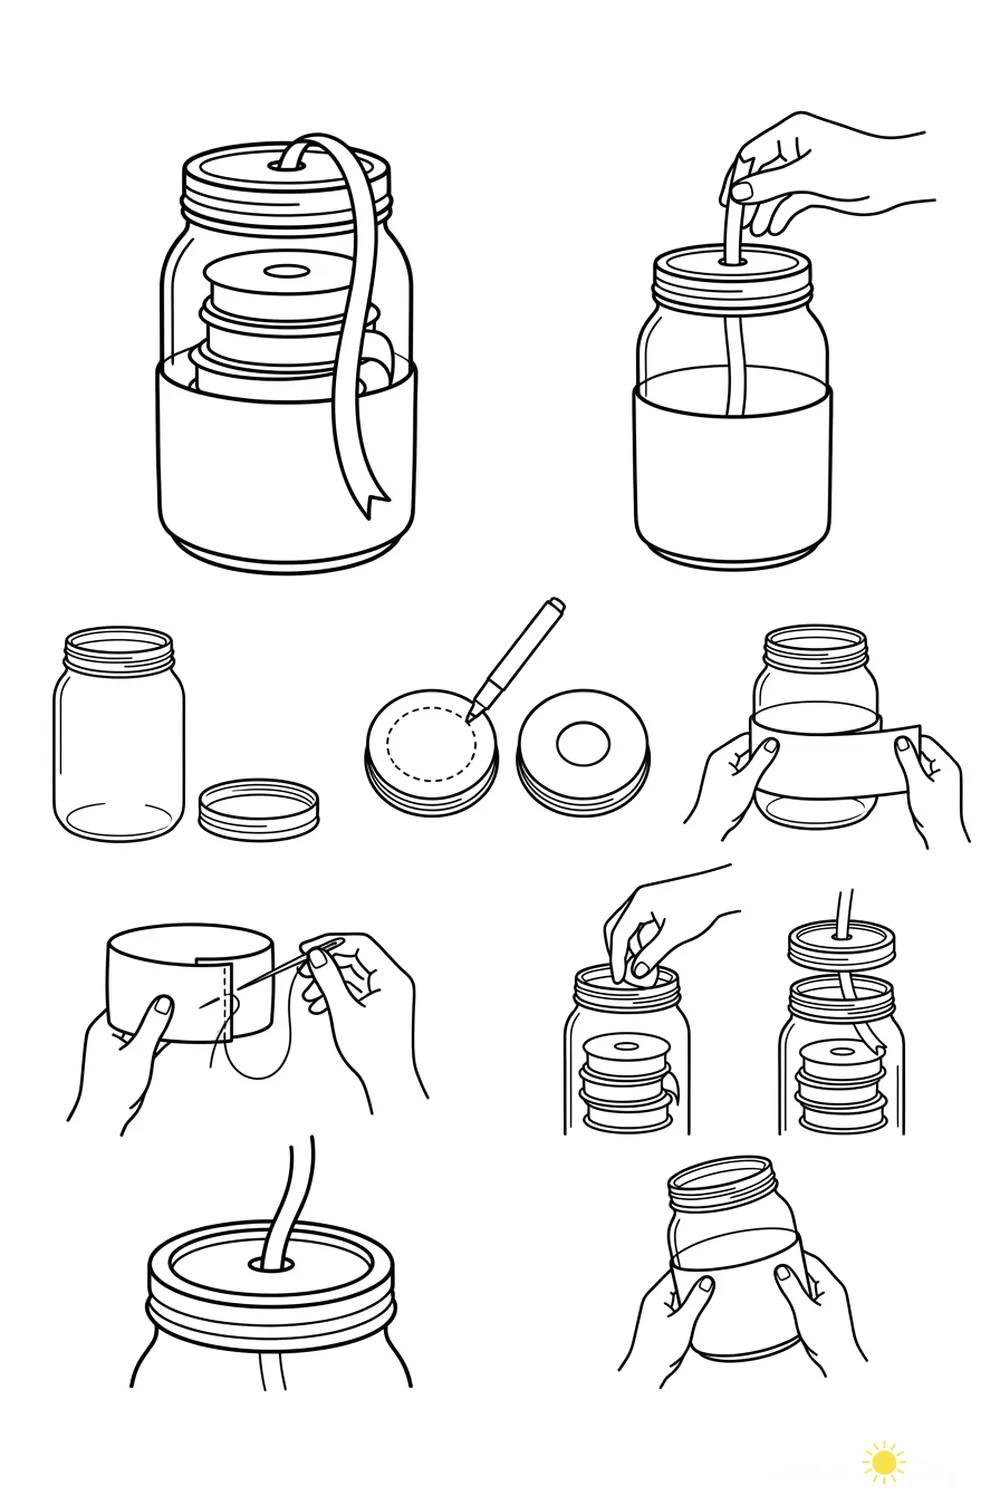
- Gather a clean glass jar and its lid.
- Mark and cut a hole in the jar lid using a marker and scissors.
- Wrap a strip of paper or fabric around the inside of the jar.
- Sew the ends of the strip together to form a sleeve.
- Insert ribbon spools into the jar.
- Thread the ribbon end through the hole in the lid.
- Close the jar and pull the ribbon through the hole for easy dispensing.
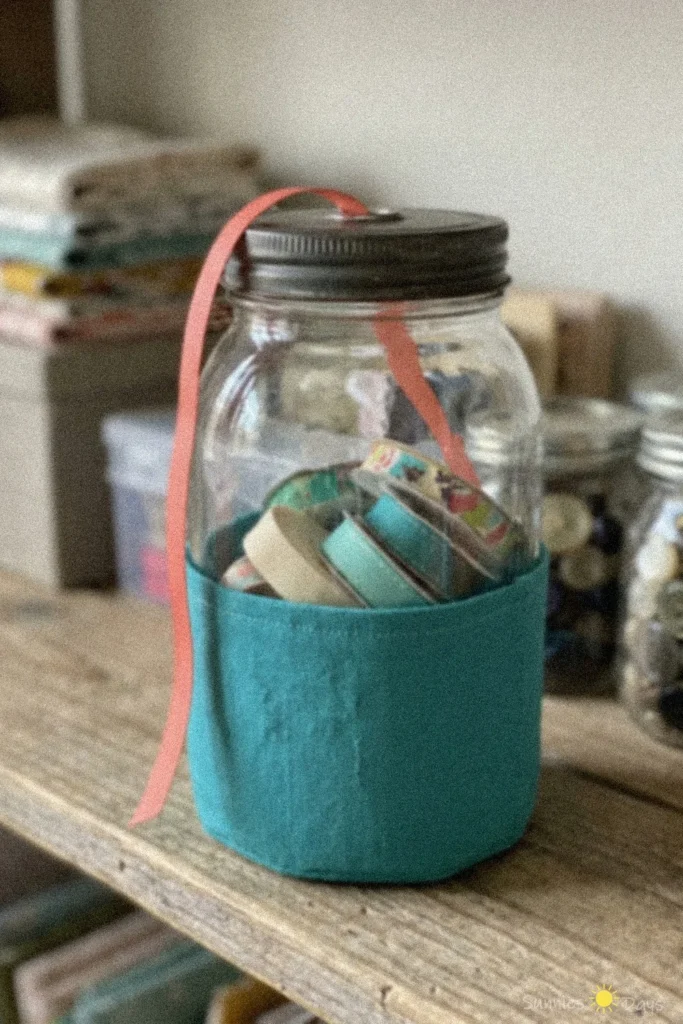
A diy glass jar ribbon organizer is a creative way to store and display your favorite ribbon rolls. This craft uses a mason jar with a teal fabric pocket to keep everything in one place. It’s perfect for crafters who want a tidy workspace.nThe clear glass jar lets you easily see your ribbon selection, while the fabric pocket adds a pop of color and extra storage. It’s a practical solution for keeping ribbons organized and within reach on your craft shelf.nWhen using glass jars, always handle them with care to avoid breakage. Make sure the lid is securely fastened if you plan to move the organizer around your workspace.