Craft Ideas, Garden Crafts · Easy · 25 minutes
DIY Baking Sheet Tray for Drying Decorative Flowers
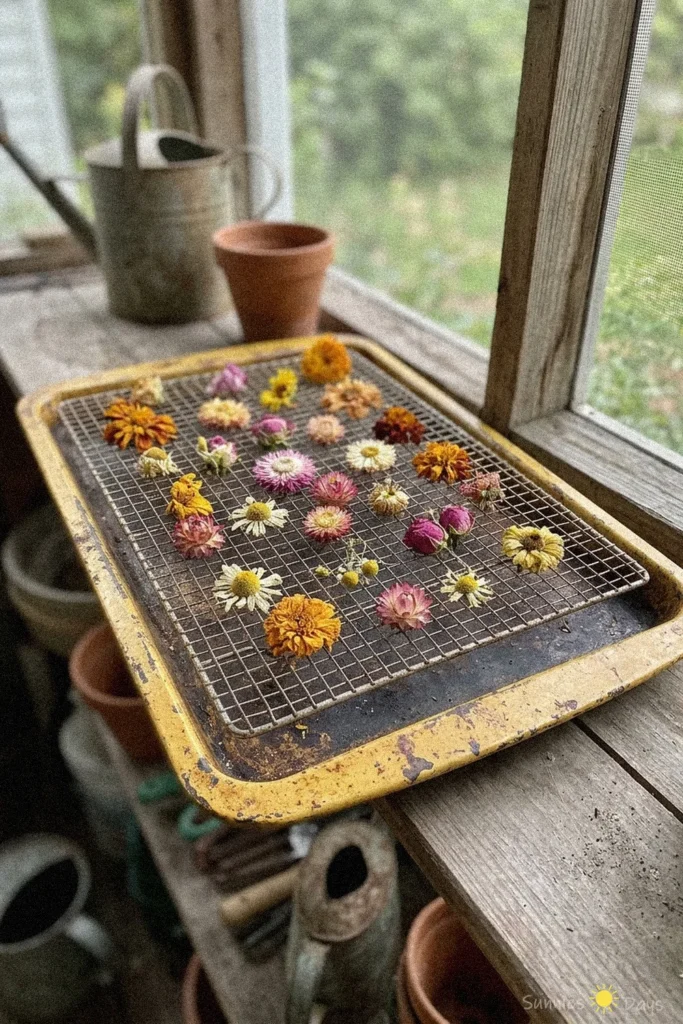
Create your own DIY baking sheet tray for drying decorative flowers and preserve your favorite garden blooms. This easy project is perfect for adding a touch of rustic charm to your craft space.
- Difficulty
- Easy
- Time
- 25 minutes
Materials
- baking sheet
- paint or sealant
- paintbrush
- wire mesh
- wire cutters
- small blocks or spacers
- decorative flowers
How to make it
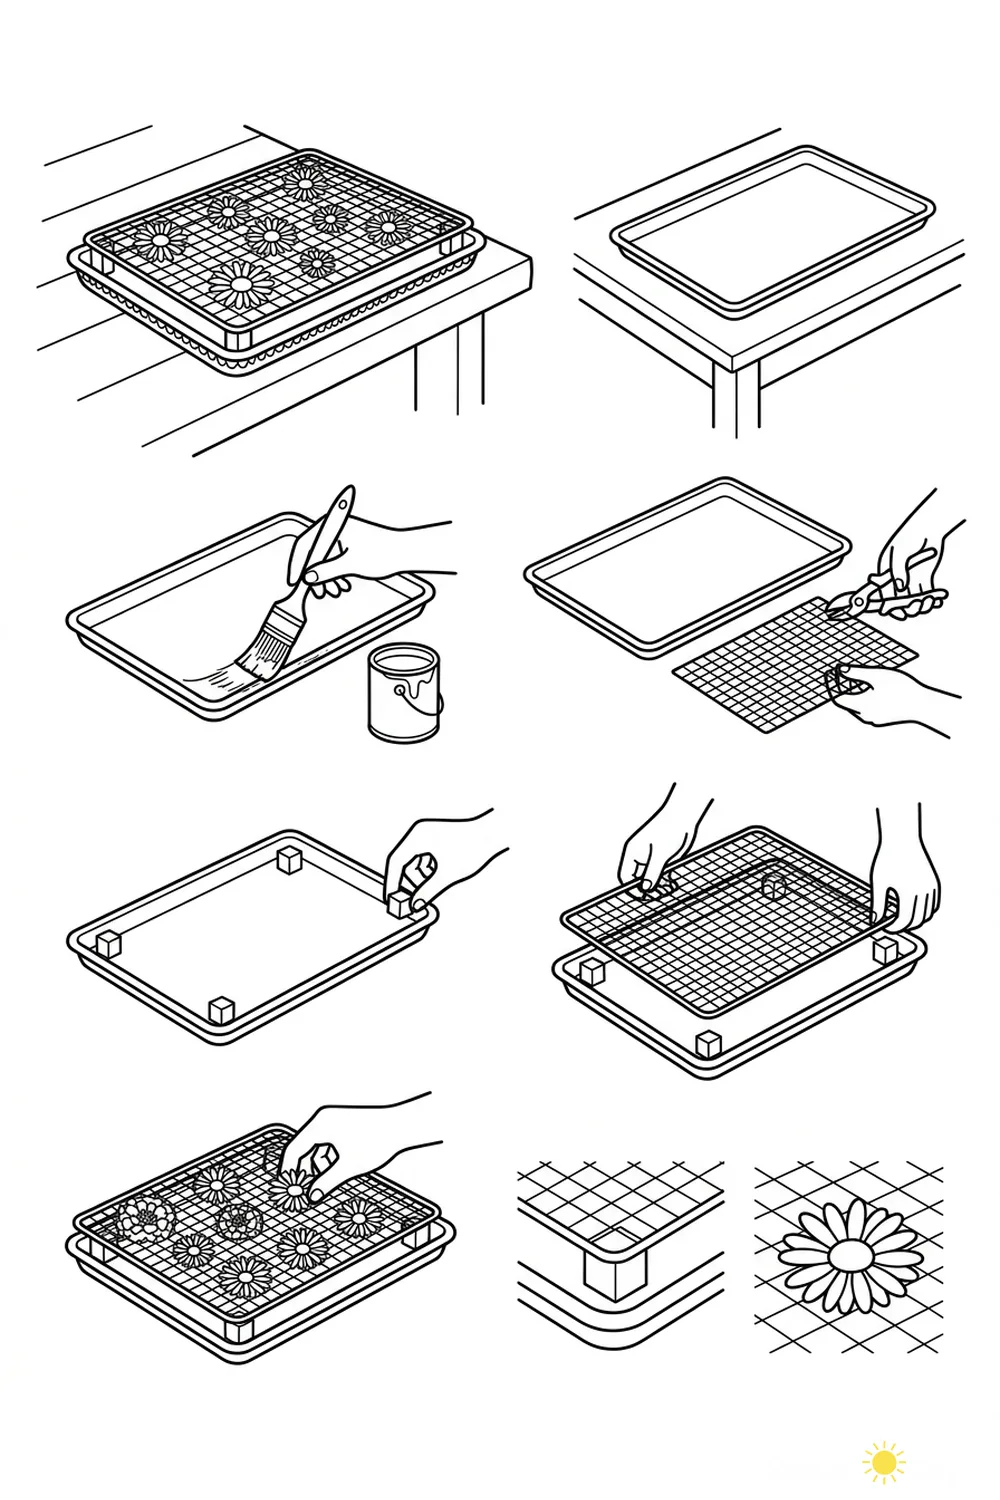
- Place a baking sheet on a flat surface.
- Paint or seal the baking sheet with a brush and let it dry.
- Cut a piece of wire mesh to fit the baking sheet using wire cutters.
- Attach small blocks or spacers to the corners inside the baking sheet.
- Place the wire mesh on top of the blocks to create a raised platform.
- Arrange decorative flowers evenly on the wire mesh for drying.
A diy baking sheet tray is a practical craft for drying decorative flowers and preserving garden blooms. This project is perfect for anyone looking to save their favorite flowers in a simple and effective way.
The tray uses a vintage baking sheet and a wire rack, making it both functional and charming for any rustic or cottage-style space. It keeps flowers organized and allows for good airflow while drying.
For best results, place your tray in a well-ventilated area away from direct sunlight to help flowers retain their color and shape during the drying process.