
Garden Crafts · Nov 19, 2026 · 8 min read
6 Easy DIY Garden Crafts: Done in 30 Minutes or Less
Six easy garden projects, each 30 minutes or less, with the finished photo and a step-by-step illustration for every one.
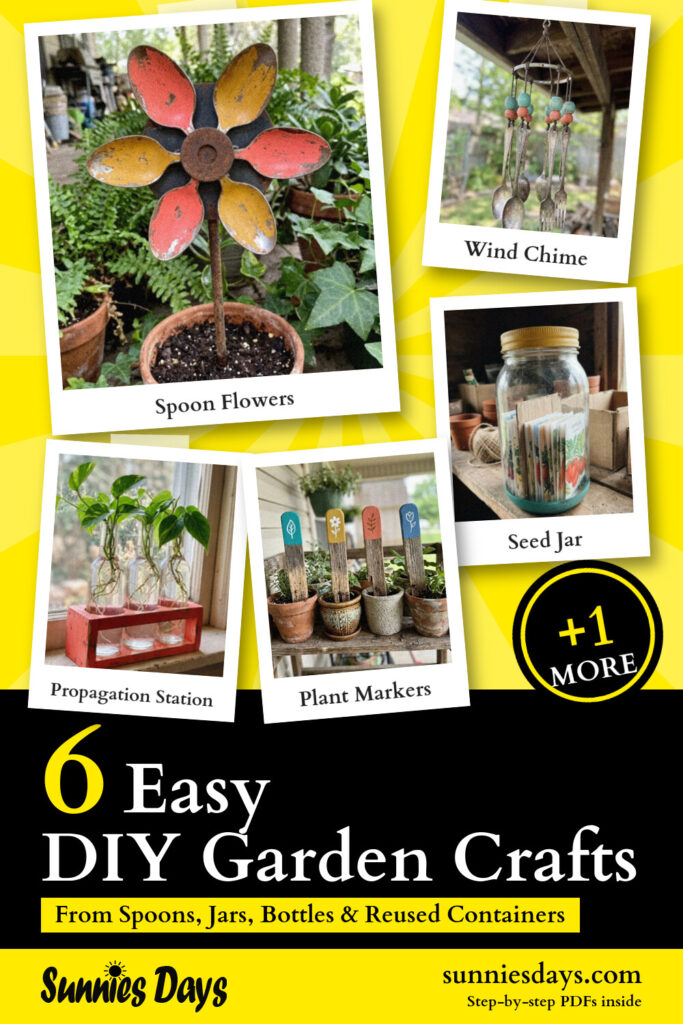
A handful of spoons, an empty jar or a spare piece of board can turn into something your garden actually needs. These easy DIY garden crafts range from a 25-minute spoon flower to a wind chime to hang outside, and each one comes with a photo of the finished project and a step-by-step illustration.
Whether you’re new to tools or just want a quick afternoon project, there’s something here for you. Every idea takes 30 minutes or less of hands-on time, though paint and sealer need extra time to dry.
Before You Start
- Wear safety glasses whenever you drill, saw or cut.
- Clamp small pieces before drilling so they can’t spin.
- Sand rough edges on wood and metal before you paint.
- Let paint and sealer dry fully before a piece goes outside.
1. Turn Plastic Spoons Into Flowers
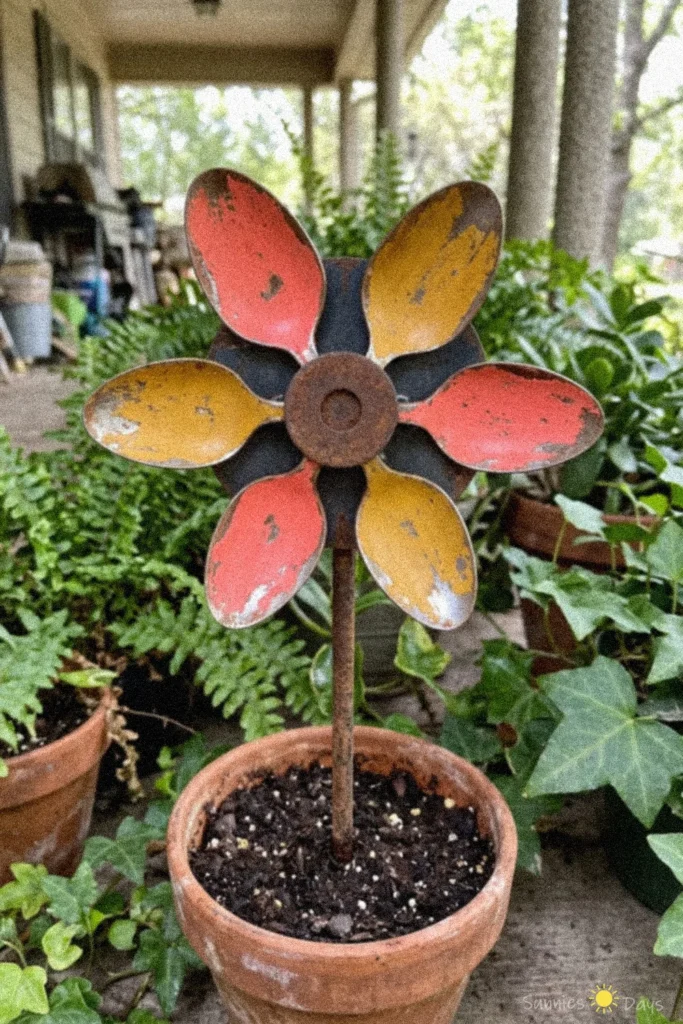
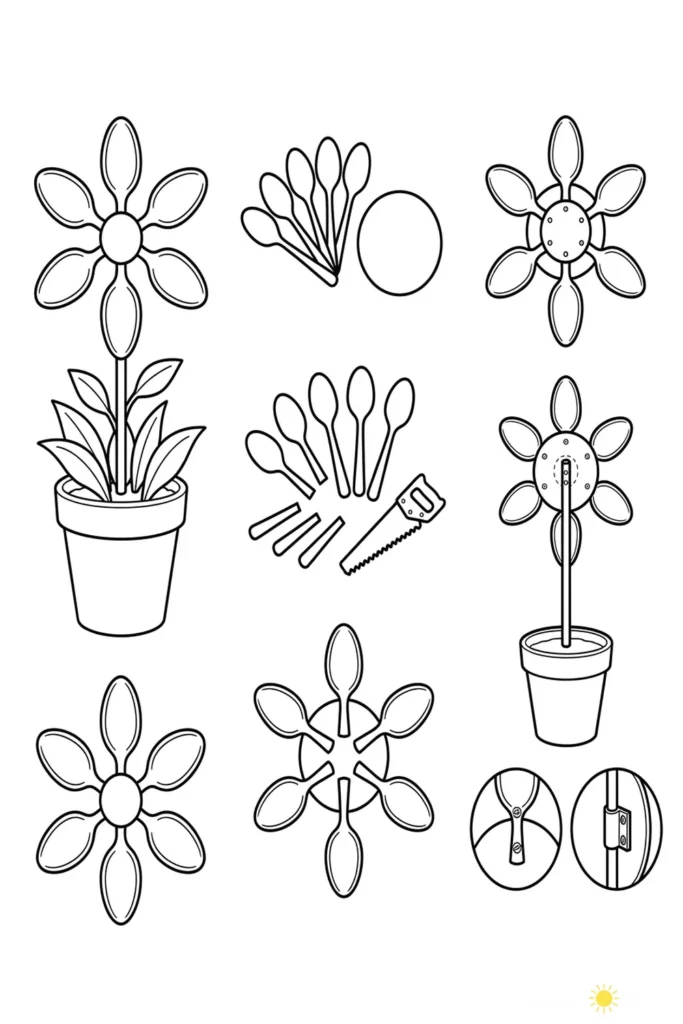
Spoons make surprisingly good petals. Arrange them around a round disc, fasten each one with a screw or fastener, then attach a wooden dowel to the back and stand the flower in a plant pot. Choose spoons in two or three colors and it reads like proper garden art (yes, really).
You’ll need: plastic spoons, a round disc, a wooden dowel, screws or fasteners, a plant pot
Time: About 25 minutes
Skill level: Beginner
Take note: Wear safety glasses when you cut the dowel to length.
Full steps: Get the full instructions » · Steps PDF
2. Hang a Silverware Wind Chime
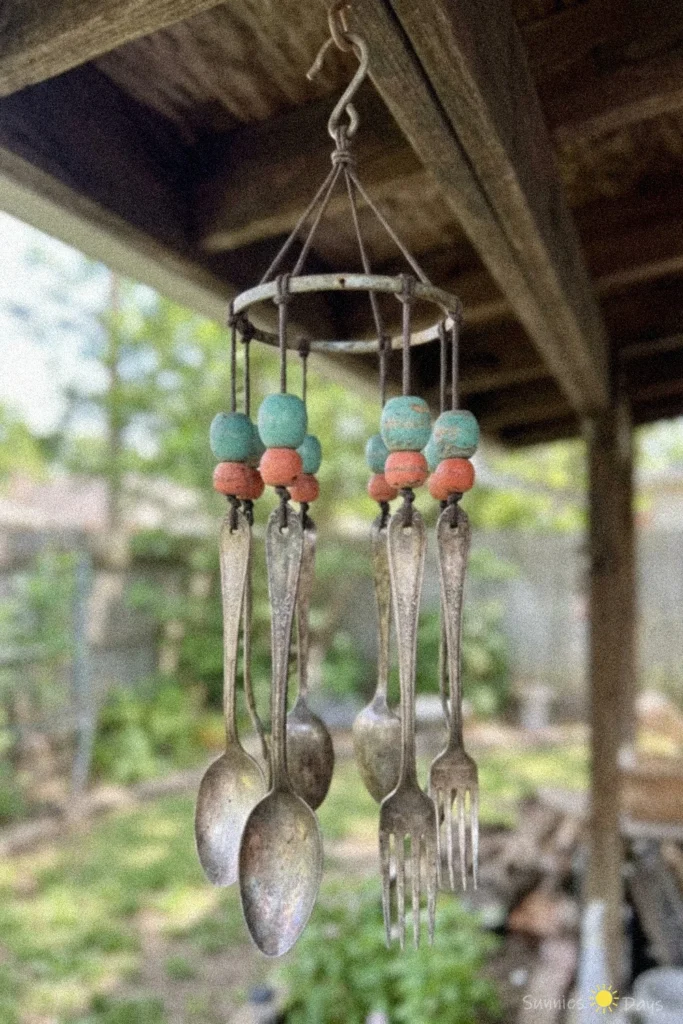
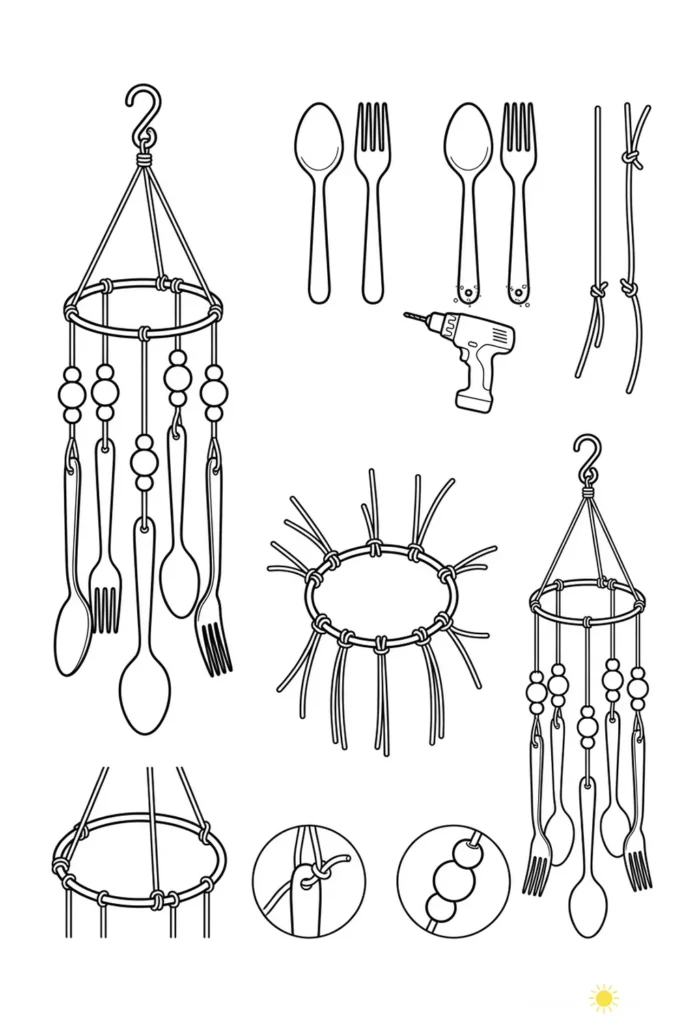
Old spoons and forks can do more than set the table. Drill a hole in each handle, thread knotted string through, and add a few beads above the utensils for color. Tie the strings to a metal ring, hang it from a hook, and any breeze turns it into a small outdoor instrument.
You’ll need: spoons and forks, beads, string or cord, a metal ring, a drill
Time: About 30 minutes
Skill level: Beginner
Take note: Use a drill bit made for metal, and clamp each utensil first because the handles can spin.
Full steps: Get the full instructions » · Steps PDF
Author tip: I’d hang the finished chime where it catches wind but won’t bump a wall, so the utensils ring instead of clunk.
3. Stash Seeds in a Jar
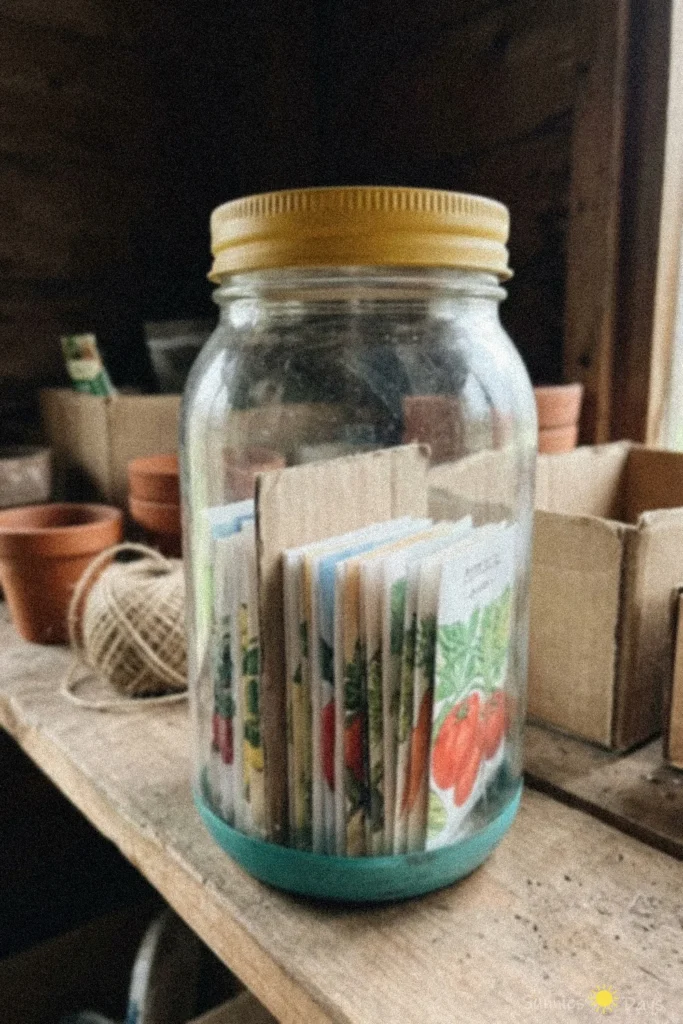
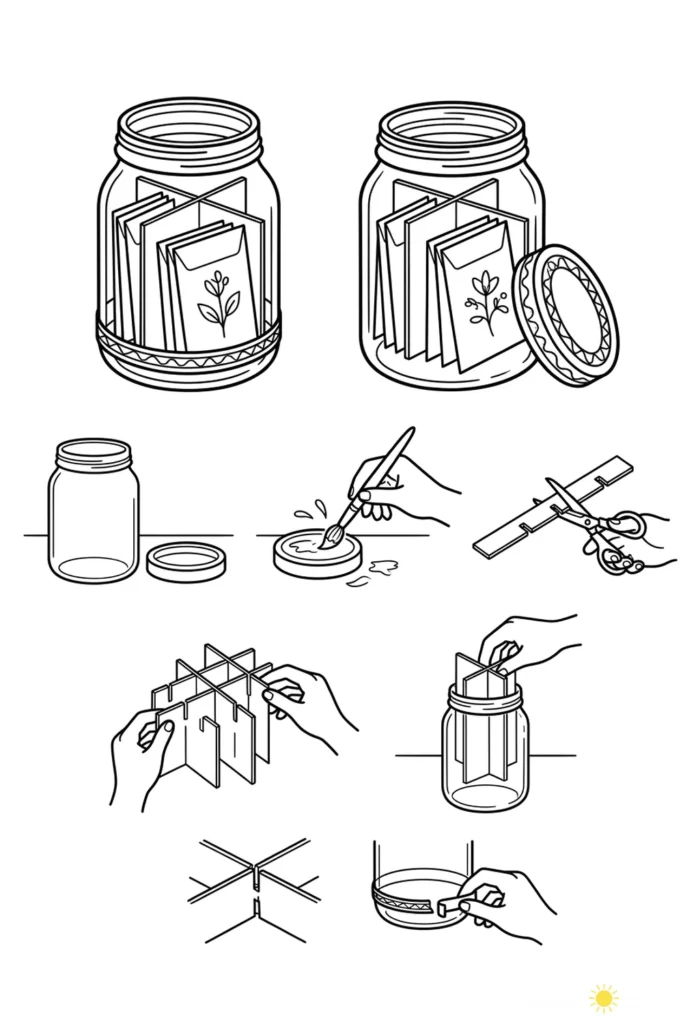
Ever dig through a drawer for the one packet you need? An empty jar fixes that. Paint or decorate the lid, cut cardboard dividers that slot together, and set them inside so each kind of seed gets its own section. Wrap the rim in decorative tape or ribbon and it looks as good on a shelf as it works.
You’ll need: an empty jar with a lid, cardboard or thick paper, paint or glue, scissors, decorative tape or ribbon
Time: About 25 minutes
Skill level: Beginner
Full steps: Get the full instructions » · Steps PDF
4. Root Cuttings in Bottles
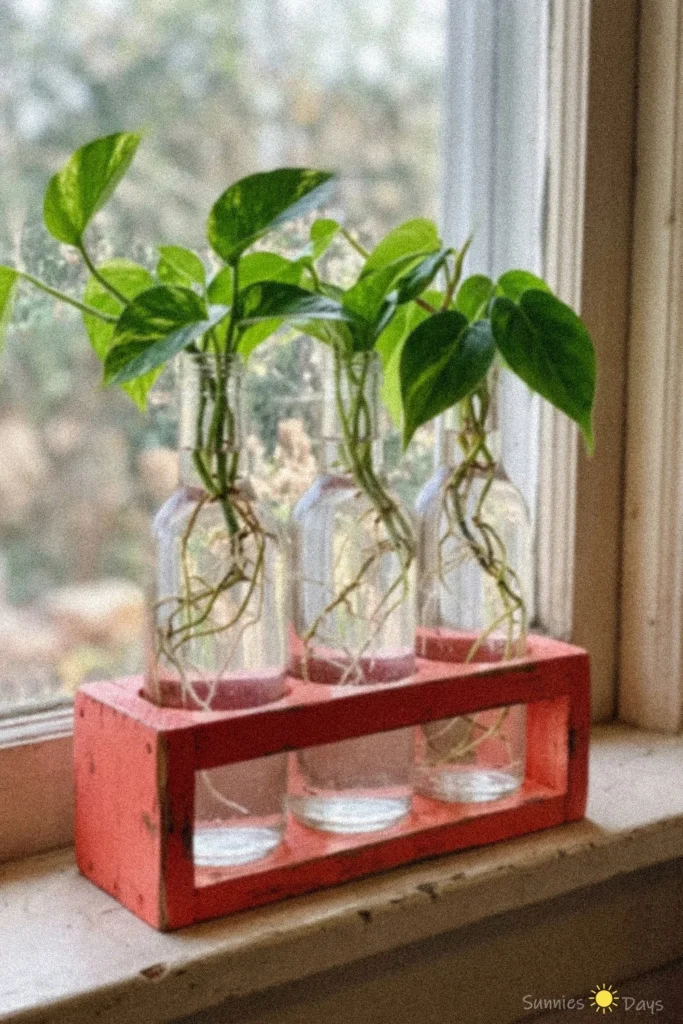
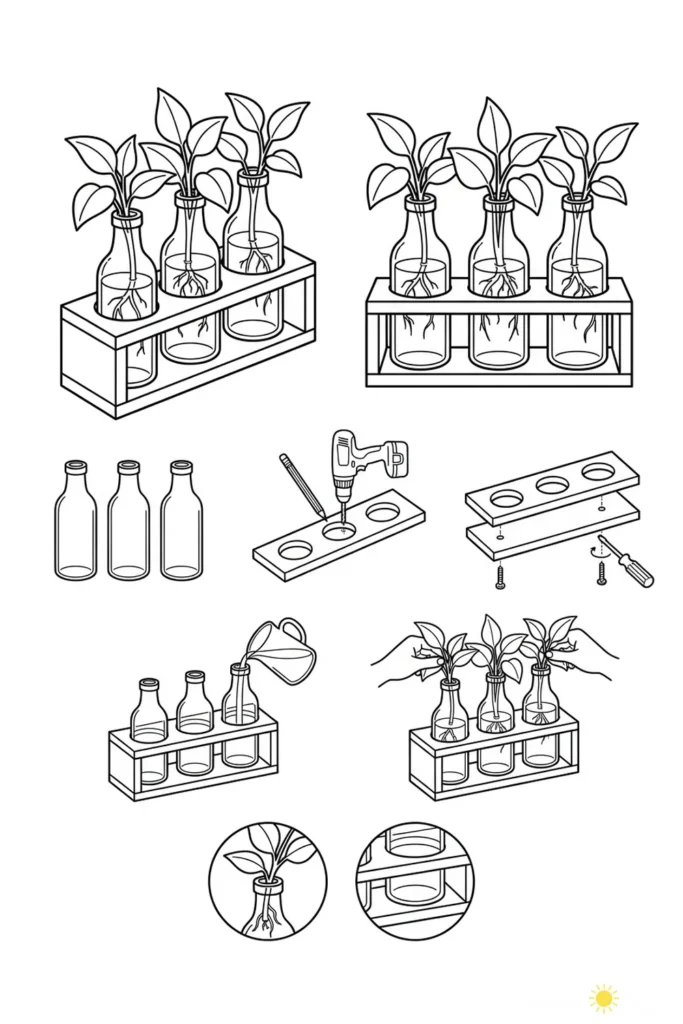
Watching roots grow is half the fun of propagating. Drill three evenly spaced holes in the top board of a small wooden stand, screw the boards together, and drop a glass bottle into each hole. Fill the bottles with water, add your cuttings, and you have a tidy display for a windowsill.
You’ll need: three glass bottles, wooden boards, a drill, screws, plant cuttings
Time: About 30 minutes
Skill level: Beginner
Take note: Refresh the water regularly so the cuttings stay healthy.
Full steps: Get the full instructions » · Steps PDF
Related: More garden craft ideas »
5. Label Beds With Painted Markers
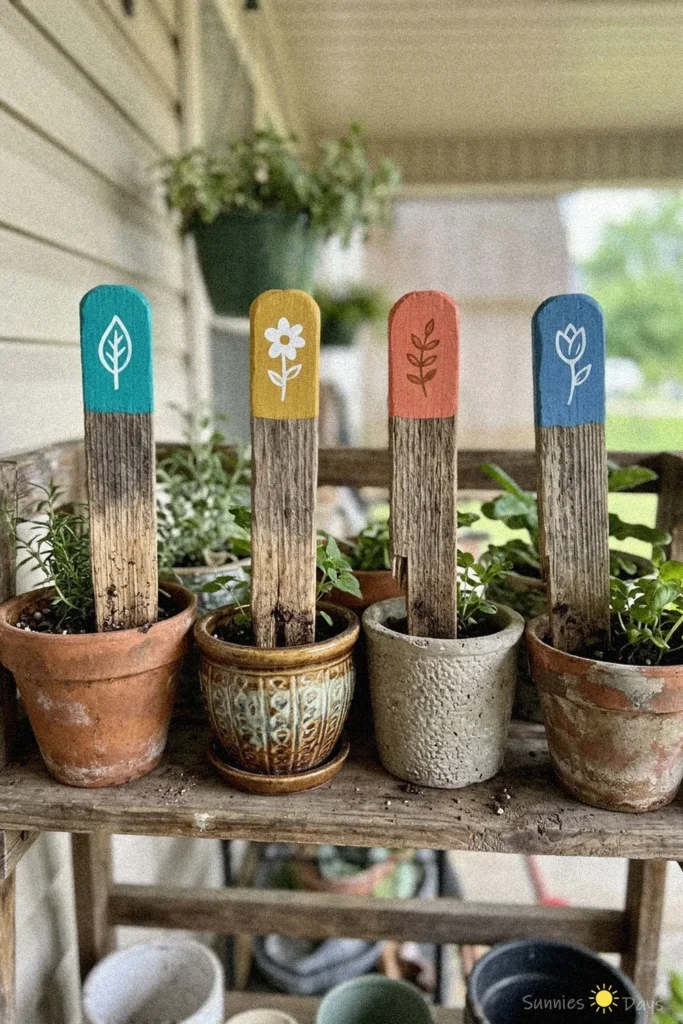
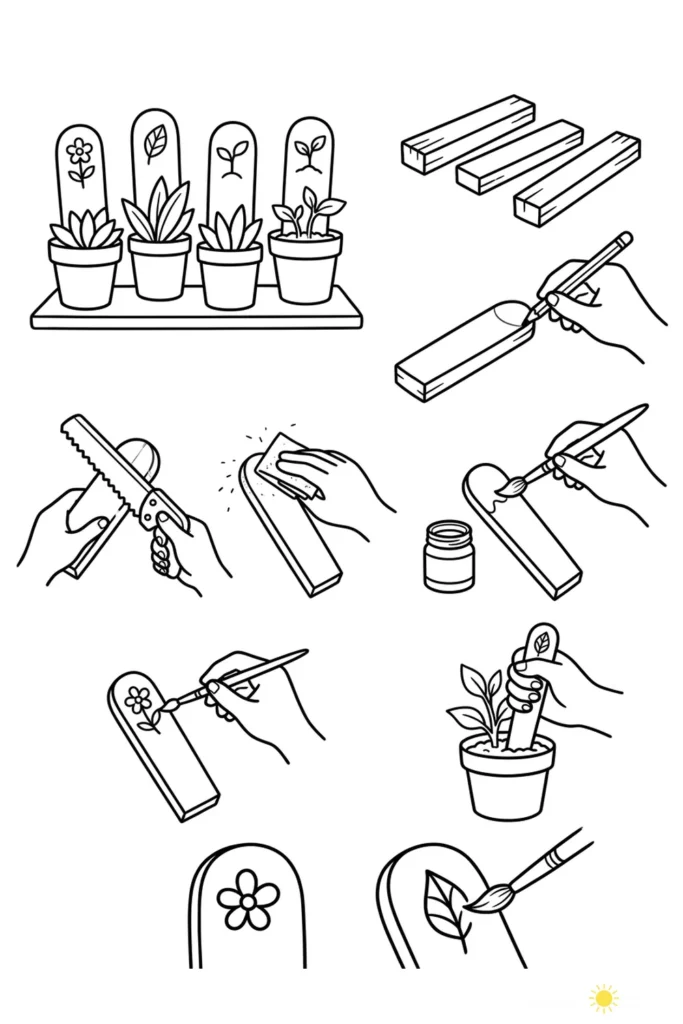
Hand-cut wooden markers keep every pot and row labeled. Cut a board into equal pieces, draw a rounded top on each, and saw along the line. Sand the edges smooth, then paint or stain the markers and finish with a clear sealer to help protect the color.
You’ll need: wooden boards, a hand saw, sandpaper, paint or wood stain, clear sealer
Time: About 30 minutes, plus drying time
Skill level: Beginner
Take note: Wear a dust mask when you sand.
Full steps: Get the full instructions » · Steps PDF
Author tip: I’d sand the cut edges before you paint so you don’t pick up splinters while you work.
6. Paint Pot Covers From Containers
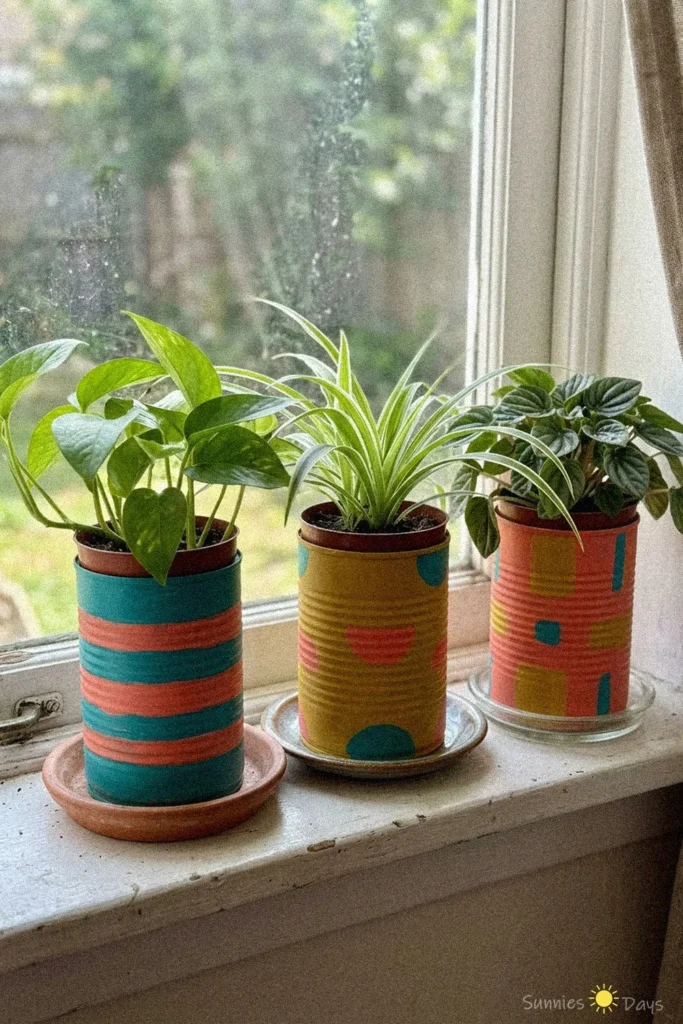
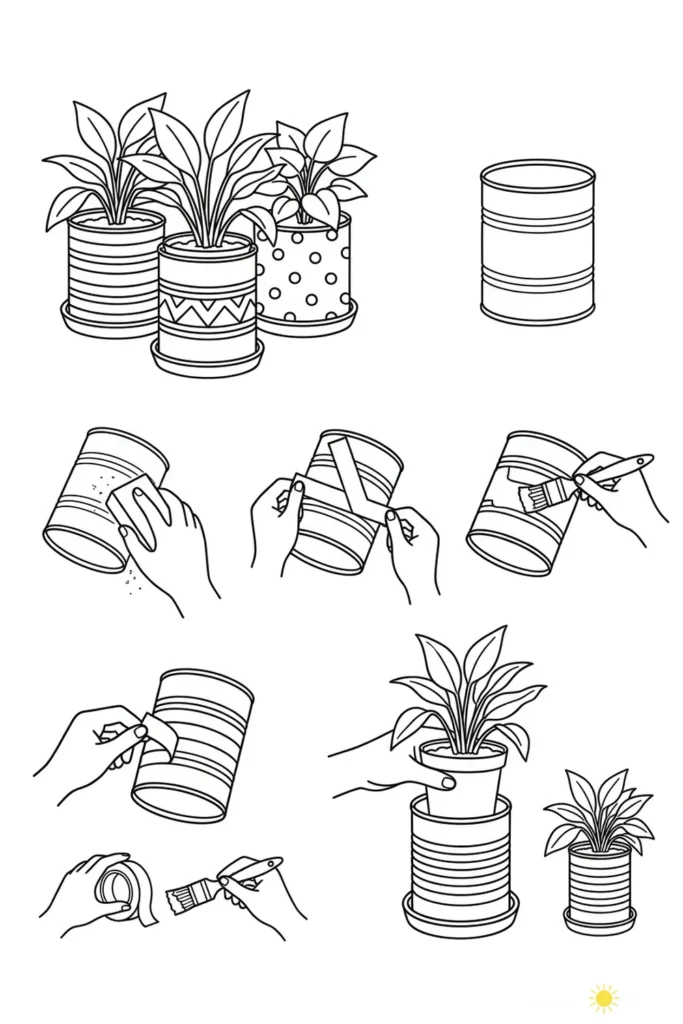
A mismatched set of containers can look pulled together with a little paint. Sand each one so the paint sticks, press masking tape on in stripes or another pattern, and brush acrylic paint over the open areas. Peel the tape once the paint is dry and the pattern shows.
You’ll need: empty containers, sandpaper, masking tape, acrylic paint, a paintbrush
Time: About 25 minutes, plus drying time
Skill level: Beginner
Full steps: Get the full instructions » · Steps PDF
Final Thoughts
Six projects, six different ways to put everyday materials to work in your garden. If you want an easy first win, start with the jar seed organizer or the spoon flower, since both take about 25 minutes and need only basic tools. Still hungry for more? Try the plant markers from old mini blind slats, the baking sheet seed packet sorting station or the garden hose wreath for a shed door. Which one will you make first? Tell us in the comments.