Craft Ideas, Art & Mosaic Crafts · Easy · 20 minutes
DIY Gel Printing Texture Comb From Gift Card
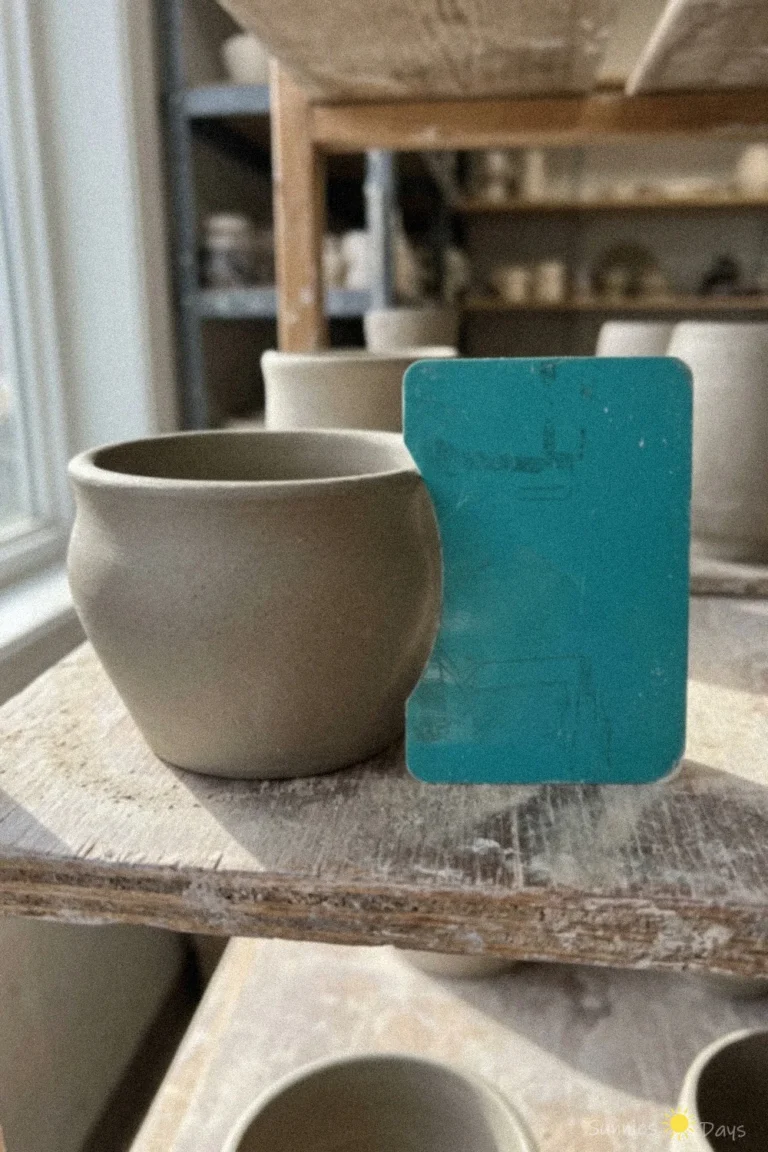
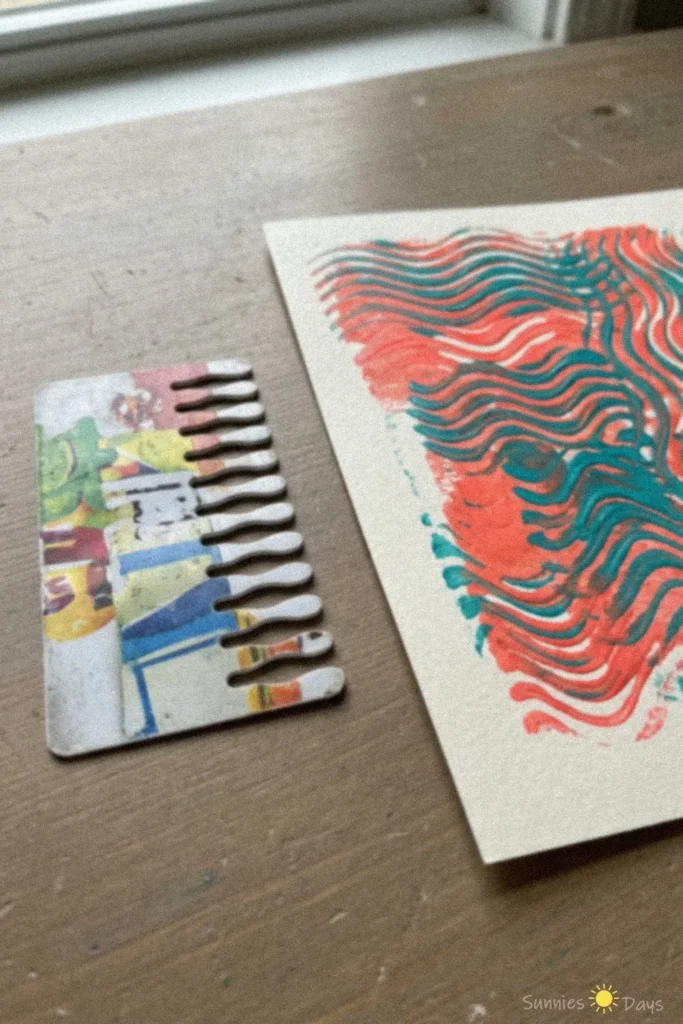
Make your own DIY gel printing texture comb from a recycled gift card for unique, wavy effects in your prints. This simple craft is perfect for creative projects and upcycling old cards.
- Difficulty
- Easy
- Time
- 20 minutes
Materials
- plastic gift card
- ruler
- pen or marker
- craft knife or scissors
- cutting mat
How to make it
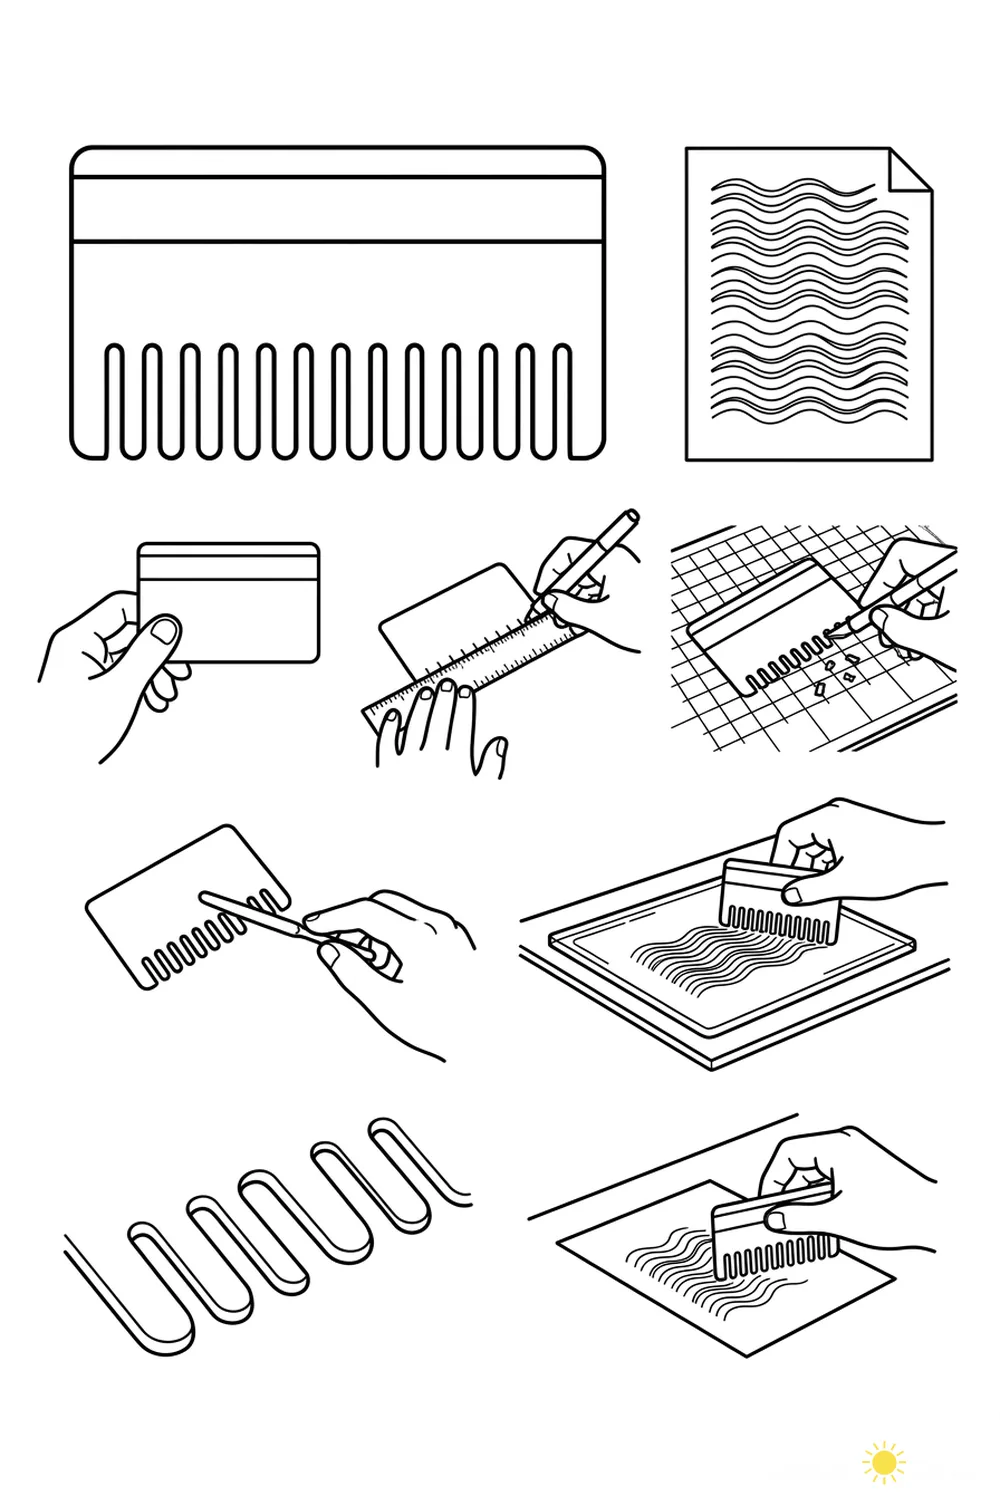
- Hold a plastic gift card in your hand.
- Use a ruler and pen to mark evenly spaced lines along one edge of the card.
- Place the card on a cutting mat and carefully cut along the marked lines with a craft knife or scissors to create comb-like teeth.
- Smooth any rough edges on the comb with the knife or scissors.
- Drag the finished comb through paint or ink on a gel printing plate to create wavy patterns.
- Use the comb to make textured designs on paper or other surfaces.
A diy gel printing texture comb is a simple tool made from a recycled gift card, perfect for adding wavy, textured patterns to your gel prints. This craft is great for anyone looking to enhance their printmaking with custom designs.
The comb is handy because it’s easy to make and lets you create unique effects that store-bought tools can’t replicate. Its compact size makes it easy to handle and store with your other art supplies.
When making or using your texture comb, be careful of any sharp edges left from cutting the card. Always supervise children if they are helping with this craft.