Craft Ideas, Garden Crafts · Easy · 30 minutes
DIY Painted Garden Plant Markers
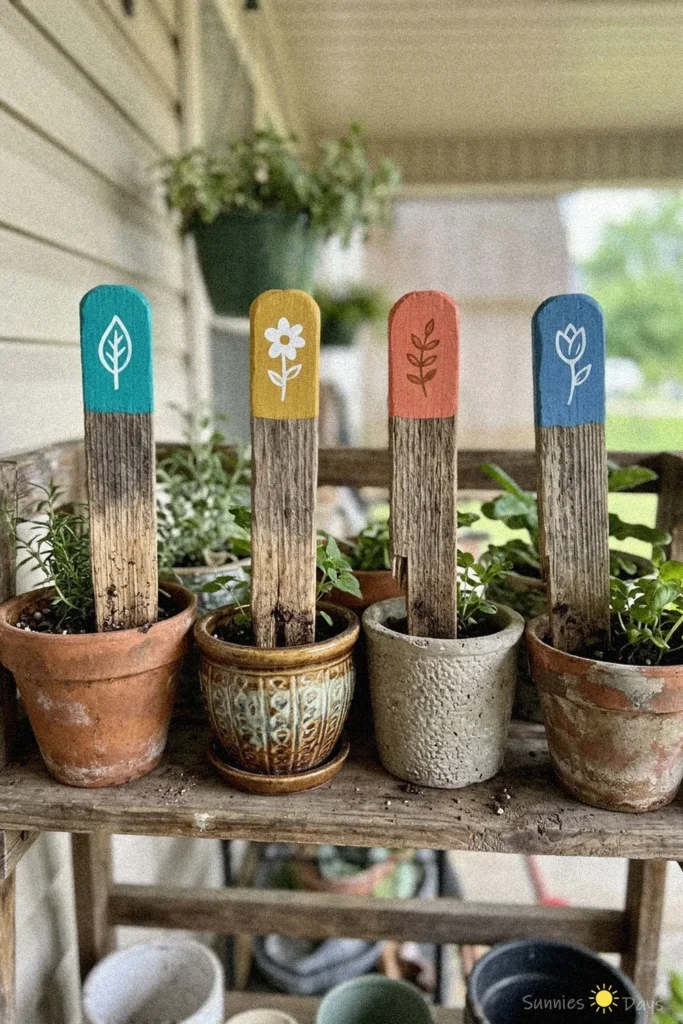
Add a pop of color to your garden with these DIY painted plant markers. They are perfect for labeling your potted herbs and flowers with a creative, handmade touch.
- Difficulty
- Easy
- Time
- 30 minutes
Materials
- wooden boards
- hand saw
- sandpaper
- paintbrushes
- paint or wood stain
- clear sealer
- plant pots
- plants
How to make it
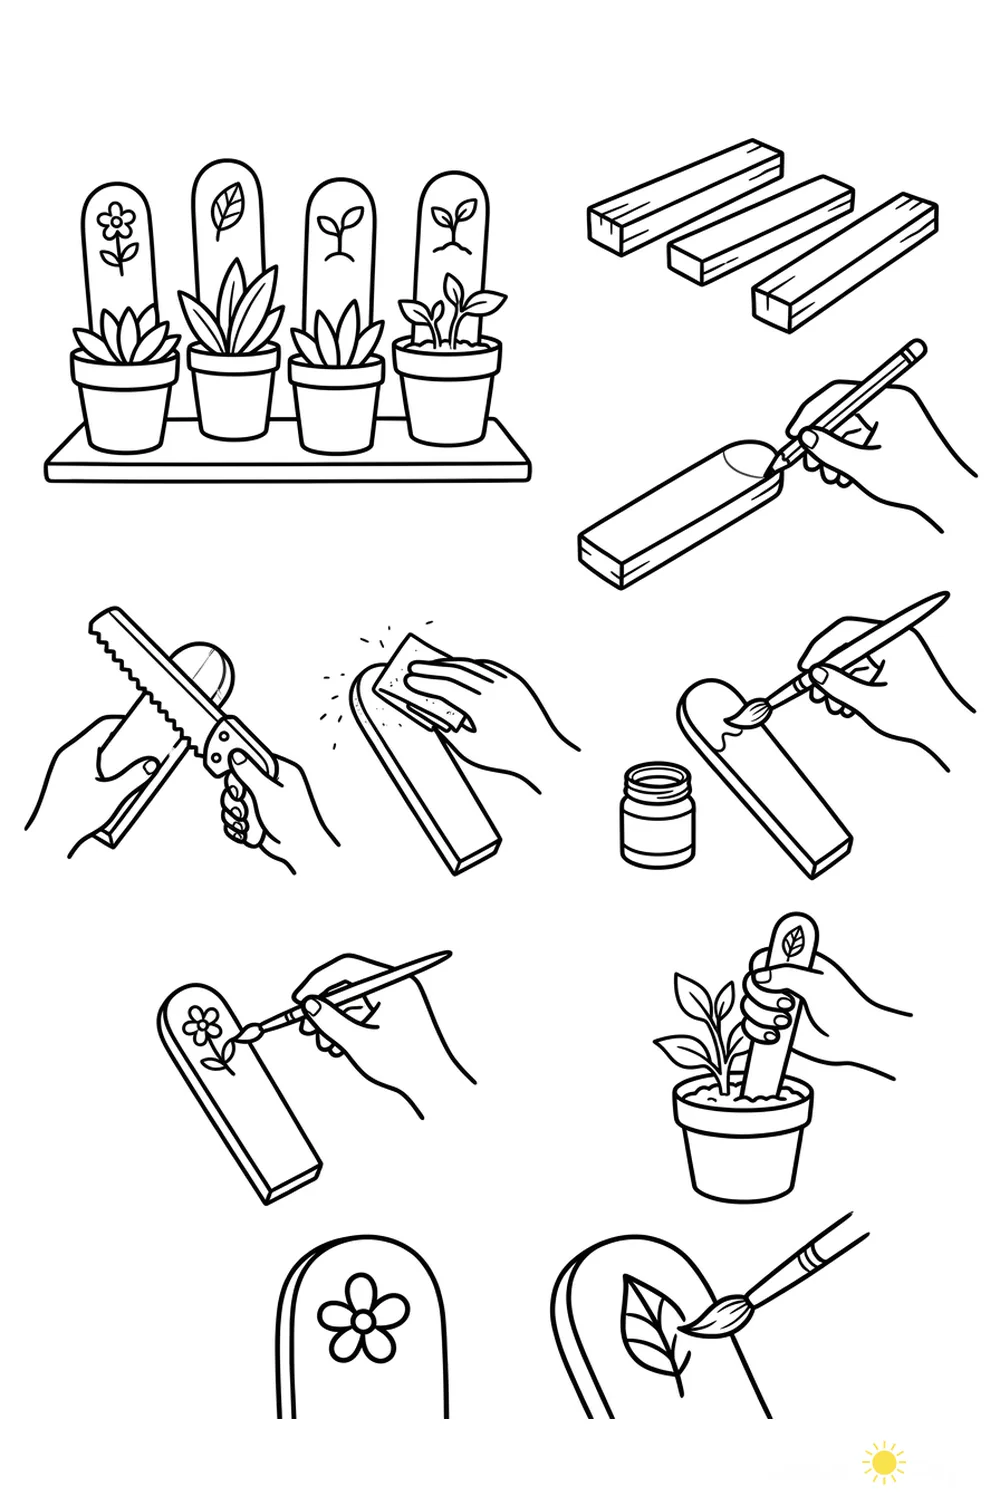
- Gather wooden boards and cut them into equal pieces.
- Draw rounded tops on each piece for the marker shape.
- Saw along the lines to create the marker shapes.
- Sand the edges and surfaces until smooth.
- Apply paint or wood stain to each marker.
- Let the paint dry completely.
- Use a brush to paint decorative designs or plant names on each marker.
- Seal the painted markers with a clear sealer.
- Insert the finished markers into plant pots to label your plants.
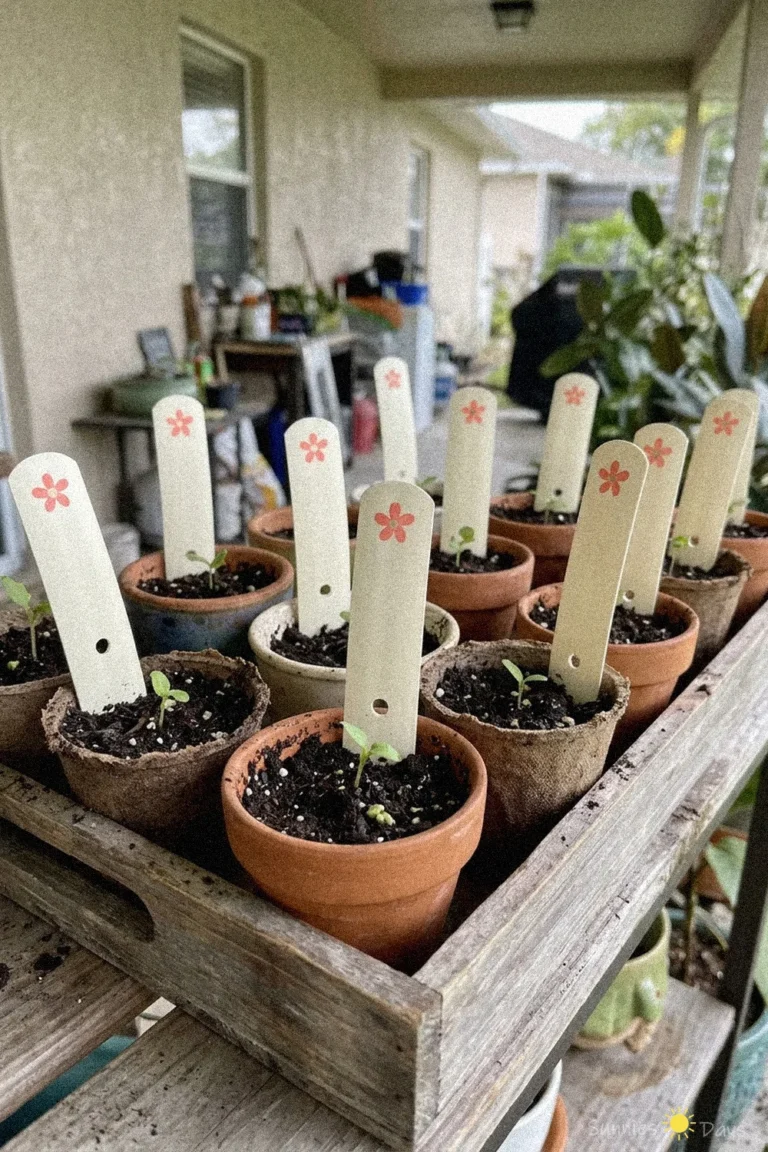
DIY painted garden plant markers are a fun way to label your potted herbs and flowers while adding a splash of color to your garden. These markers are both decorative and practical for any gardener.
Each marker features a unique color and simple plant illustration, making it easy to identify your plants at a glance. Their rustic wooden look fits perfectly with outdoor or porch decor.
When painting your markers, allow the paint to dry completely before placing them in soil to prevent smudging or peeling. Use weather-resistant paint for longer-lasting results outdoors.