A crooked cut is one of the most common reasons a PVC project looks off. The pipe leans, the joint gaps, and the shelf never quite sits flat. Everything you build with PVC starts with the cut, so it is worth getting right before you touch glue or paint.
The good news is that straight cuts come from a few habits, not expensive gear. A plain hand saw, a pencil and a little patience are enough for most of the projects on this site, and the steps below are the ones I rely on.
Why PVC Cuts Go Crooked
Round pipe is slippery to work with. It rolls, the blade wanders across the curved surface, and the line you drew on one side drifts away on the other. Most crooked cuts come down to a handful of causes:
- A mark that does not wrap all the way around the pipe
- Pipe that shifts or rolls while you saw
- Pushing hard or rushing the first strokes
- Watching only one side of the pipe while you cut
Fix those four and most of the problem disappears. It matters because a crooked end makes a fitting sit at an angle, and every gap shows once the project is assembled.
Choose the Tool That Matches the Job
You do not need all of these. Pick the one that suits what you are building.
Hand Saw With a Miter Box
This is my default for beginners. The miter box holds the pipe and guides the blade, so the cut stays square without much skill. A fine-tooth saw leaves a cleaner edge than a coarse one.
Ratcheting PVC Cutter
It is quick, makes no dust and works well on smaller pipe, especially when you have many pieces to cut. It suits thinner pipe better than thick or large-diameter pipe, and a dull blade leaves a rough edge.
Fine-Tooth Saw Without a Guide
This works too, as long as your line is good and you go slowly. Which brings me to the line.
Mark a Line That Goes All the Way Around
A single pencil dot on top of the pipe is not a guide. You want a line that circles the pipe and meets itself.
- Measure from the end and make a small mark
- Wrap a strip of paper or masking tape around the pipe and line its edge up with itself
- Slide it so the edge sits on your mark, then trace along the edge
- Put an X on the waste side so you know which side of the line to cut
The saw removes a little material, so cut on the waste side of the line and leave the line itself on the piece you are keeping.
Hold the Pipe So It Cannot Roll
A pipe that moves while you saw will wander off the line every time. Clamp it close to the cut, and put a scrap of cloth or wood between the jaws and the pipe so the surface is not marked.
- Clamp near the cut, not at the far end
- Pad the jaws
- Do not tighten so hard that the pipe squashes
- Support long pieces so the weight does not pull the cut off line
Eye protection and gloves are worth wearing, because cutting throws off small plastic shavings.
Start the Cut Slowly and Let the Saw Do the Work
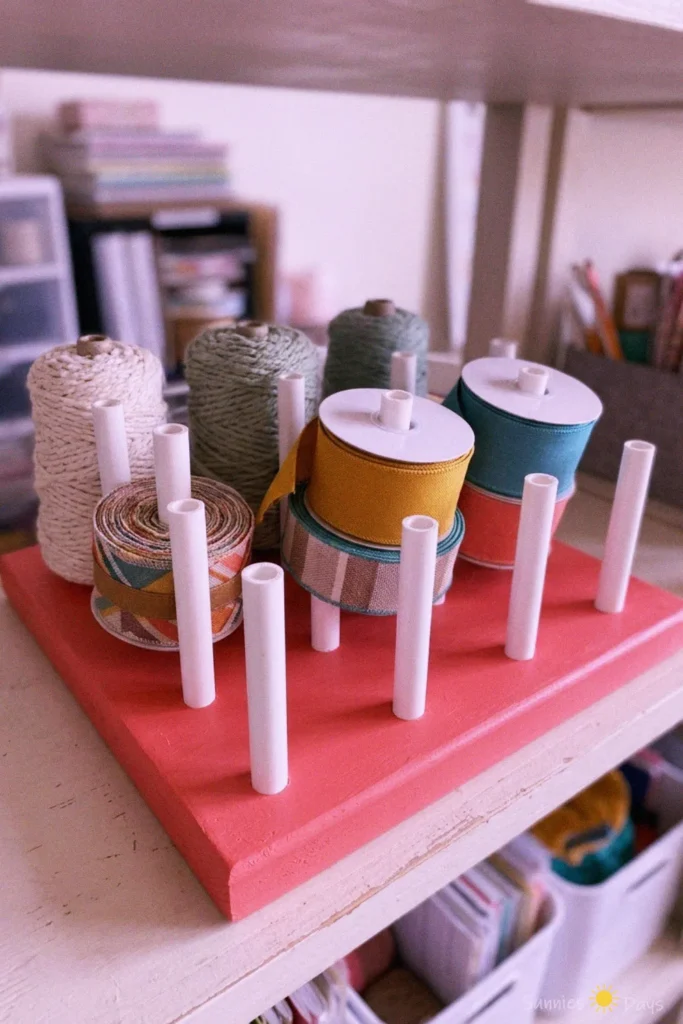
The first few strokes decide the whole cut. Pull the saw toward you lightly to scratch a groove along the line, then lengthen the strokes once the blade is seated.
- Keep the blade square to the pipe, not tilted
- Use very little pressure and let the teeth do the work
- Turn the pipe a quarter turn now and then, so the cut follows the line all the way around
- Support the offcut near the end so it does not snap and leave a ragged tab
Clean the Edges Before You Assemble
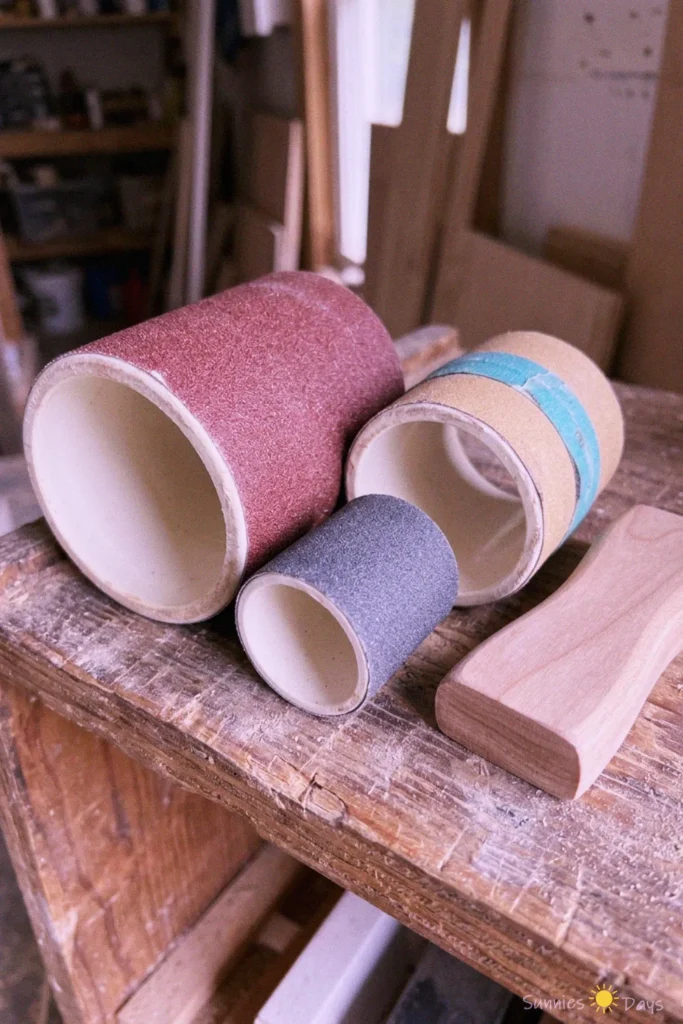
Freshly cut PVC has burrs and a fuzzy lip, inside and outside. Take them off with a utility knife or a few passes of sandpaper, then wipe away the dust. A rough edge stops a fitting from sitting flush, and flush is what makes a joint look finished.
If you want a handy tool for this, the PVC pipe sanding blocks project turns offcuts into hand-held sanders.
Check Square and Test Fit Before You Glue
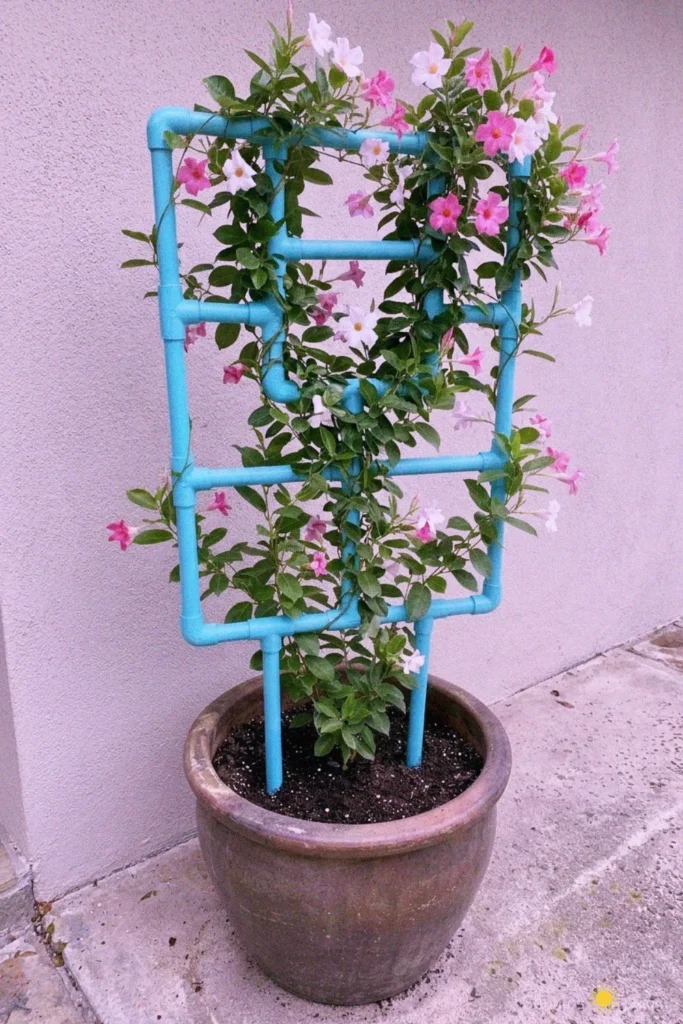
Stand the cut end on a flat surface or against a square. If it rocks or shows a gap, sand the high side until it sits flat. Then dry-fit the whole project without glue or paint. A gap is easy to fix at this stage and a headache after the glue has set.
Cut Several Pieces the Same Length
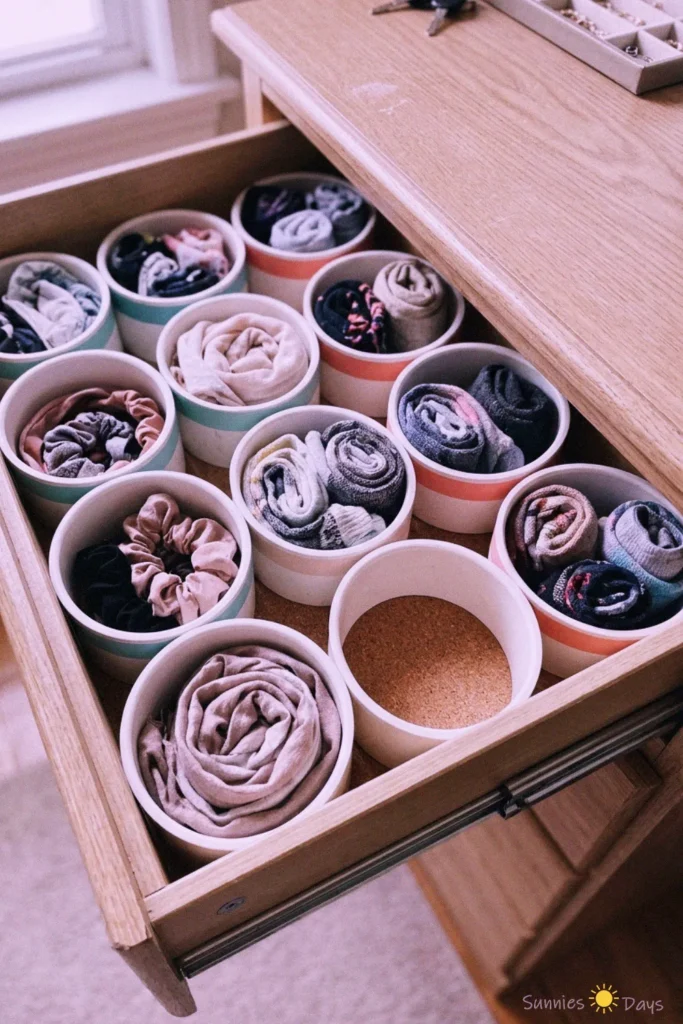
Projects like dividers, shelves and shoe racks need pieces that match. Cut one, check it, and use it as the template for the rest instead of measuring each one again. If you have many pieces, clamp a stop block to the bench so every piece ends up the same.
- Use the first piece as the template
- Mark every piece from the same end
- Label the pieces if the project needs them in a certain order
The drawer dividers for socks and scarves are a good example of a project where matching lengths make the whole thing look neat.
Start With One Small Project
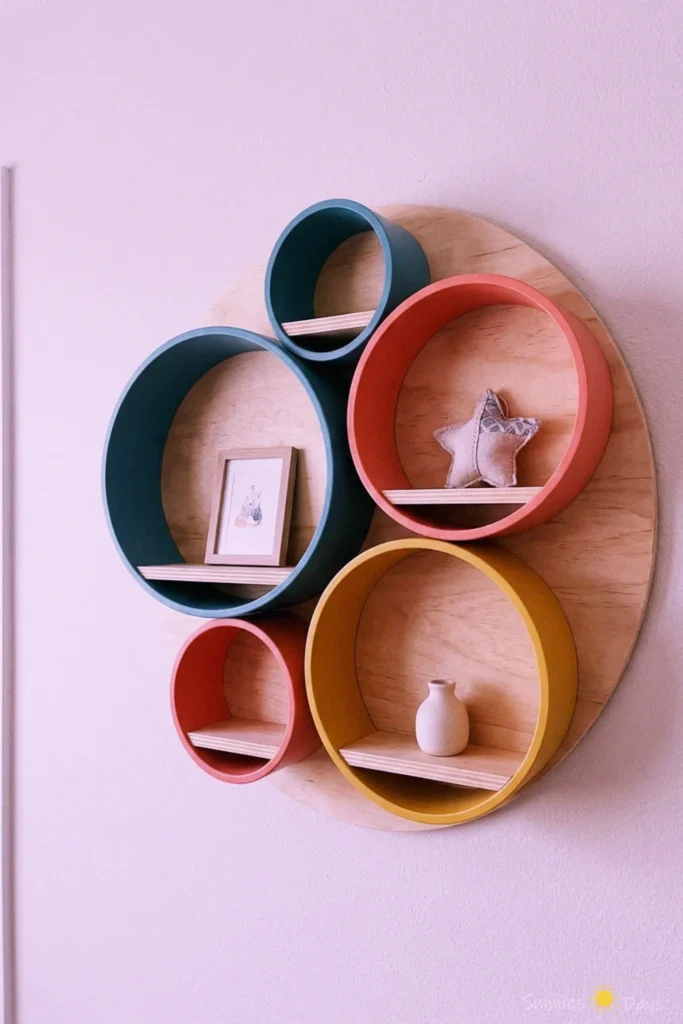
Practice on a scrap piece first. Then pick one small project and finish it. The decorative PVC pipe shelf is forgiving, and by the time you have cut a few rings you will know how the saw and the pipe behave.
My advice is not to rush out and buy a new saw. Most crooked cuts come from the setup, not the tool. A good line and a steady hold matter more than anything you can buy, so take your time, and the straight cuts will follow.