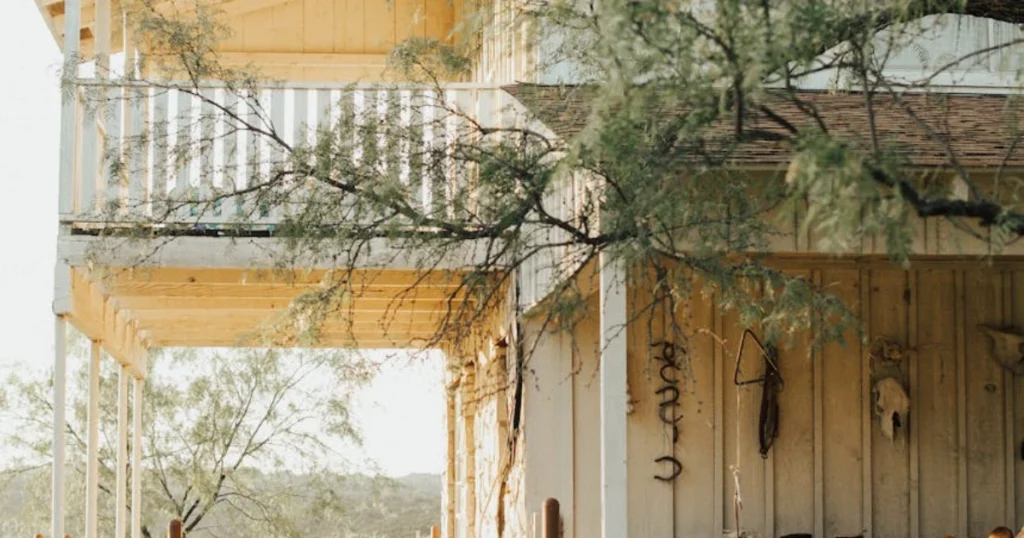
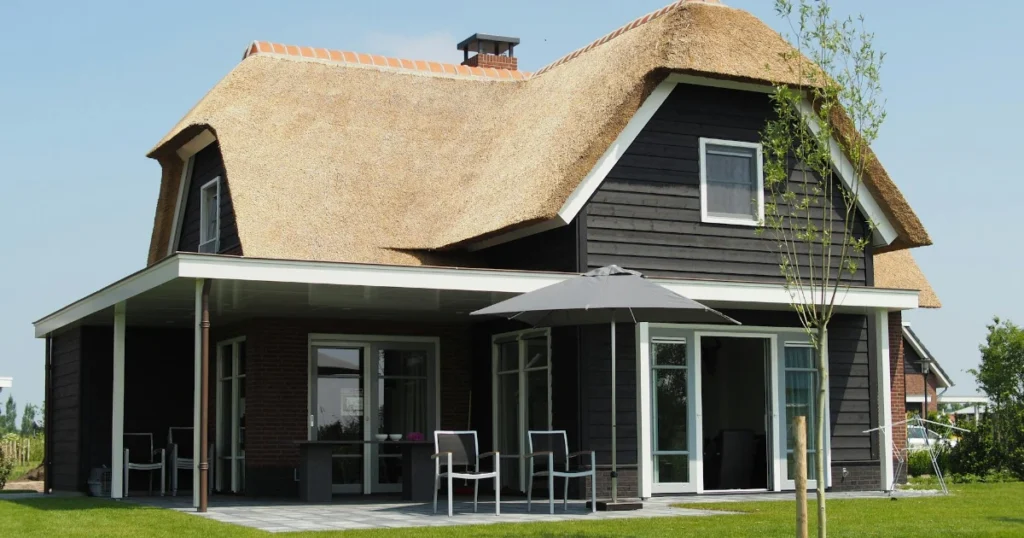
If you’ve ever stood on your porch during a summer rainstorm, wishing for a bit more shelter, you’re not alone. Years ago, I decided to build my own wood awning—a classic lean-to roof—over my porch. It wasn’t just about keeping dry; it was about adding character and value to my home. If you’re thinking about tackling this project, I’ll walk you through every step, sharing the lessons I learned (the hard way!) and the little tricks that made all the difference.
What Is a Lean-To Roof Awning?
A lean-to roof (sometimes called a shed roof or mono-pitch roof) is one of the simplest roof styles you can build. It slopes in a single direction and can either stand alone or attach directly to your house using a ledger board. That ledger is just a sturdy piece of framing lumber bolted to your home, giving your new wood awning a solid anchor point.
Why choose a lean-to? For me, it was all about simplicity and reliability. There’s less to go wrong, fewer angles to mess up, and it’s easy to customize for any porch size.
Planning Your Wood Awning: Key Measurements and Decisions
Before you even pick up a saw, you’ll want to get your measurements right. Trust me—double-checking now saves hours of headaches later.
Understanding Roof Pitch
Most porch awnings use a gentle slope. I went with a 4-inch pitch, which means for every 12 inches of horizontal run, the roof rises 4 inches. This is steep enough to shed water but not so steep it looks out of place.
Pro tip: Use a pitch calculator (like Blocklayer’s Rafter Calculator) to visualize your design and confirm your math.
Measuring the Total Run
Here’s where most folks (myself included, the first time) get tripped up. The total run is the horizontal distance from your house’s exterior wall to the outer edge of your new wood awning. For my project, that was 44 inches. But—don’t forget to subtract the thickness of your ledger board (usually 1.5 inches for a 2x lumber). So, my actual run was 42.5 inches.
Calculating Rafter Length and Rise
With your run and pitch in hand, you can calculate two critical numbers:
- Diagonal (rafter length): For my 42.5-inch run and 4-inch pitch, the diagonal came out to about 44 13/16 inches.
- Rise: The vertical gain, which was 14 3/16 inches for my setup.
I used an online calculator, but you can also do this with a framing square if you’re old-school (or just enjoy the math).
Factoring in Height Above Plate: The Overlooked Detail
Now here’s the thing—this is where most DIYers mess up. The rise you just calculated doesn’t account for the extra height your rafter sits above the wall plate (the top of your porch wall). This is called the height above plate, and it depends on your rafter size and the birdsmouth cut.
How to Find Height Above Plate
I used a height above plate chart to get this number. For a 4-inch pitch, a 4.5-inch seat cut (the width of my wall plus sheathing), and 2×8 rafters (actual depth: 7.25 inches), my height above plate was 6.14 inches.
Don’t skip this step! If you forget to add the height above plate, your ledger board will end up too low, and your rafters won’t sit right. I learned this the hard way and had to redo my ledger placement.
Calculating Ledger Height
To find the correct height for your ledger:
1. Add your rise (14 3/16 inches) to your height above plate (6.14 inches).
2. That gave me a total ledger height of 20 5/16 inches above the bottom plate.
3. Mark this spot on your wall and install your ledger board there.
Expert insight: According to Tom Silva of This Old House, “Precision in ledger placement is what separates a sturdy awning from a sagging one. Always double-check your math.”
Cutting and Installing Rafters: My Step-by-Step Process
Laying Out the Framing Square
Here’s where the project gets hands-on. Using my framing square, I set the tongue to 4 (for the pitch) and the blade to 12 (the unit run). This let me mark the plumb cut at the top of each rafter.
Cutting the Birdsmouth
- Measure the diagonal length (44 13/16 inches in my case) from the plumb cut.
- Mark the seat cut (4.5 inches for my wall thickness).
- Draw and cut the birdsmouth notch so the rafter sits snugly on the wall plate.
I also added an 8-inch overhang for shade and a 6.5-inch facia cut for a clean edge. These are personal preferences—feel free to adjust for your porch.
Installing the Rafters
With everything cut, I set the rafters in place. The plumb cut fit perfectly against the ledger, and the seat cut rested right on the wall plate. There’s something satisfying about seeing all your measurements come together—no gaps, no wobbles.
Pro tip: Use hurricane ties or rafter hangers for extra security, especially in windy areas. Simpson Strong-Tie has a great selection.
Final Touches: Roofing and Finishing
Once the rafters are up, you can add your sheathing, underlayment, and roofing material. I went with corrugated metal for durability and a classic look, but you could use shingles or even polycarbonate panels for more light.
Don’t forget to seal all joints and flashing to prevent leaks. I used a high-quality exterior caulk and double-checked every seam—water always finds the smallest gaps!
Common Mistakes and Lessons Learned
- Rushing the math: Take your time with measurements. A quarter-inch off can throw the whole roof out of square.
- Ignoring local codes: Always check your city’s building codes before you start. Some areas require permits or specific fasteners.
- Skipping the height above plate: As I mentioned, this is the #1 place DIYers go wrong. Don’t be that person!
Resources and Further Reading
- Family Handyman: How to Build a Porch Roof
- Blocklayer Rafter Calculator
- Simpson Strong-Tie Rafter Connectors
Wrapping Up: My Takeaway
Building my own wood awning was one of the most rewarding DIY projects I’ve tackled. It wasn’t just about following steps—it was about learning to trust my measurements, fix my mistakes, and enjoy the process. If you’re thinking about building a lean-to roof for your porch, take your time, double-check everything, and don’t be afraid to ask for help or consult an expert.
Honestly, the first rainstorm under my new awning felt like a victory. That’s what finally made it all worth it.